Tutorials

For the Home, Other, Tutorials

DIY Faux Plant Desk Decor

This week I'll be showing you how to make some cute faux plant desk decorations. I decided to make these because my sister got her first internship and she needs decorations for desk at work! First I'll start off with the grass. I thought it could make a pretty neat looking pen/pencil holder. I wanted it to be long, so I'm going to cut the grass chunk in half.

-fake plants -scissors -sand -styrofoam -hot glue gun -pots -balsa wood -xacto knife -saw -paints/finish -ModPodge

First I'll start off with the grass. I thought it could make a pretty neat looking pen/pencil holder. I wanted it to be long, so I'm going to cut the grass chunk in half.

Now onto the succulent plants. I decided to make a little trio.

And now they're done!


Other, Tutorials

DIY Needle Felted Cat Toys

I've had some requests to do more cat projects and I've been meaning to put together a needle felting tutorial, so I decided to combine those two ideas together. So today I'll be showing you how to make some needle felted cat toys! I made three different types, one stuffed with cat nip, one stuffed with jingly bells and one stuffed with a crinkly plastic bag. -some wool -a felting needle -a felting surface - typically people use a foam block or a bristle brush but I'm using a burlap pillow thing I made. If you're interested in learning how to make one of these, stay tuned next week and i'll show you how! -some goodies to put in the middle of the toy. These are optional.

The reason wool fibers felt together has to do with how the fibers are made up. Like human hair, wool fibers have tiny scales all over them, however, the wool fiber scales stick out way more. So when the fibers are rubbed together, whether with hot soapy water, like in wet felting, or through stabbing with a felting needle, they hook on to eachother. So whenever you felt, essentially you're creating a big ball of tangled fur.  Also, you can't just use a normal needle to felt, you have to use a special needle. You can see here how it has little tiny hooks all over it and these grab the felt and pull them down, rubbing them against the rest of the wool fibers as you stab.

First, here's the cat nip stuffed toy:

Once you have the veins all attached and the leaf is felted nice and tight, you're done!

And now, the jingly bell toy:

Once it's felted tightly then you're done!

Finally, the crinkly bag stuffed toy:

And there we go, three types of needle felted cat toys!

The catnip laced toy is Gremlin's favorite.

I hope you (and your cat!) enjoyed this project! Next week I'll be doing a tutorial on how to make the felting surface, so stay tuned if you're interested!

Holidays, Tutorials

DIY: Image Transfer: Mother's Day Edition!

FeaturedImage.jpg

Mother's Day is right around the corner, and if you have yet to get your mom something, there is still possibly time for you to make something for her! Let's face it, homemade gifts are more special since you put a little piece of yourself into it. At least, that's how I see it. So today I'm going to show you how to make a nice photo transferred wooden plaque, which isn't necessarily a Mother's Day only kind of thing, but it can be depending on the imagery that you use. Like for the one I made I used a photo of me and my sisters from the last time we were all together. Anyway, enough rambling, let's get started!

You'll need: -a wood plaque  -some hanging hardware -a plastic card, like a gift card or whatever -gel medium -foam brushes -paint -a bowl of water -a sponge -polyurathane sealer - you can also use mod podge to seal it. -laser printed or a photocopied image, flipped

Find the midpoint on the back of your wood plaque and attach your hanging hardware. The kind I'm using here comes with little nails to secure it in place.

This is gel medium, you can typically find it in that art section of the craft store with all of the other additives for paint.

Apply it to the plaque in an even layer. Make sure to get a good coating. You don't want it to be too thin or too thick.

Carefully lay your printed image down, face down onto the wood.

Run your card along the back of the image to make sure the image is completely smooth and touching all of the gel medium. If there are any bubbles or anything, the image wont transfer in that spot, so make sure you get rid of them! Let this dry overnight.

Use a sponge to dampen the paper. You can start to see the image starting to come through!

Use your fingers to start to rub the paper so it starts to peel off.

If you're brave enough you can use your sponge to help rub the paper off. This is really risky though because you can more easily rub the image off. You just need to be gentle and be patient. Keep rewetting and rubbing until the majority of the paper is removed. This is the part that gets a bit tedious. While it's wet it will look great, but when it dries you'll notice spots that still have paper bits on it. Just keep at it and you'll finally remove most of it.

You might notice you have some excess gel around the edges. If so, just use an xacto knife to cut it off.

When you've finally removed as much of the paper as you can stand, let it dry completely and then apply your sealer. I'm using a semi matte water based polyurathane, but you can also use something like mod podge. Set it aside to let it dry.

And finally, paint the edges with your paint! Here I'm using liquid gold leaf, my favorite!  Also, there was a gap that was about 1/4 inch wide gap on one side because the image was slightly too small, so I extended the edge of the paint up around the image, 1/4 of an inch on each side. Let it dry.

Here it is, all ready to be packed up and sent to my mom!


I hope you enjoyed this weeks project! And to all the moms reading, Happy early Mother's Day!

Tutorials

DIY Pet Leash

So, I had been wanting to get my dog, Hobbes, a new leash. Nothing is wrong with the one he has now, in fact, I love the leash he has now. It's adjustable and really easy to clip around poles or trees or anything like that if we're out at the park and want to just sit around and hang out. Even though the leash we have for him already is adjustable, it would only go so short. I wanted something that was short and was simple, easy and quick to clip on him so we could run out the door for a quick walk.

In true chezlin fashion, I decided I'd make the leash myself. So of course I documented it all and I'm going to share it with you all so you can make one for your own pets!

supplies

Now, you can stop here and be done, but if you want, you can wax it. This is supposed to make the cord more comfortable to use and it makes it waterproof and, if you do it right, can give you an effect like leather.

-parafin or beeswax. I prefered bees wax. It's softer and feels better on the skin. -a bowl to melt it in -a pot with about an inch or two of water -a toothbrush -the leash -an aluminum foil lined baking sheet with a rack

I didn't get the "leather" effect I wanted, but I'm pretty sure it's because I only did this waxing process once. I'm going to go back and repeat it a few more times later and see if that works.

Time to test it out! This ring is nice to clip your keys and/or dog pop bags

Seems like he likes it!

Clothes, Tutorials

DIY: Studded Shoes

FeaturedImage.jpg

A while ago I saw some Jeffery Campbell skulltini flats, which are basically simple flats completely encrusted with skull studs. I thought they were super cute and I wanted them, but of course I ended up talking myself into making some of my own. So today I'll be showing you how to make some, too!

You'll need: a pair of shoes a marker scissors some studs - I'm doing skull shaped ones, but you can do whatever you like! a rivet setter with small anvil (I got these in a set of rapid rivets I bought a long time ago.) Optional: a bigger anvil

Use a marker to mark where you want the studs.

Use your scissors to carefully poke a hole at each mark

Stick the stud through the hole...

... and stick the backing on.

Position the anvil, concave side up, inside the shoe, right under the stud and position the rivet setter, concave side facing down, on top.

Give the rivet setter  few good whacks with your hammer.

Here you can see the concave sides on the anvil and rivet setter.

If you happen to have a bigger anvil, like this, you can use it in conjunction with the small anvil and rivet setter to help you set the studs. It's not completely necessary, but if you have one it's nice to  use.

Repeat until you've covered the whole shoe.

Yay, done!

I absolutely love how these turned out!

Here are some affiliate links for some of the stuff in this project:

The flats

Skull studs

Anvil and rivet setter

Art, Misc-, Tutorials

DIY: Travel Watercolor Kit

The weather is getting nice so it's perfect for taking a trip to the park to hang out and paint a little bit. This week I'll show you how easily to put together your own travel sized watercolor (or gouache) kit that you can just throw in your pocket, purse, bag, etc. and be on your way! supplies

Remove the makeup.

Clean the makeup pallet with warm soapy water.

Close the pallet and spray the outside with white spray paint. Nail polish can work if you're in a pinch, or if it's raining outside and you're too impatient to wait until the next day (like me).

Set aside to dry. If your case comes apart, like mine does, you can remove the top while you fill the inside.

Fill each pot with a different color. Since this was a pretty basic pallet and there were only four pots, I did the primary colors along with panes grey. Let dry.

Snap the lid back on and you're done! Since you painted the lid white, it acts as a nice area where you can mix colors.

Here's the first ever kit I made. Obviously it's had some use. It had way more pots so I got to add a lot more colors.

In addition to my small portable kits, I also have these aqua brushes that have a water reservoir that are super convenient for on-the-go painting.  You don't need to carry an extra cup for the waste water, you just need an extra bottle of water to refill the reservoirs every once in a while.

Click here for an affiliate link for the aqua brushes.

I hope you like this weeks project! Now get out there and paint! :)

Misc-, Tutorials

DIY: Paper Clay Projects

I showed you guys how to make paper clay two weeks ago, so this week I decided to show you a few different projects you can do with this clay! A shallow dish that you can use as a jewelry holder, coin holder, etc. and a lidded vessel that I ended up decorating to look like Totoro (of course you can decorate yours however you'd like!) Shallow dish:

Lidded vessel:

And there we go! I love how these turned out. Unfortunately I'm all out of paper clay now, but I'm itching to make more so I can make some more projects!

Tutorials

DIY: Cascarones

fi3.jpg

I grew up in Texas, and around this time of year you can cute little cascarones, which are confetti filled eggs, pretty much everywhere! I have fond memories of running around and getting cracked in the head with these things and getting confetti and egg shells all tangled up in my hair. I can't find cascarones where I live now, so I decided to make some of my own to celebrate Easter and Fiesta. And I'll be showing you how to make them for yourself as well! Supplies~

Use a thumbtack to poke a hole in the top(the pointier end) of the egg. Flip it over and poke a hole in the bottom. Wiggle the thumbtack a little, or use a nail to enlarge the hole so a toothpick can fit.

Stick a toothpick in the hole and wiggle it around a bit to break up the egg yolk.

Over a bowl, blow into the top hole to force the inside of the egg out. Repeat for all the eggs. Note: You can still use the inside of the eggs for recipes!

Alternatively, you can just break the top of the egg with a spoon or edge of a bowl to make a hole about 1 inch in diameter and dump out the insides through that big hole. I wasn't brave enough to attempt that so I just poked a hole with my thumbtack and then carefully chipped away at the hole until it was big enough.

Once you've emptied all the eggs out, wash them in warm soapy water and let them dry. Then it's time to decorate!

Decorate your eggs however you see fit! I attempted a marbled dye by mixing in a little bit of vegetable oil into a prepared dye bath...but it didn't work out as well as I wanted, but I should have figured that since I used brown eggs.

After you're done decorating, set them aside to dry completely.

Cut out some tissue paper circles about 2 inches in diameter.

Fill each egg with the biodegradable confetti.

Spread glue around the top edge of the egg.

Stick a tissue paper circle over the hole and tap it down to secure it in place. Repeat with all of the eggs.

And you're done!

Now all that's left is for you to hide them for an Easter egg hunt or you can just start chasing around your friends to crack them over their heads!

cascarones

Have fun! :D

Art, Misc-, Tutorials

DIY: Paper Clay

fi2.jpg

When I made the post about how to make a paper mache deer head from scratch, I mentioned an optional ingredient: air drying paper clay. I used a homemade version, and I ended up liking it so much that I decided I'd share with you all how to make your own! I got the recipe from ultimatepapermache.com. That website is a great resource for almost anything paper mache, so if you're interested in anything like that, definitely go check it out, it's great.

Here's what you'll need for the paper clay.

To be more precise, you can measure out the dry toilet paper first. Toilet paper comes in different thicknesses, so for some brands it might take up the whole roll, but with the kind I have it was about 2/3rds of a roll.

Soak the toilet paper in warm water for a few minutes until it breaks apart.

Strain the toilet paper pulp and squeeze out the excess until it weighs 110 grams.

Break up the paper into your mixing bowl and then unceremoniously dump everything else in and mix together. I used a whisk attachment and then halfway through I switched to a dough hook.  Also, you should use a mixing bowl/attachments dedicated towards craft things. No food allowed!

Dump the clay out into a surface dusted with corn flour and knead it for a few minutes.

Here it is, finished!

Store it in an airtight container. I wrapped mine in saran wrap and then put it in a zip lock bag.

This clay is pretty great, I really like working with it. It dries extremely strong, even when it's pretty thin. It takes fine detail and you can sand it after its dry. Also, since I used baby oil it smells kind of nice too.


Food, Tutorials

Boozy Beer Mug Fudge

Saint Patrick's day is next week so I came up with a recipe for some boozy fudge that you can decorate to look like cute little mugs of beer. These would be great as a St. Patrick's day party snack. There is alcohol in this fudge, so it's adults only, sorry kids! Supplies

Green icing is optional.

A normal cookie cutter probably wouldn't work for this fudge, because they'd be too short to cut all the way through the fudge, but a petit four cutter would be perfect. Here's an affiliate link where you can get your own circular petit four cutter(make sure to select the circle).

Here's how to make the fudge!

Guiness fudge

Irish cream fudge

Once the fudge has set for at least 2 hours, it should be ready to be cut up!

Remove fudge from the fridge and use your circle cutter to cut cylinders from the fudge. My crappy handmade circle cutter couldn't deal with this fudge and broke after three cuts, so I ended up just cutting  the rest into squares.

Cut the top loops off of a pretzel like so.

Squish the cut pretzel into the fudge cylinder. Repeat for all of the fudge.

For some St. Paddy's flair, pipe a little four leaf clover on the little mugs.

All done! Here are two of the mugs with all of the extra fudge I cut into squares.

I think these turned out so cute. They look like little mugs of a dark stout with a nice, thick head. Oh, and they taste pretty great too!

I wish I had bought the petit four circle cutter instead of being stubborn and trying to make my own. Then I could have made more little mugs instead of just cutting the rest of the fudge into squares. Oh well, next time!

For the Home, Tutorials

DIY: Paper Mache Deer Head

A while ago I made a post about how to dress up a paper mache deer head to make it look like two tone faux mounted deer head. Unfortunately a lot of people were having trouble finding these elusive paper mache deer heads, so I started working on a tutorial on how to make your own from scratch. Finally I've finished it so I can share it with you all! Like with my turkey candles, I made a rough 3d model of a deer head and put it through a program to make it printable onto flat paper. Then all you have to do is cut it out, fold it up and glue or tape it together!

To get the template for this project, click here!

Here's what you need to make a paper mache deer head!

Print out the pattern onto cardstock, cut out and assemble according to the instructions.

My printer was running out of ink so the lines and numbers barely show up on camera, but it should print better for everyone else. Assuming you have printer ink!

I filled the head and neck with crumpled newspaper to help it keep it's shape.

Here it is all put together. If you like how the deer head looks at this point (low poly/faceted) then you can skip right to the paper mache steps, but if you want it to be more realistic, you can go on and sculpt some more details into the head.

To rough out the details, crumple up aluminum foil and use masking tape to hold it in place. I looked up a photo of the anatomy of a deer head to help me figure out where I needed to add the foil.

Here you can see the face almost done with the rough sculpt.

If you want even finer details you can use some air drying clay to sculpt that in.

When the air drying clay is completely dried, sand it smooth.

Paper mache time! Rip the paper into strips (instead of newspaper I used brown packing paper) and mix up some paper mache paste.

Dip the paper strips into the paste and run them between your fingers to remove the excess paste. Apply it to the head, overlapping the paper about a fourth of the way. Since you're not going to hollow it out like you would a pinata you only have to do 1 or 2 layers.

And here it is, done! Technically this is the end of the tutorial, since that's how you'd make a paper mache deer head, but I will show you how I decorated this one!

To finish this one off, I hot glued it to the wooden plaque that I stained a dark color.

Push the head down firmly to make sure it's glued down well.

And here it is, done!


Nails, Tutorials

DIY Nail Decals

This week I'll be showing you all how to make your own custom nail decals. I know this isn't a super unique tutorial, but I figured I'd still make it because it's something that I enjoy doing, and maybe someone will learn something new from my tutorial. You never know, someone might stumble upon this post and it's the first time they've seen this technique! Or they could be like me and before doing a specific technique, they research the crap out of it, looking at multiple tutorials so they can pick and choose which techniques to use to fit their needs. The list of supplies for this project


Step 1I eyeballed the size and shape of my nails and drew them out onto a piece of paper. If you do the same, you can draw your design inside of the nail like I did for two of these nails.

I wanted to paint a floral pattern on the rest of them, so on the right you can see some little  sketches I did to use as a reference. You could totally just pull up a reference from online, or a book, etc.


Step 2Cut the paper so it can fit inside of the bag and stick it inside.


Here are the steps I did for this specific floral design.


Step 4Once the design was dry, I coated each one with some top coat.


Here are some more examples of different decals you can make.


Step 5Remove the decals with your tweezers and, if needed, trim them to size. With mine I painted over the lines I sketched out so I had to trim quite a bit to fit them to my nails.


Step 6Paint your nails with your base coat, and then one coat of your background color, if you're using one. Let those dry completely, and then apply a layer of top coat, or as in my case, another layer of the background color.


Step 7Let it dry for about a minute or until it's tacky and then stick the decal on.


Step 8Gently pat/smooth it down. Repeat for all of your nails.


Step 9Finally apply another coat of topcoat, making sure to hit all the edges to seal them up.


Finished!And here they are all finished!


I hope you enjoyed this weeks tutorial! Stay tuned next week for more~


Holidays, Tutorials

DIY Valentine Heart Boxes

fi2.jpg

Today I'm going to show you how to make a cute heart shaped box that would be perfect for Valentine's day! You can fill them with love notes, jewelry, chocolates, or any thing else that will make your Valentine feel loved.

supplies
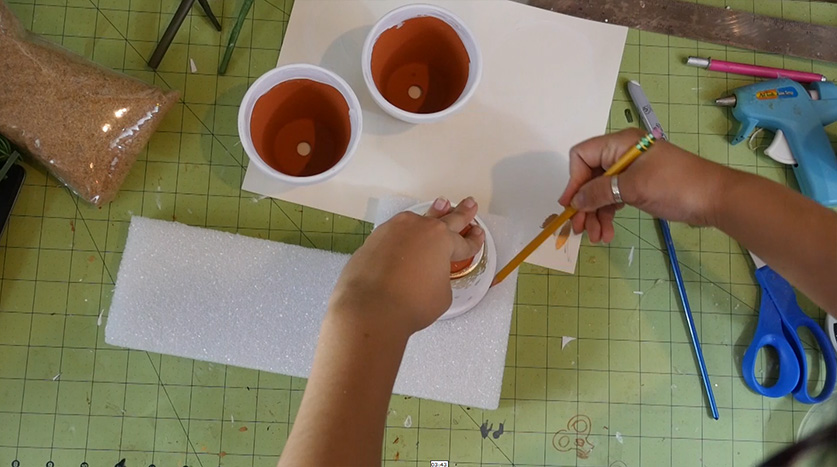
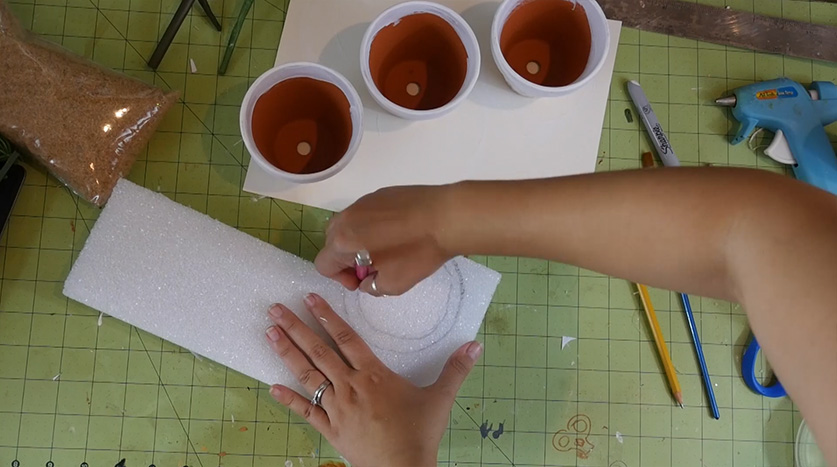
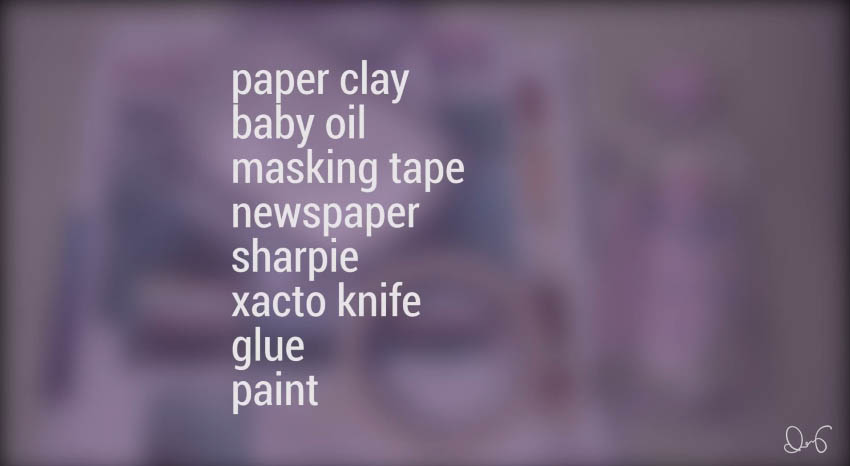
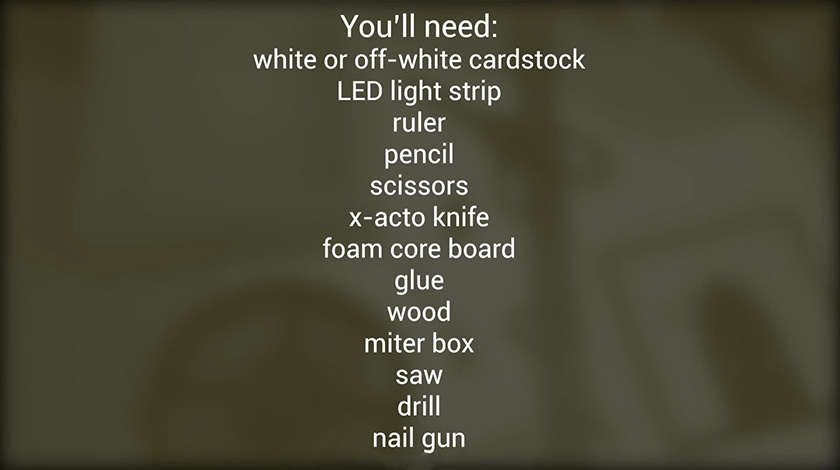
Supplies~ Click HERE for the template!

01
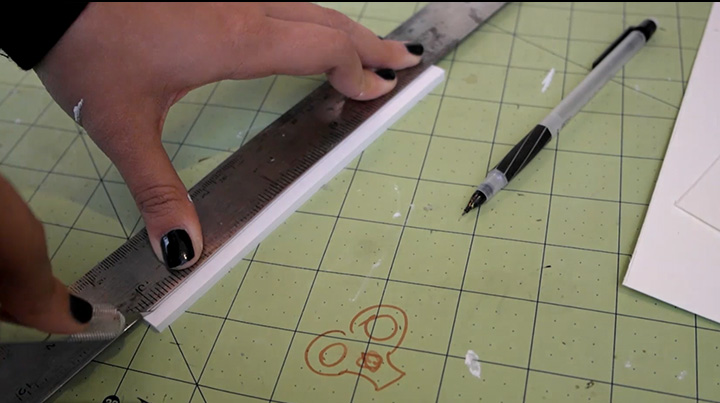
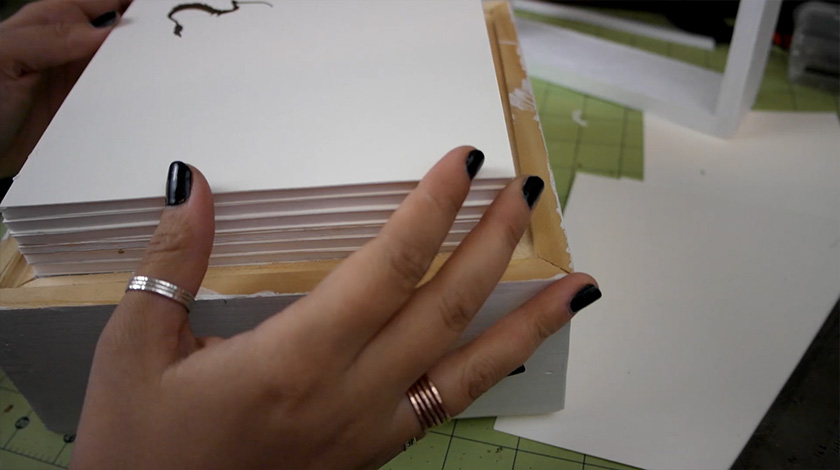
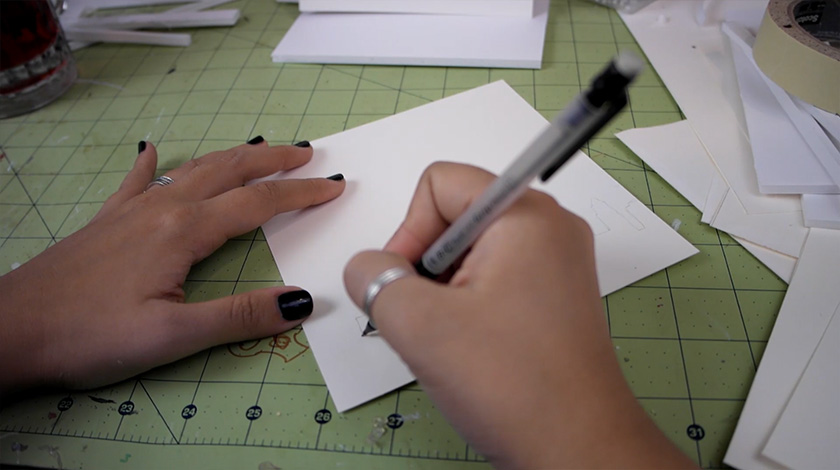
Spray the template with spray adhesive and stick to your foam core board. The template is two pages. On the second page trim it up a bit, up to the dotted line- this makes it easier to line it up with the first page.

02
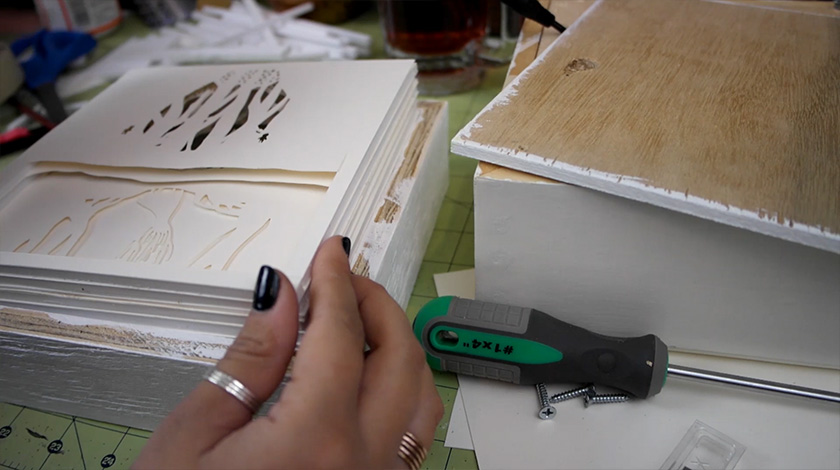
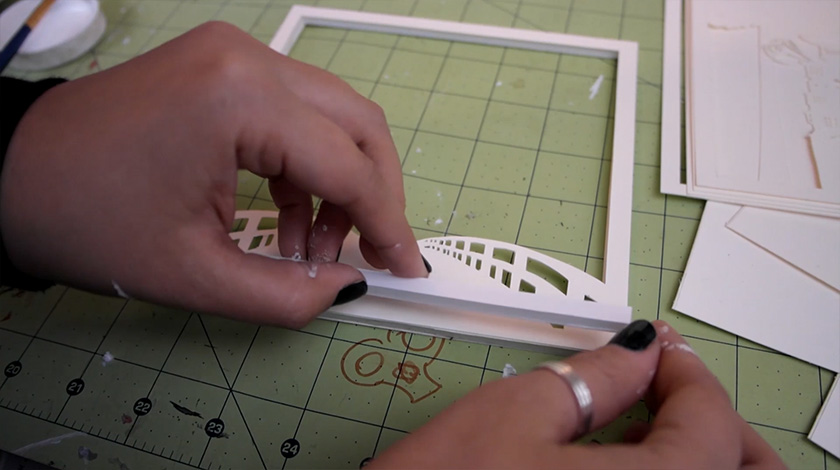
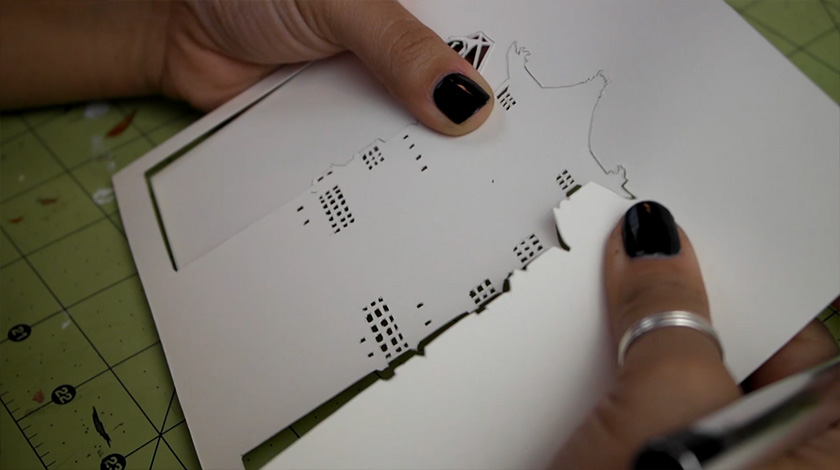
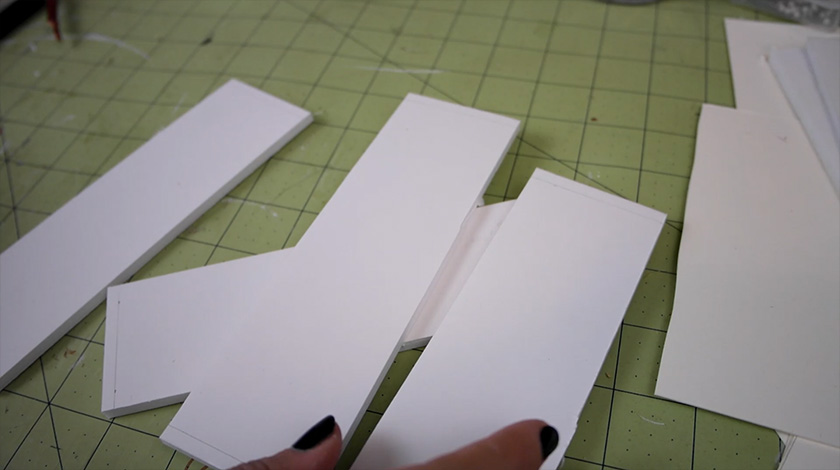
Using a sharp xacto knife, cut out the pieces.

03On the dotted lines you're going to only cut through one layer of paper and the inner foam core. This makes it so you can make the curves in the walls of the box.

04
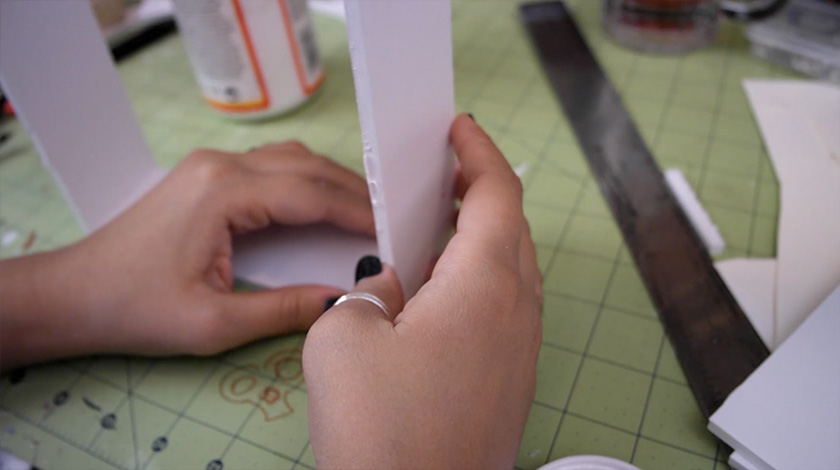
Take one of the wall pieces, fold it in half, and starting at the bottom of the heart piece with the inner heart, hot glue the wall piece on. Use the inner heart to help line up the walls. You can give the boxes some lip according to how you position the walls. In the one I'm making for this tutorial, I was going for a small lip, so I glued straight onto the line. I have two other examples: one where I glued the wall right along the edge, giving no lip, and one where I glued along the inside of the wall, giving a slightly larger lip.

05
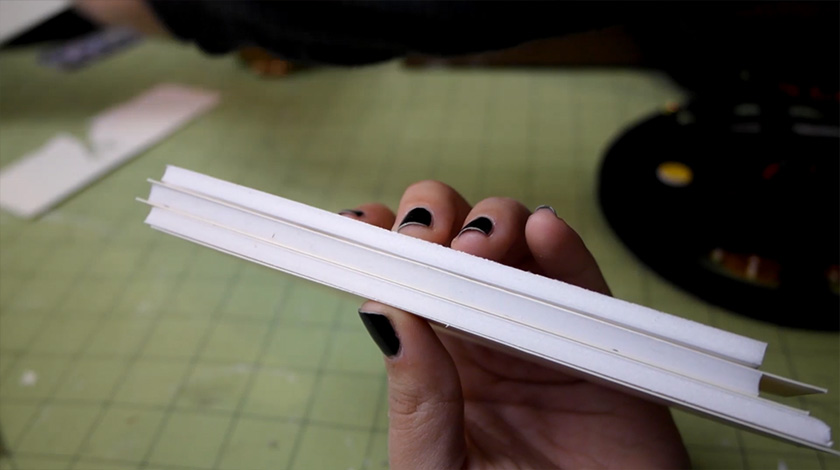
Since I wanted you to be able to customize how large of a lip you'd want, the walls will be slightly longer than what you need. Just trim them up with an xacto knife when you get to the top part.

06
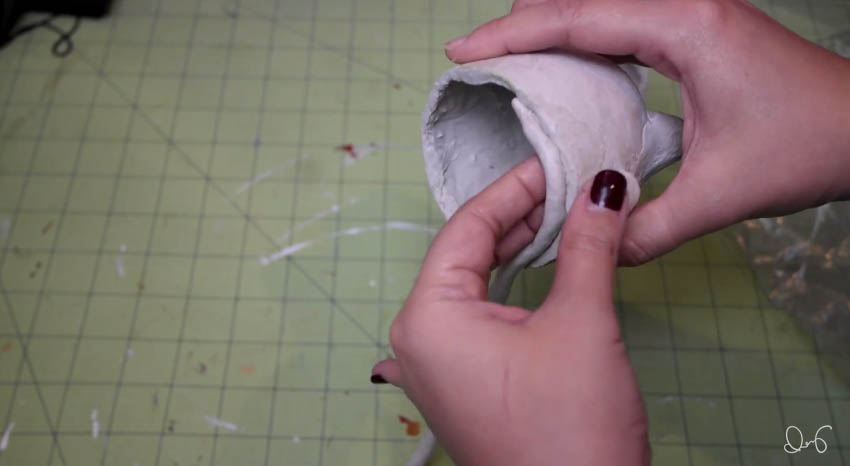
Here's the trick to making the box fit together really well. Take the second wall, fold it in half, curl each end inwards and place inside of the other side of the box.

07Again, you'll have to trim the walls a little bit.

08One side cut, one more to go.

09Now that you have it cut to size, carefully glue the wall together, taking care not to accidentally glue it to the other half.

10
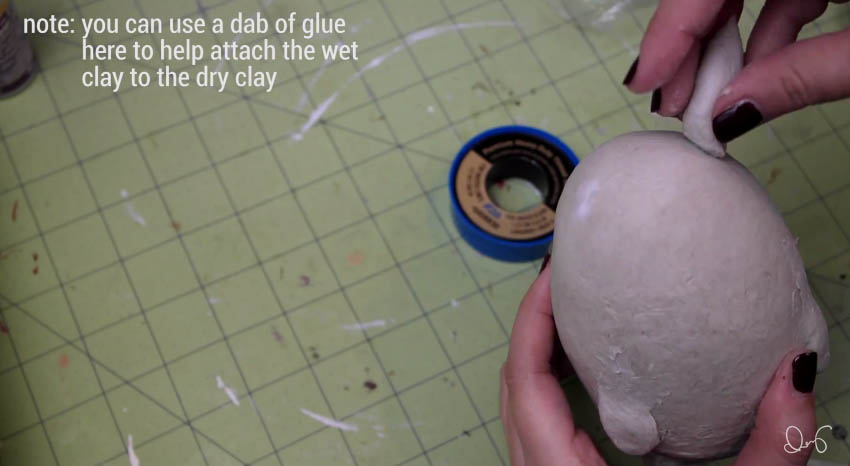
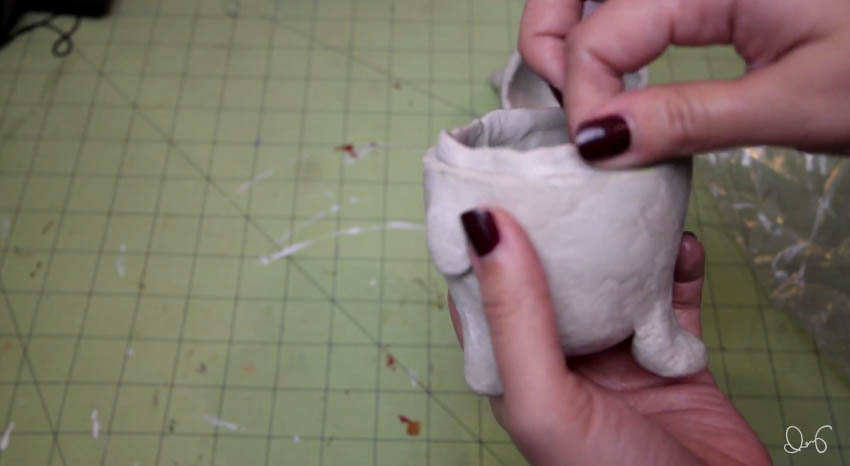
Pull the inner heart wall up about 1/4 of an inch. It should stay up on its own, but if it keeps falling,  you can just use some scrap pieces of foam core to hold it up. Apply hot glue along the top of the inner wall.

11Take the second heart piece and press on to the glue, lining it up with the heart from the other side.

12At this point you can take it out of the first half and then press the wall down more to make sure it's secure.

13Now for decoration! You really can decorate these however you'd like, but I do suggest at least painting them with a base color first. I chose red.

14For the walls I measured how tall they were and cut some decorative paper strips to that size.

15And then I simply just glued them down with mod podge.

16I also put glitter on the edges because they were pretty rough looking. My xacto knife wasn't very sharp so it kind of tore up the foam and it looked really bad. Always use sharp knives!

17Here's the version with a larger lip. I covered the the top face with decorative paper, applied glitter to the edges and used ribbon to cover the walls. This one was my least favorite, but that's mostly because I was really impatient when I glued down the ribbon so it doesn't look that good.

18And here's the one with no lip. It's my absolute favorite one. I'm considering putting it up to display it even after Valentine's day, that's how much I like how it turned out. For the decoration on this one I started with a few layers of red paint for the base coat. I stuck on some masking tape and drew a design on top of that. Once I had a design I liked, I used my xacto knife to cut the tape. It's okay if you cut a little into the first layer of the foam core. As long as it's not cut like that all over, you shouldn't have a problem. I removed the tape but kept tape on the areas where I still wanted the base coat to come through. Then I sprayed it with spray adhesive and dumped a bunch of glitter on it. I removed the masking tape, and then to give it a nice shine and to keep the glitter from shedding, I sprayed on a nice layer of clear acrylic sealer. I let it dry and ta da~

19
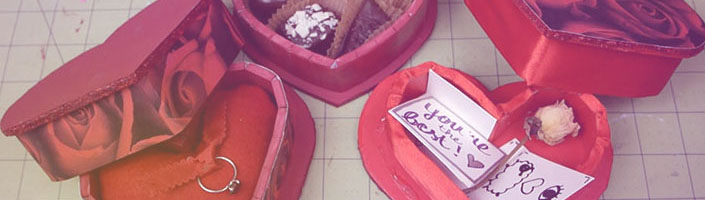
Here they are all done, filled with goodies! To make the pillow for the jewelry one I simply traced the inner heart side onto some felt, cut it out, hot glued along the edges leaving a one inch hole, flipped it inside out, stuffed it, and sealed it closed with more hot glue. Then I cut a small length of ribbon and hot glued that onto the middle. Of course, you could sew it instead of hot gluing, as that would look much nicer, but I was going for speed with my heart pillow.

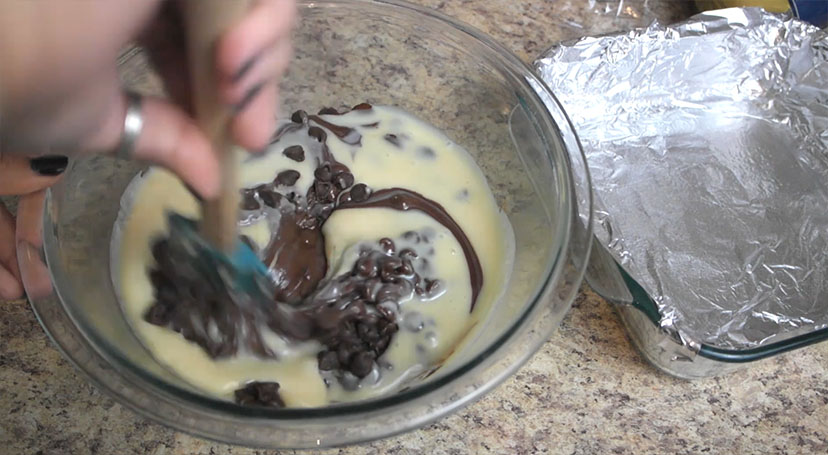
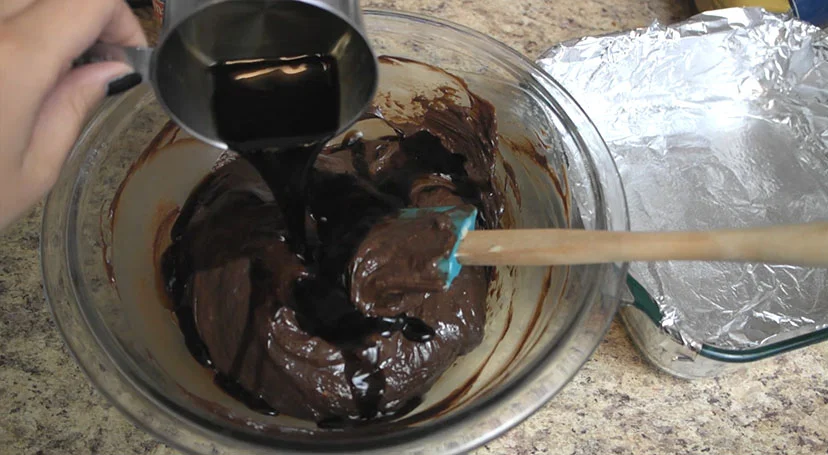
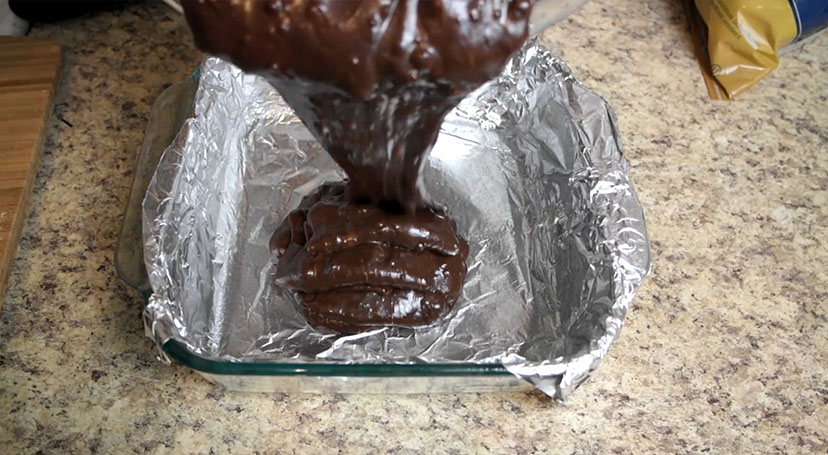
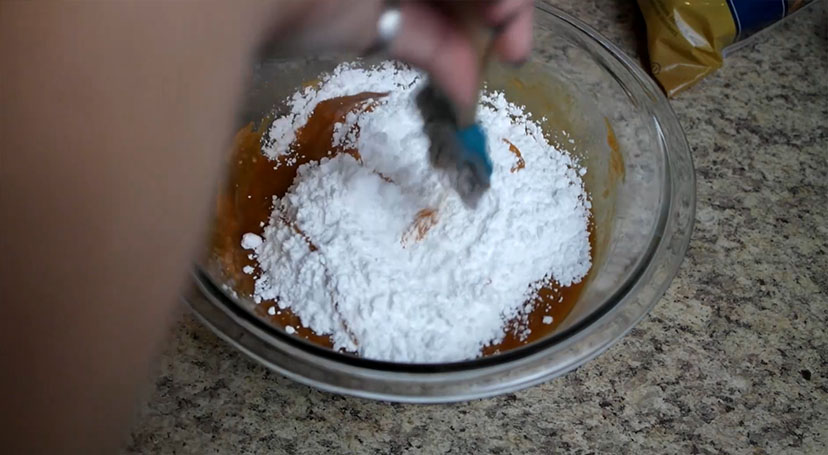
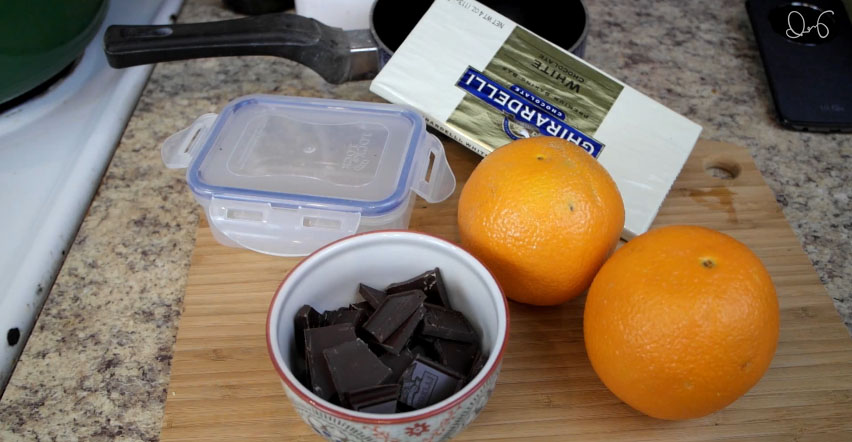
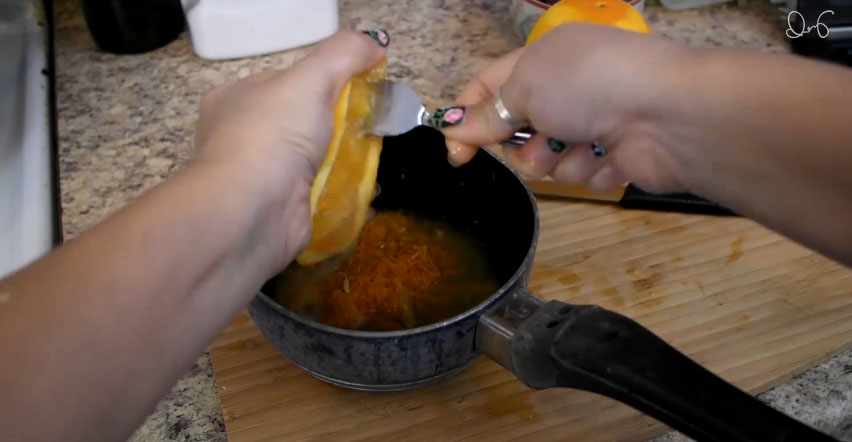
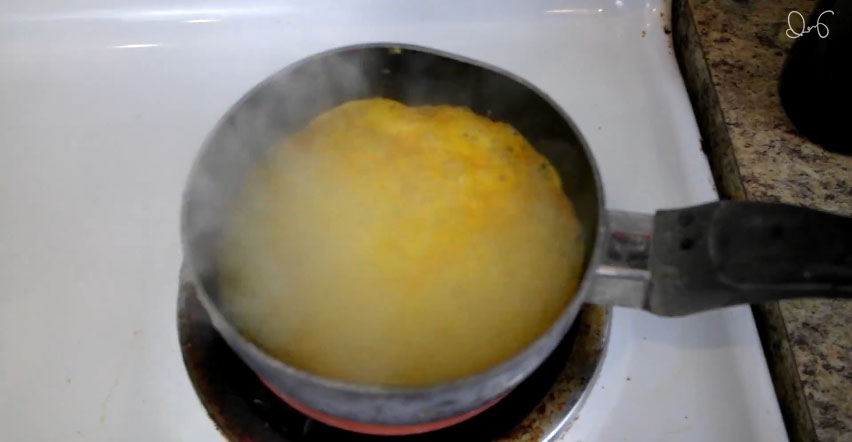
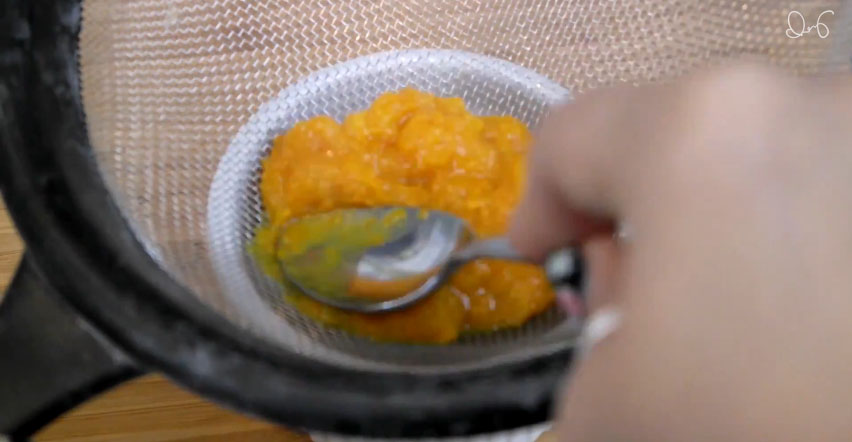
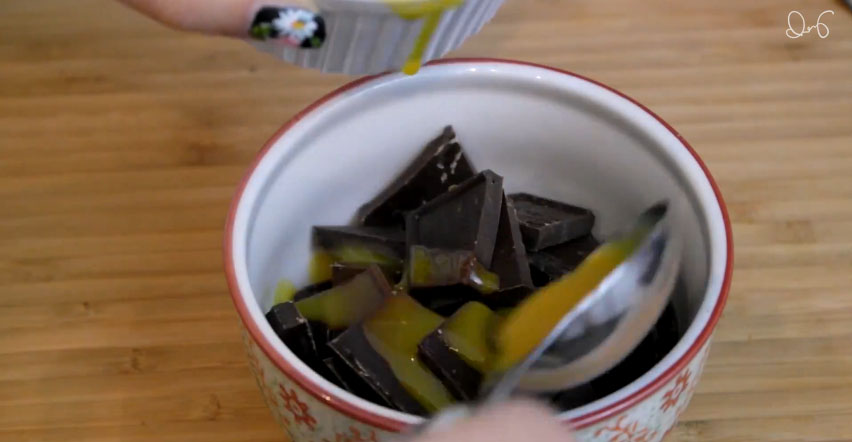
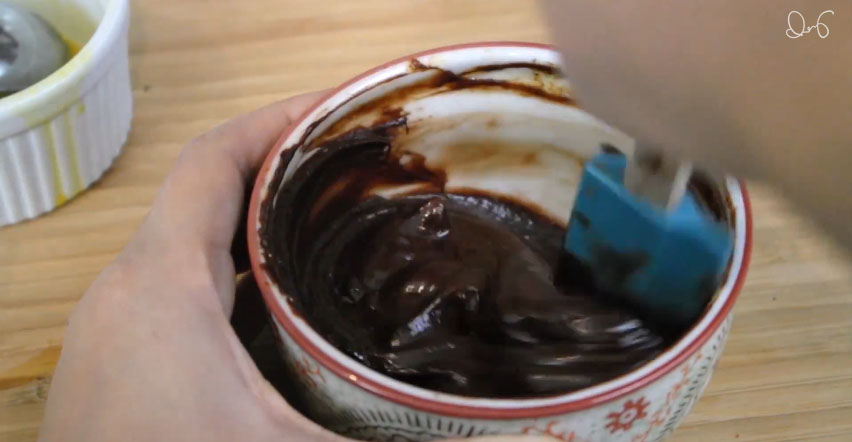
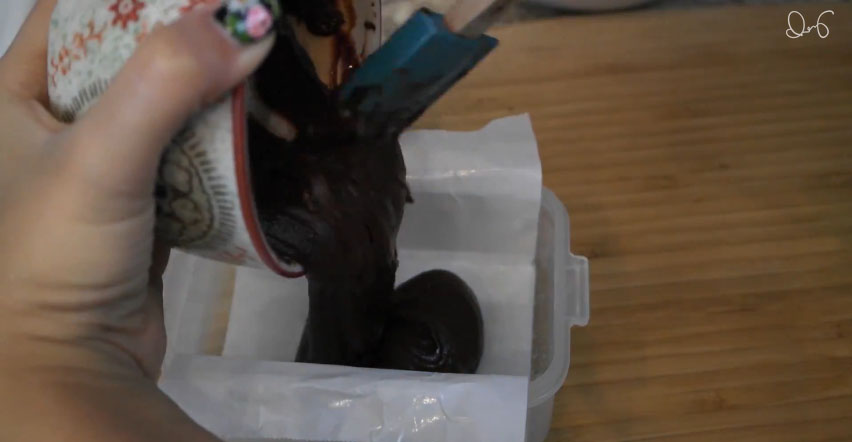
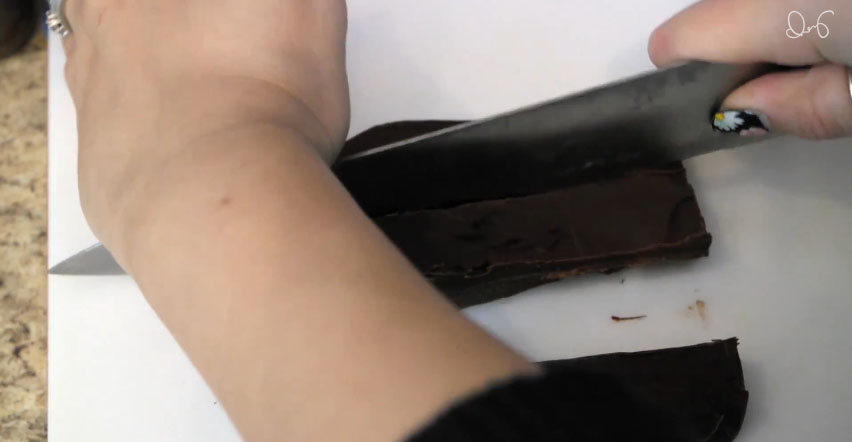
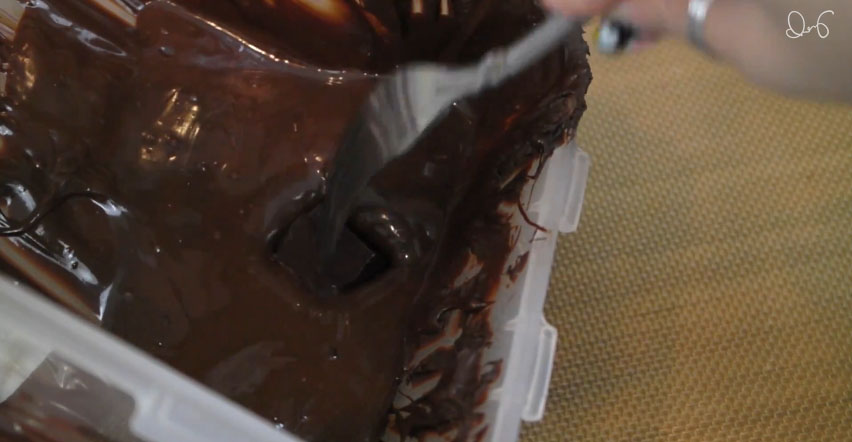
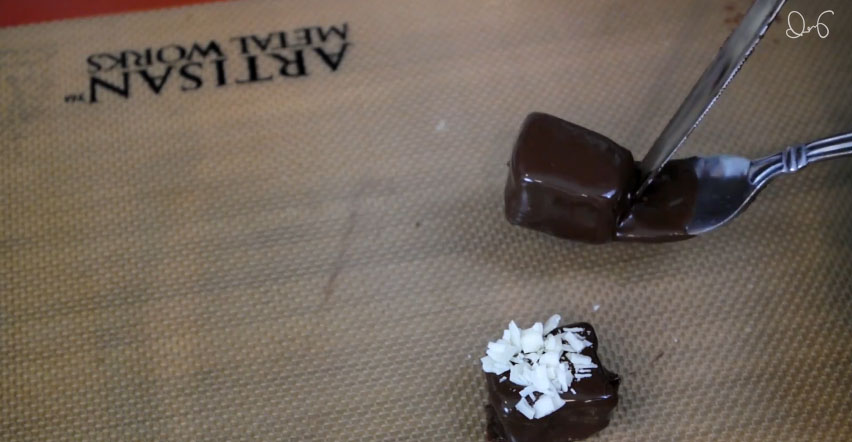
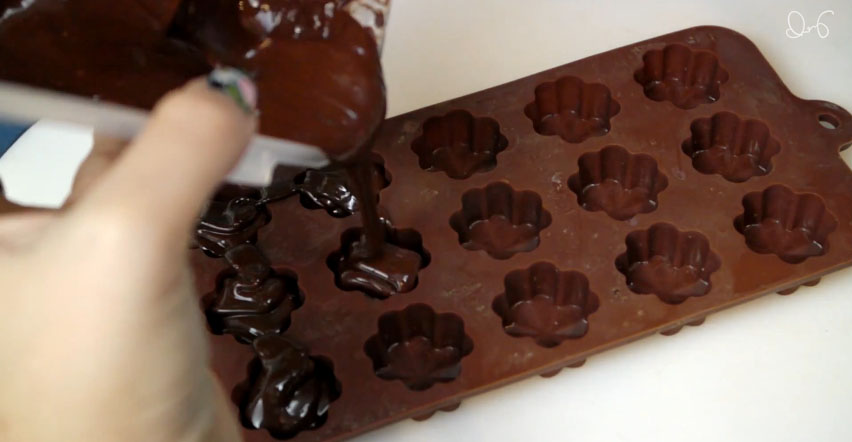
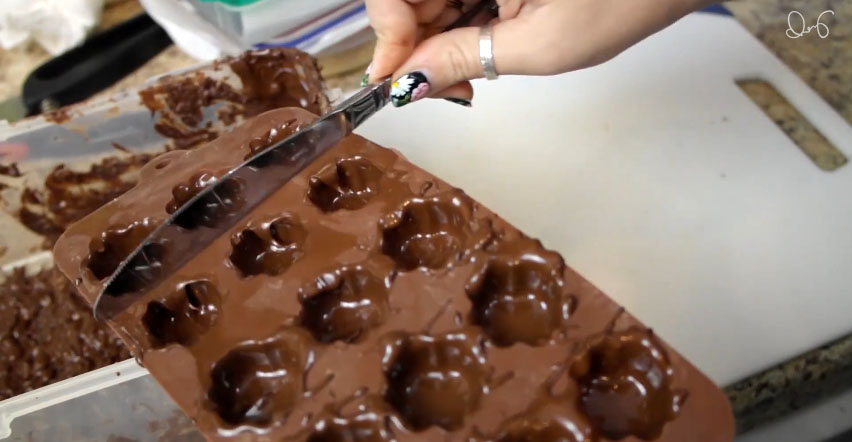
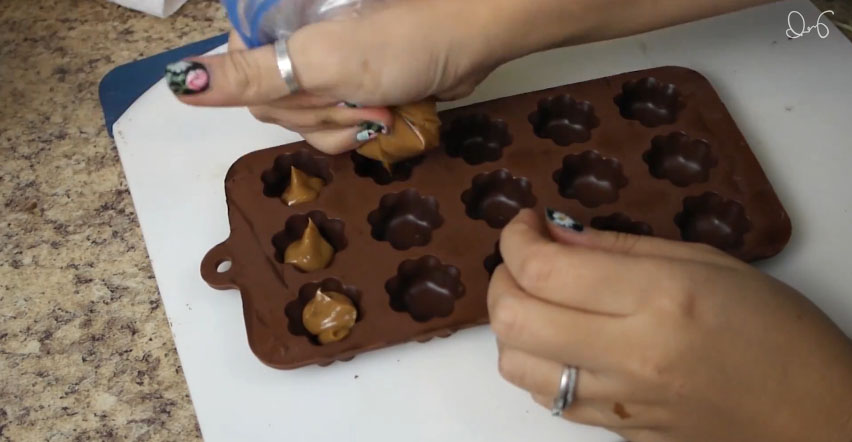
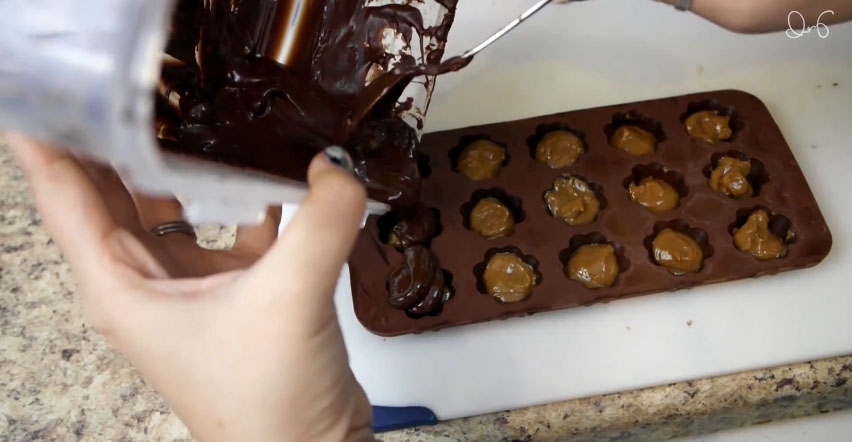
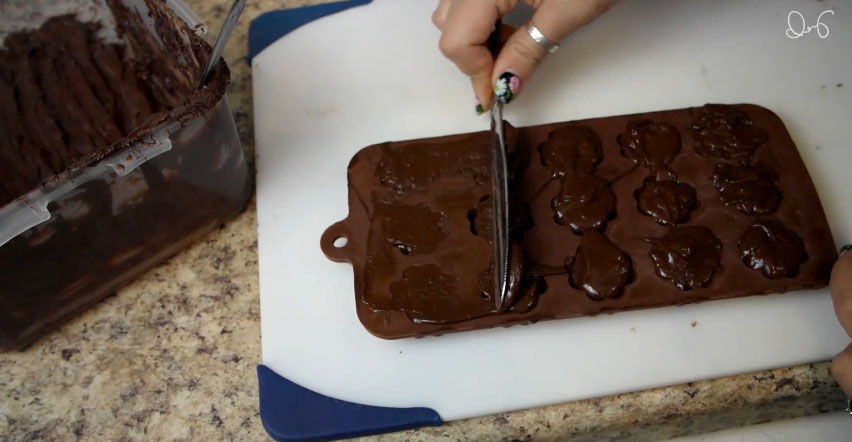
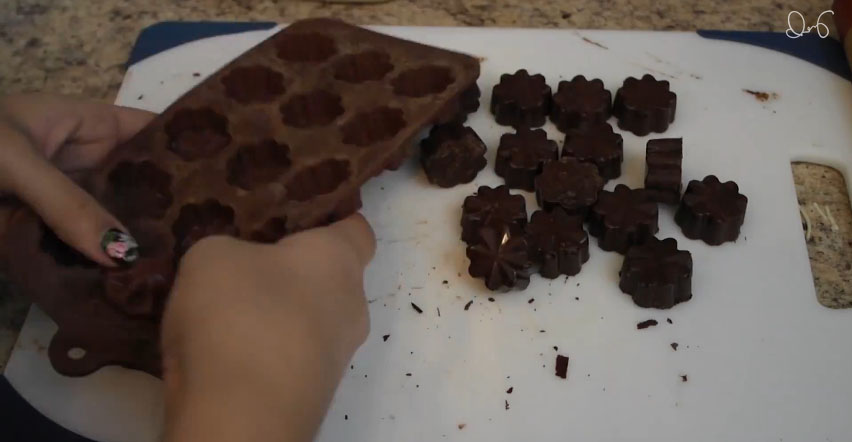
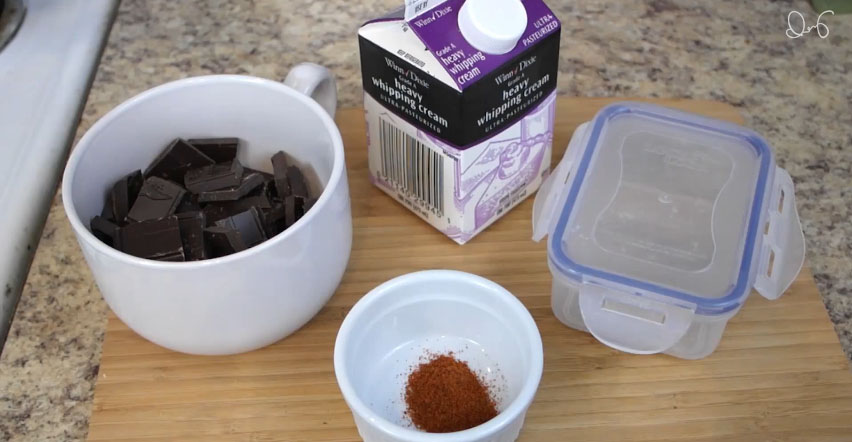
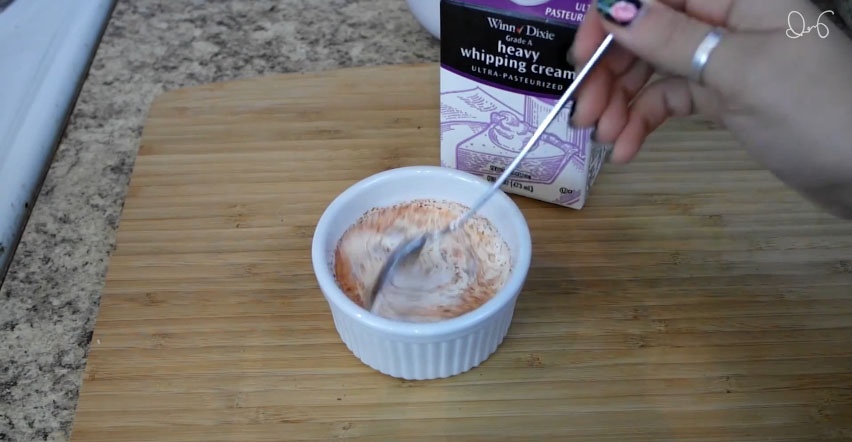
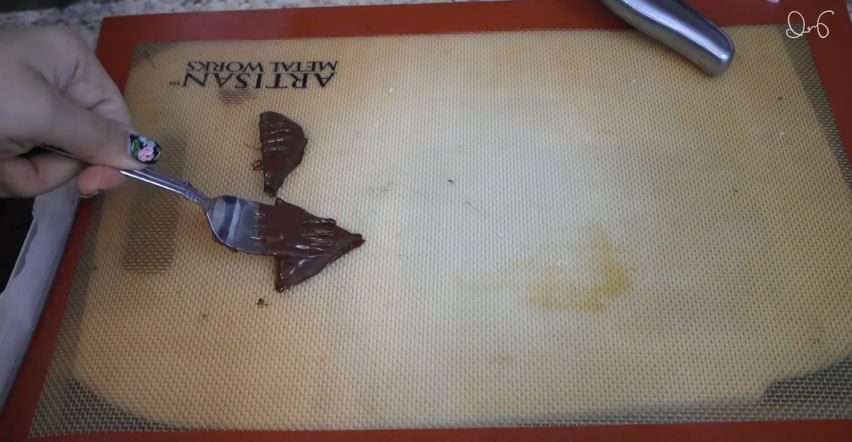
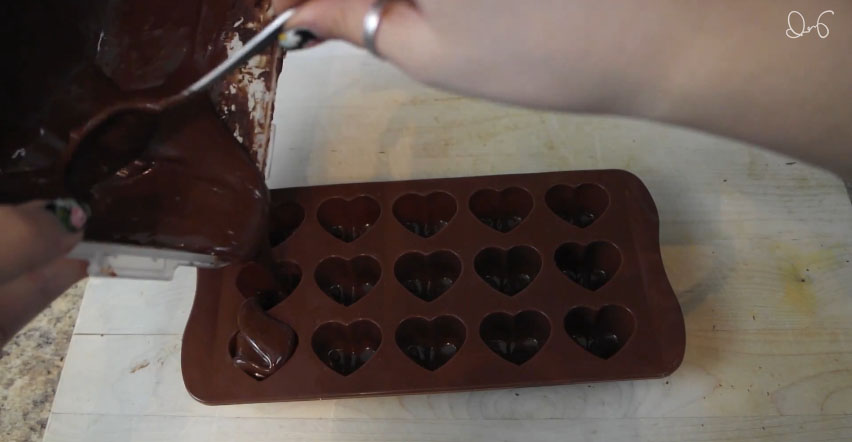
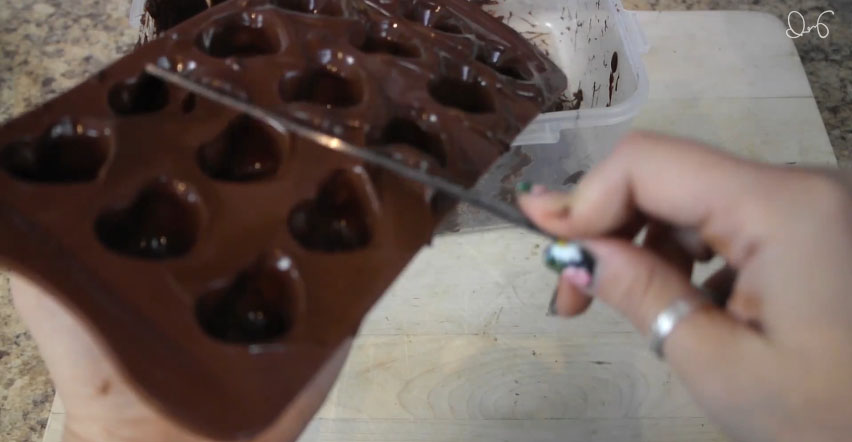
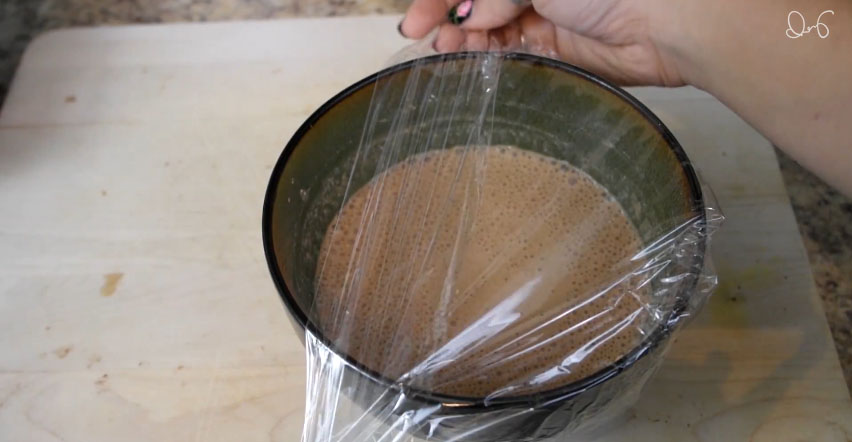
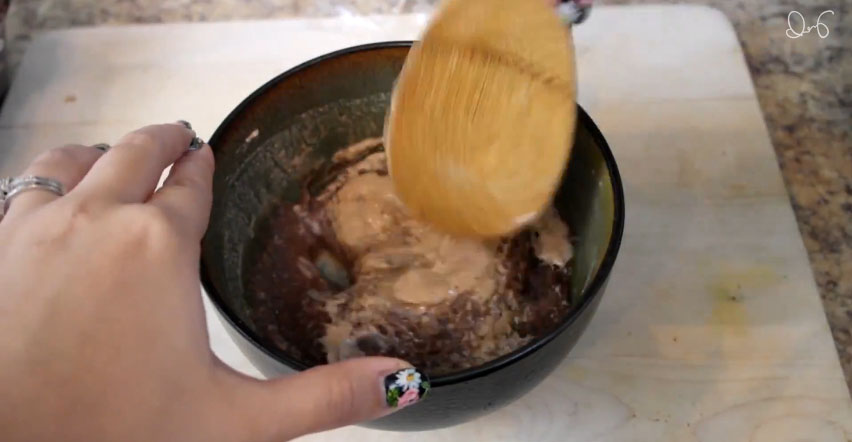
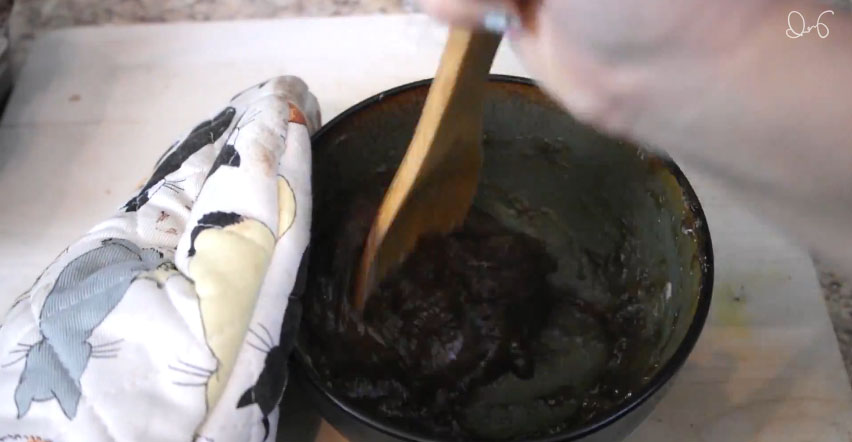
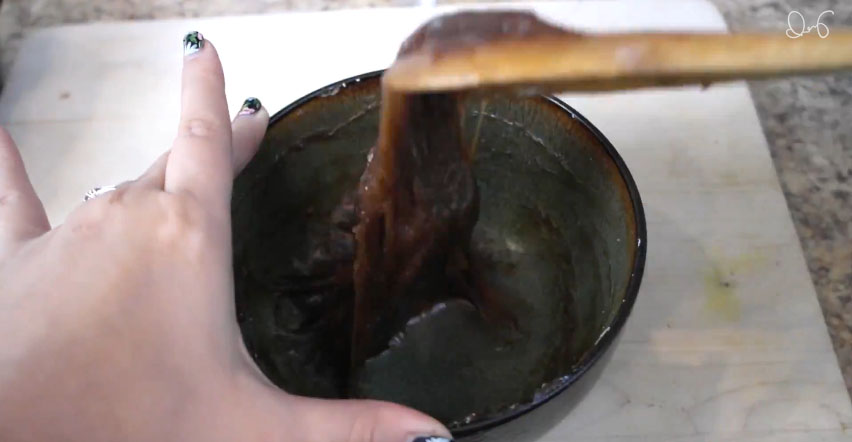
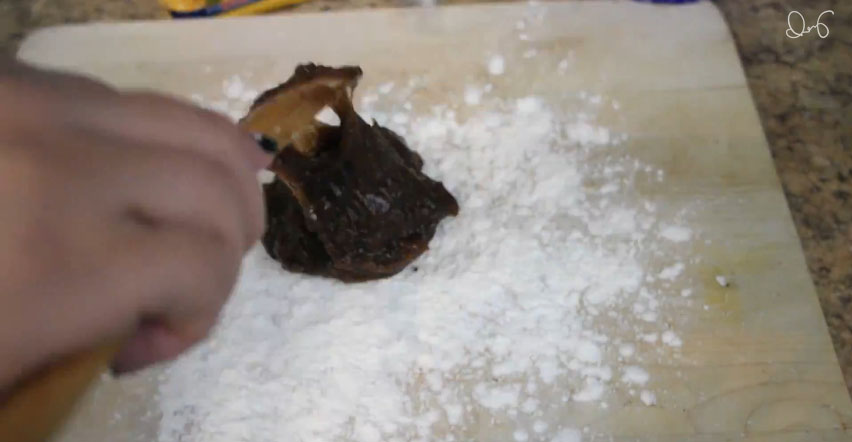
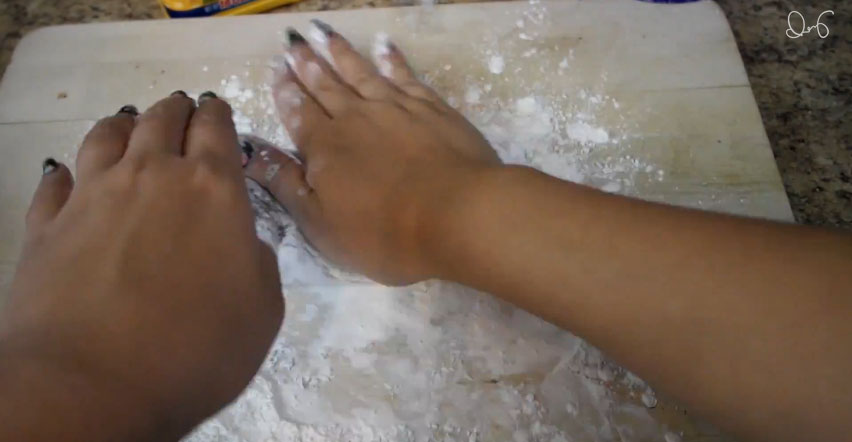
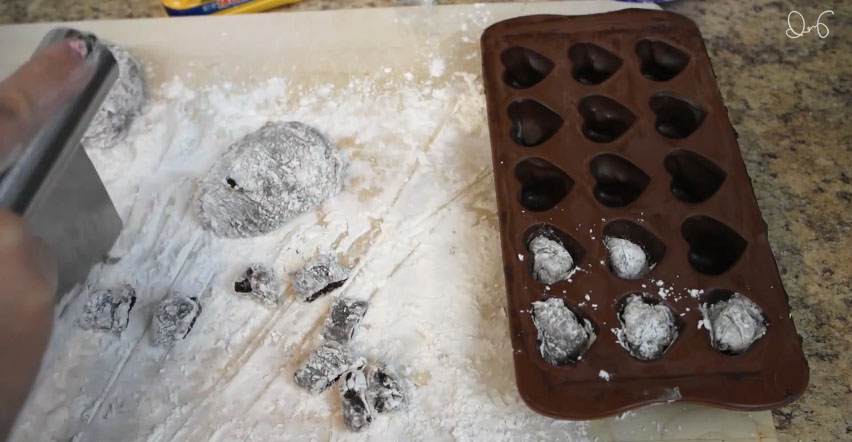
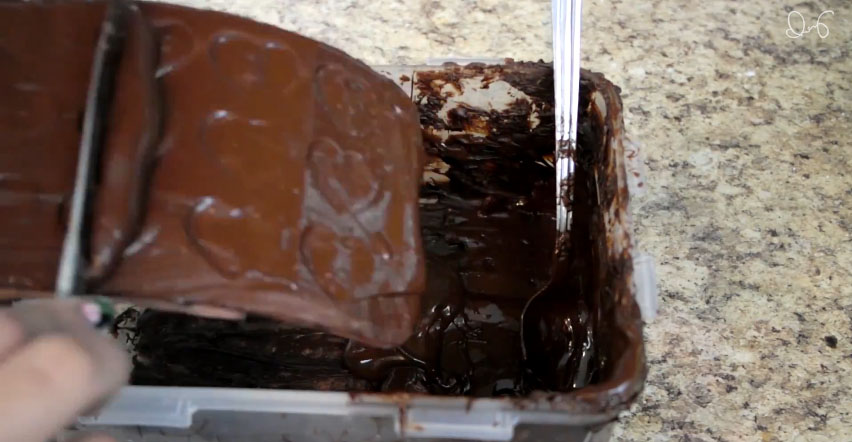
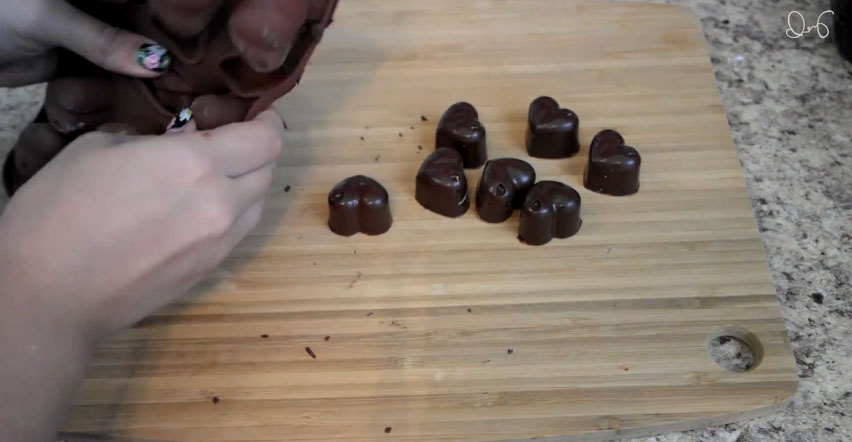
Again, if you want to see how to make those delicious chocolates then click here!

I hope you liked this weeks tutorial, stay tuned for more next Thursday!

Food, Tutorials

Valentine's Day Chocolates!

Valentine's day is coming up, and if you're like me, you'll want to hand make the gift for your Valentine. And if you really want to make them happy, you'll want to make them some edible gifts! Lucky for you I put together a video on how to make a few different chocolate candies for your special someone (or yourself)!

To learn how and why to temper chocolate, click here for a great tutorial.

orange ganache filledHover over or click on the images to see the instructions.

This recipe is actually from Ann Reardon from How to Cook That. I took some liberties with how I decorated them though.

dulce de lecheHover over or click on the images to see the instructions.

If you like the molds I used, here's an affiliate link so you can pick up some of your own!

chili ganacheHover over or click on the images to see the instructions.

mochi filledHover over or click on the images to see the instructions.

You can give them to your sweetie however you like, but personally I think they look pretty nice in a cute little heart box!

Mmm!

So cute!

If you want to learn how to make some of your own heart boxes then stay tuned, next week I'll be posting a tutorial on how to make some of your own!


Clothes, Tutorials

DIY Simple High Heel Shoe Repair

171.jpg

Look at this face. hobbes02

Meet Hobbes, the destroyer of shoes. Actually, I should give him a little credit because he has only ruined one pair of shoes, however they happened to be one of my most favorite pairs.Thankfully he didn't do too much damage to them, so instead of throwing them away I decided to try to fix them.

In this tutorial I'm basically just explaining what I did for this specific pair of shoes so hopefully this tutorial can be helpful if anyone else has similar damage to some shoes.

suppliesSupplies.02First, I had to finish what Hobbes started. I removed the rest of the material from the chewed up heel, and then removed the corresponding material on the other shoe.03I rolled the heel on the scrap leather to eyeball how much I'd need to cover it and cut the excess off.04In small sections I glued the scrap leather on the heel and kept it taut as I worked my way up.05 06 07When I got up to the top of the heel and underside of the shoe I cut a notch into the leather so I could stretch it to wrap around the heel.08I applied the glue and then laid down one side of the leather.09Then, using the grove in the middle of the heel, cut the excess off with an xacto knife. 10And then I repeated for the other side.11He popped off the heel tip while he was enjoying my shoe as a chew toy, but thankfully there was almost no damage to it, so I just folded over the extra leather, applied glue and stuck the heel tip back on. Then I applied a good bit of pressure for a few minutes while the glue cured.12On the other side, since I wanted them to look the same, I had to pop off the heel tip and then I repeated the last few steps to glue it back on with the scrap leather sandwiched in between.13He made sure to damage just enough of the back of the shoe to where I felt like it needed to be covered as well, so I did that and added a little design element where the leather folded down towards the outside of the shoe. 14Then I cut the excess off, forming a little cap on the back.15I did it a bit messy though and the edge looked really rough, so I ended up cutting a thin strip of leather to cover that ragged edge.16And I repeated on all the edges, to make everything cohesive.17And here they are, complete!

I'm pretty happy with how they turned out. What do you all think?

Art, For the Home, Tutorials

DIY Paper-cut Light Box

I recently saw some awesome artwork by these artists Hari and Deepti and I was very inspired to create some of my own. I threw together three tutorials; one is advanced, one is intermediate and one is easy. Check out the video below, or continue on after the "read more" tag, to figure out how to make your own!

A quick note about the lights I used in these light boxes. These things are great; you can cut them to size and they're self adhesive. Perfect for any project requiring a little bit of lighting. If you want to buy some for your own projects here are some affiliate links for the lights, extra connector things and power cords. If you don't feel like buying these things you can probably just use some Christmas lights, but the downside to those is that you'd only have a tiny bit of the lights inside the box, and then you'd have a long tail of lights hanging out of it. Unless you build a big box to accommodate a whole string of lights. Which would be awesome.

Advanced:

Advanced!


Mouse over or click on the images for instructions:

Intermediate:

Intermediate!


Click here to download the template for this one.

Mouse over or click on the images for instructions:

Easy:

Easy

Mouse over or click on the images for instructions:

Finished!

So there we go! Three different light boxes, three different levels of difficulty. I hope you all enjoyed these things, I'm pretty happy with how they turned out, and I'm already planning a few more to make!

For the Home, Tutorials

DIY Noren Curtains

14.jpg

I live in a shotgun style home, where we have no hallways and it's  basically just series of rooms, back to back. Some shotgun homes have doors to separate the rooms, but some, like mine, only have doorways. No doors. I've grown accustomed to the openness of being able to see basically all of the rooms if you look through a doorway, but I did also somewhat miss having a bit of separation between each room. My solution to this was to whip up a few sheer noren curtains. So of course, I'm going to be sharing with you this easy sewing project!

suppliesSupplies

01First, you'll need to measure the width of your door and then how long you want the curtains to fall.

002Divide the width by half. Add 1/2 of an inch to each side. Add 4 inches on top and 2 inches on bottom. Cut out these two measurements from your fabric.

03Put the fabric together, right sides together, mark down 8 inches, 1/2 of an inch in. (Note: My measurements are twice as big because after cutting the fabric, I realized I didn't have to finish the outer edges of the curtains because they were the selvage edges. So instead of trimming 1 inch off every piece of fabric (I made 3 all together) I just made the seams twice as large on the inside.

Sew along the line and then fold open.

04Fold 1/4 of an inch and iron that down. Then fold another 1/4 of an inch, iron again and pin. I skipped all of the ironing parts on the first one I  made, which was a huge mistake. For the other two I ironed after each fold and it made the job so much easier. So do as I say, not as I do.

05Sew the seam down along the edge. This will encase the raw edge of the fabric in the seam, making them look nice and neat! Repeat this process on the outer edges of the curtain. Fold 1/4 inch, iron, fold 1/4 inch, iron, pin, sew.

06For the top, fold down 1/4 inch, iron, fold down 2 inches, iron, pin, sew.

07For the bottom, fold down 1/4 inch, iron, fold down 1 inch, iron, pin, sew. Repeat on the other flap.

And you're done!

08Now from here you can either leave them plain or you can decorate! I was already thinking about decorating them, but after I put up this plain one to see how it looked, I decided I was definitely going to decorate them. They just didn't do it for me in their plain state. It probably didn't help that this particular curtain looks horrible because the tension of my sewing machine was off so it puckered the seams really bad.

But anyway, to decoration!

09For this one I drew an ensō circle. It's supposed to "express a moment when the mind is free to let the body create." I thought it would be perfect to put up in one of the doorways to our office/studio/wood shop. 10For this one I just painted some pretty standard bamboo.

11

And for this one I painted the whole curtain, sans a circle in the middle, with a dark greyish blue. After that dried I painted the circle with liquid gold leaf.

And here they are all hung up! 12 13 14

I hope you all enjoyed this project! I'm glad I didn't give up after I hung that first plain one. I almost did. But I think they look so much better after painting on them.

What do you all think?

For the Home, Other, Tutorials

DIY Faux Deer Head

091.jpg

First off I gotta say... Happy New Years! Welcome to 2015! Alright, back to this weeks project. I've always wanted to put up a faux mounted animal head in our house, but I could never find something that would work/was in the price range I wanted. I ended up giving up on finding the faux animal head and I made the flower curtain to go in that spot in my living room.

Well, of course not soon after I ended up finding the perfect head. Or almost perfect. Workable. I found a paper mache deer bust and it was on sale, yes! One of the antlers was broken off, but it was a super easy fix and they gave me an additional discount because it was the last one that they had. Double yes! I came home and got to work, and now I'm going to show you how to make your own!

suppliesSupplies.

01This step is completely optional. I wanted the head to have a bit more detailed, so I used some two part epoxy clay to sculpt in more detail. I also fixed the antler by popping it back in and then hot gluing it in place.

02Here it is all done being sculpted on! Looks pretty crazy right now, but it will make sense after painting.

03While I waited for the clay to cure, I added the hanging hardware. Just find the center of the wooden plaque and attach it there.

04Paint time! Paint the plaque and the animal head. I used white gesso because it has a matte finish which is what I wanted for this guy. I'm also going to use liquid gold leaf for an accent color.

05Once dry, mark out where you want the accent color to go. I did mine about halfway down the antlers.

06Paint time again! After I painted this part, I went back and added a few drip details.

07Use hot glue to attach it to the wooden plaque.

08Since the deer head was paper mache, it wasn't perfectly flat on the bottom, so when I attached it to the plaque there was a huge gap in some parts. If you have this problem, you can simply squeeze in some hot glue and then paint over it with your main color and that will hide the gap!

And then you're ready to hang!

09

Here it is in all it's glory. I took the flower curtain down and put this guy up in its place. I like it so much better than the curtain! What do you guys think? Let me know down below!

Alright, so now it's time for the giveaway winner! Congratulations blog reader Nicole!

Screenshot 2014-12-31 12.42.45

I will be sending you an email today! Make sure you reply as soon as you can because if you don't get back to me within 48 hours I'll unfortunately have to redraw a different winner.