

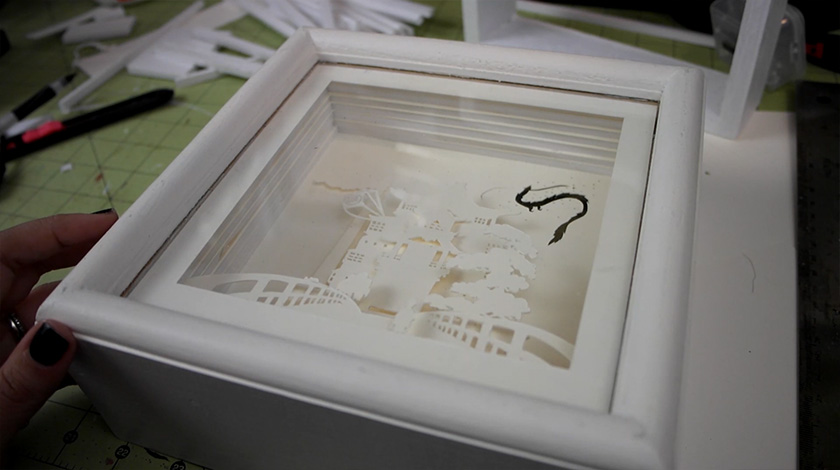
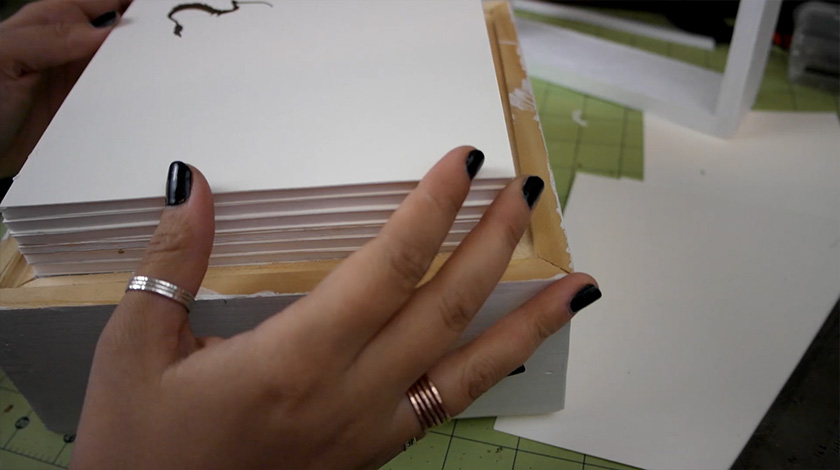
I recently saw some awesome artwork by these artists Hari and Deepti and I was very inspired to create some of my own. I threw together three tutorials; one is advanced, one is intermediate and one is easy. Check out the video below, or continue on after the "read more" tag, to figure out how to make your own!
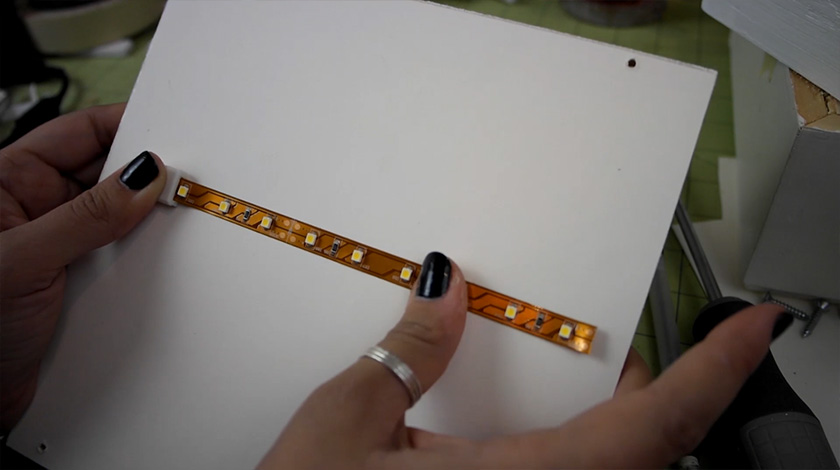
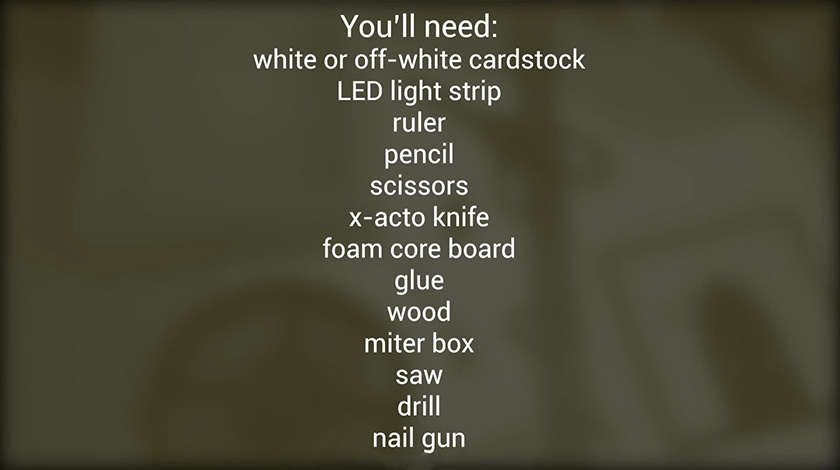
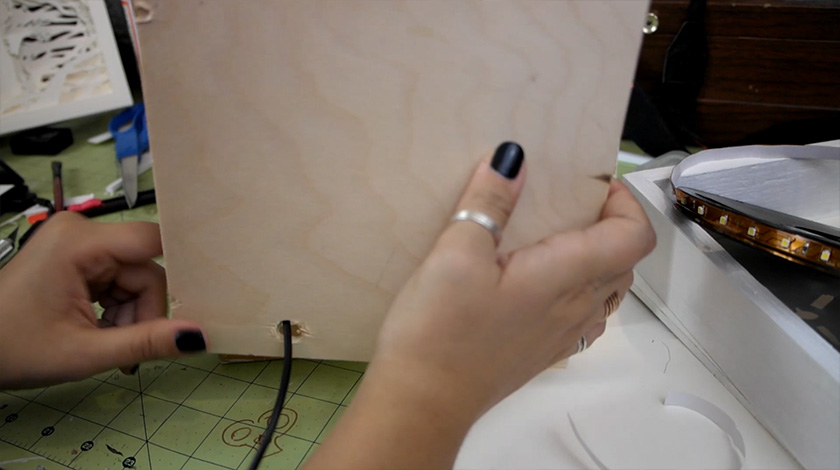
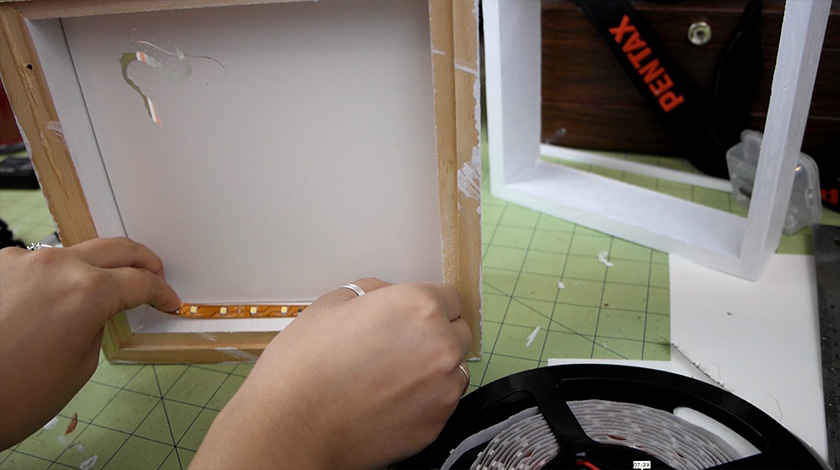
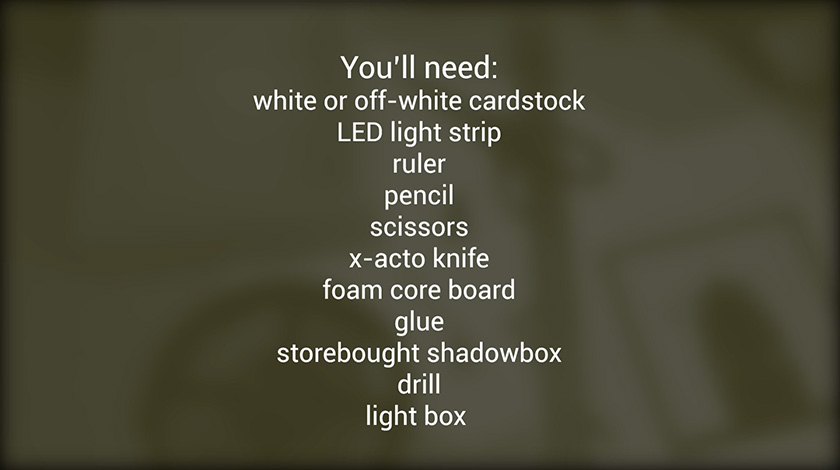
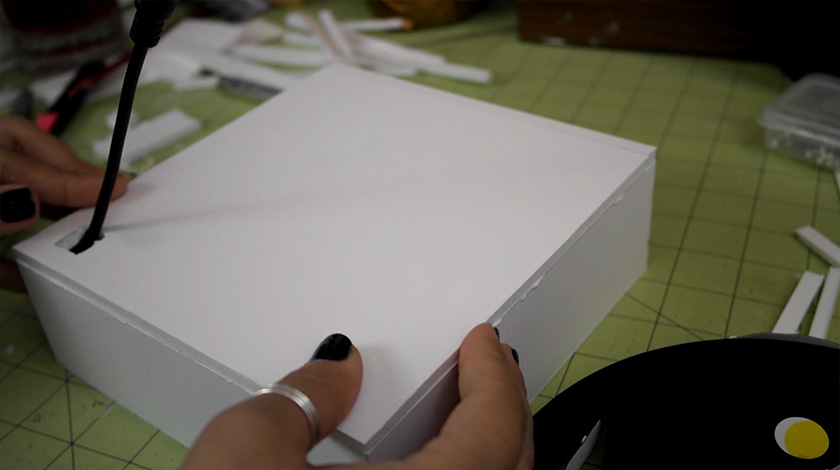
A quick note about the lights I used in these light boxes. These things are great; you can cut them to size and they're self adhesive. Perfect for any project requiring a little bit of lighting. If you want to buy some for your own projects here are some affiliate links for the lights, extra connector things and power cords. If you don't feel like buying these things you can probably just use some Christmas lights, but the downside to those is that you'd only have a tiny bit of the lights inside the box, and then you'd have a long tail of lights hanging out of it. Unless you build a big box to accommodate a whole string of lights. Which would be awesome.
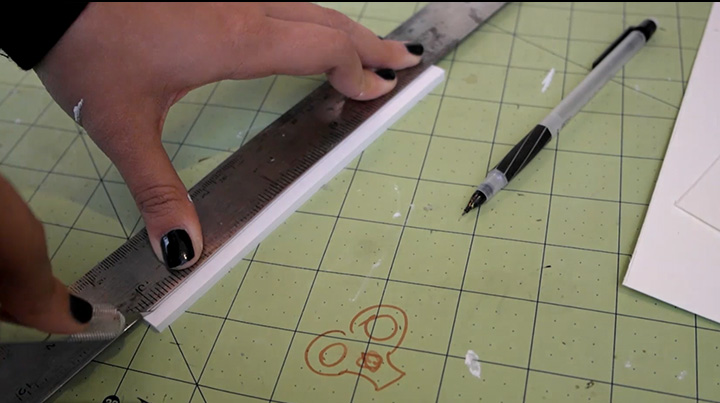
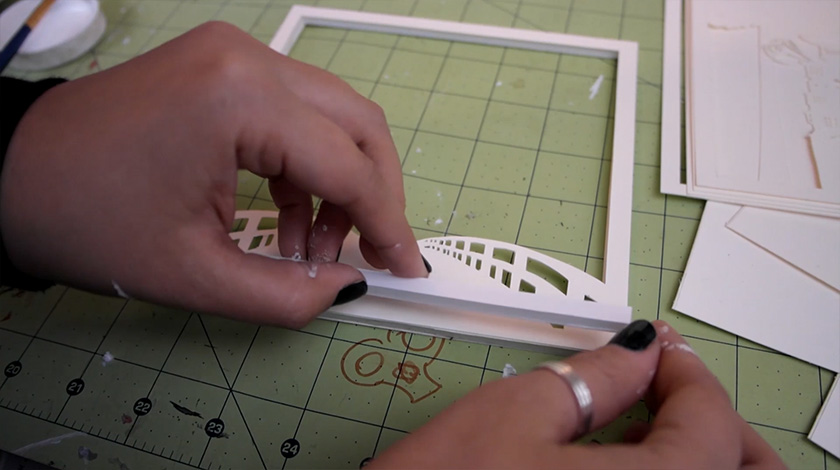
Advanced:

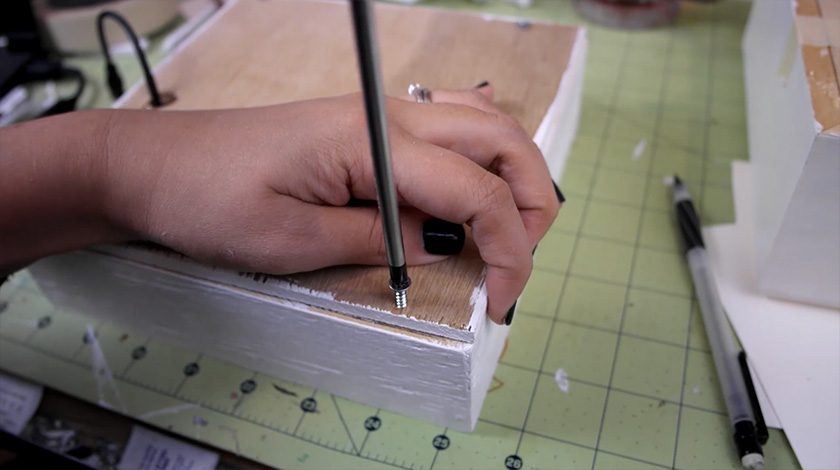
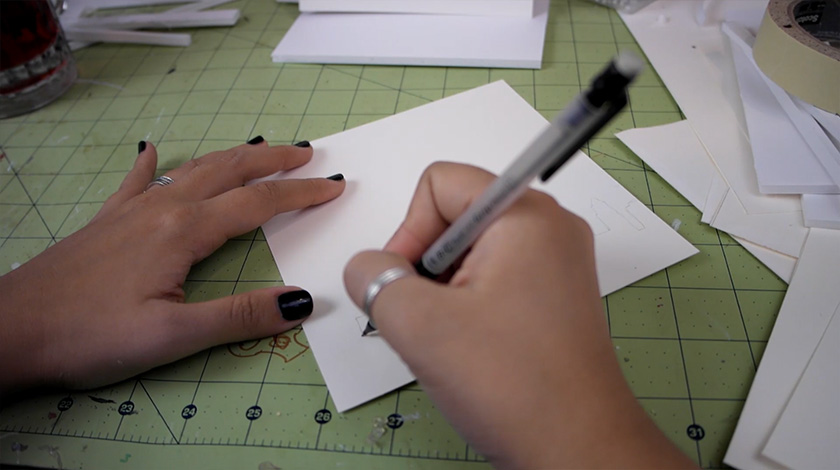
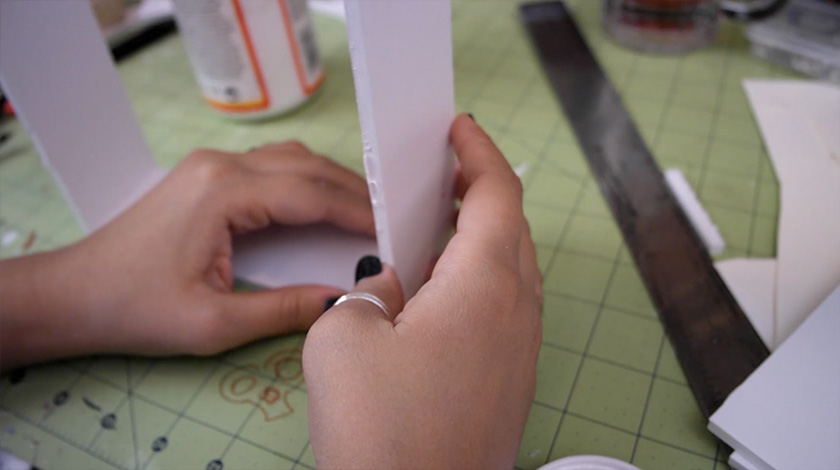
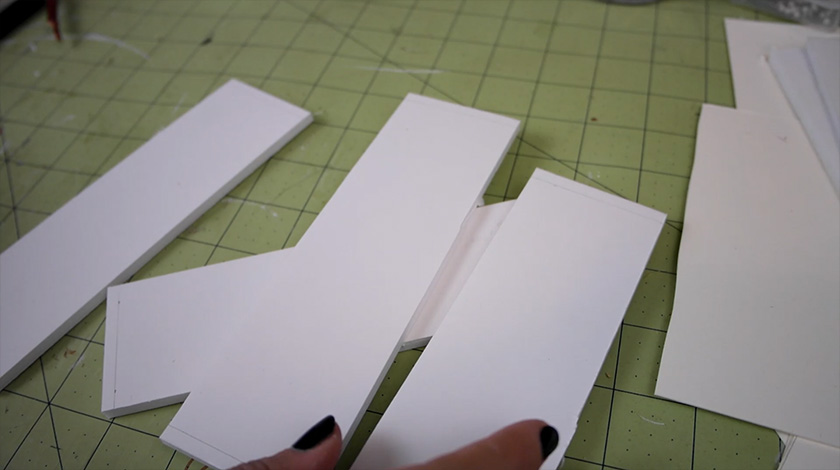
Mouse over or click on the images for instructions:

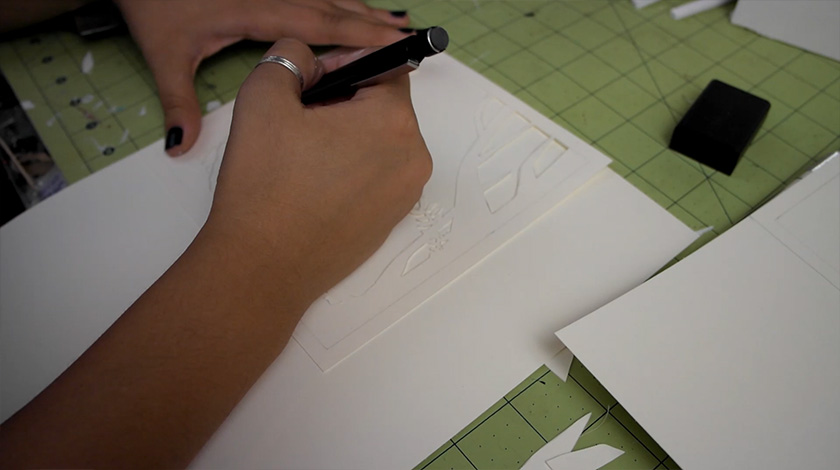
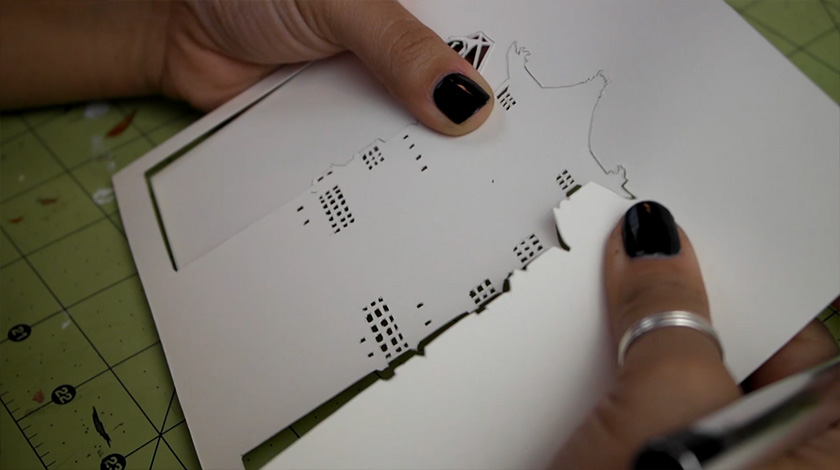
Intermediate:

Click here to download the template for this one.
Mouse over or click on the images for instructions:
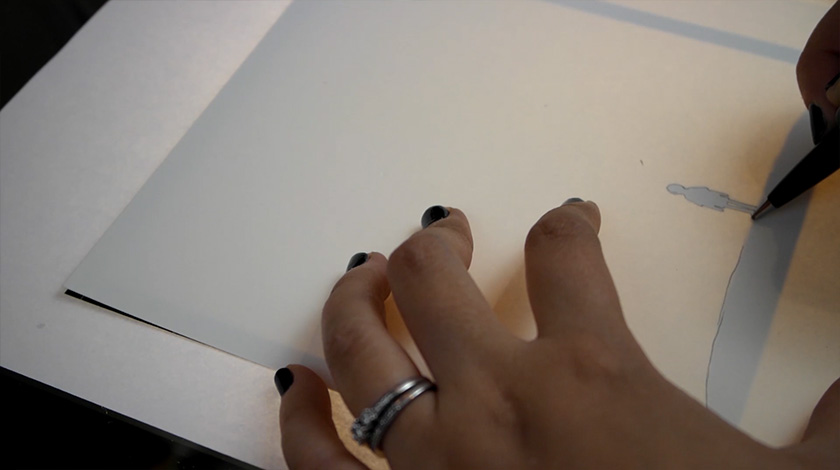

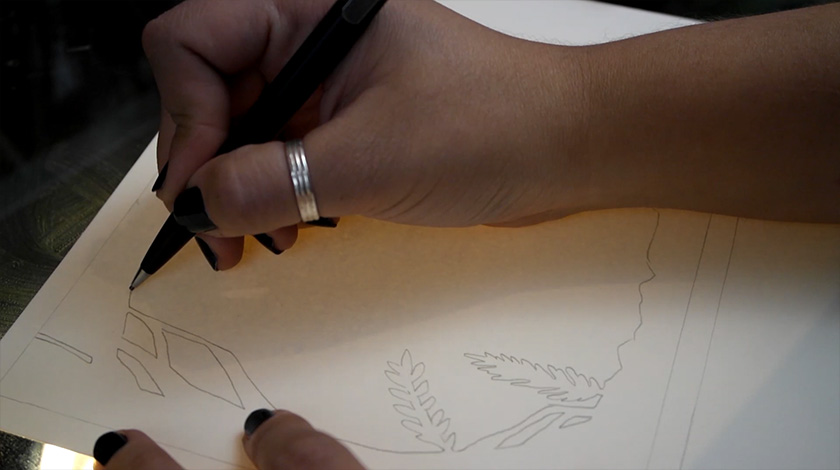
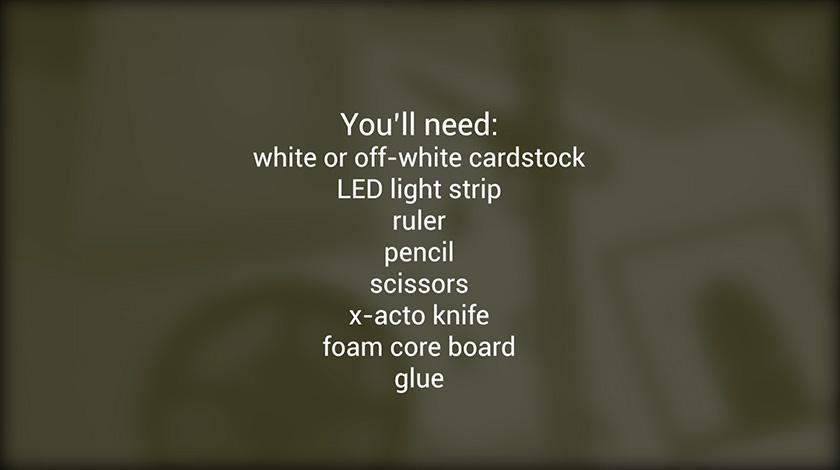
Easy:

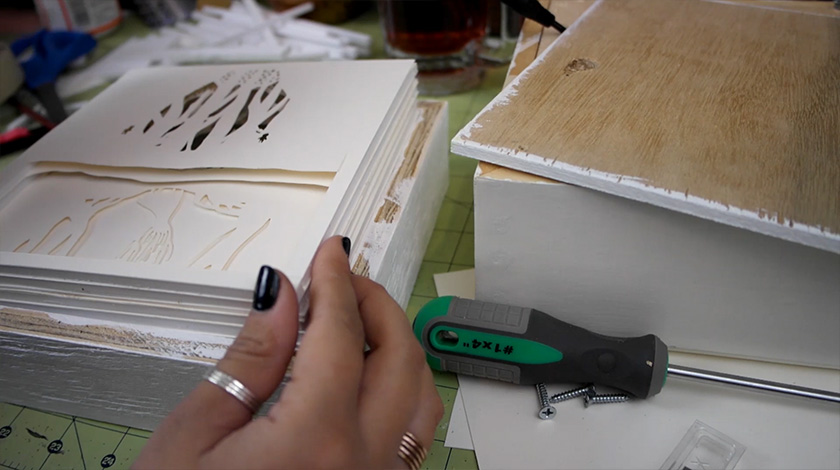
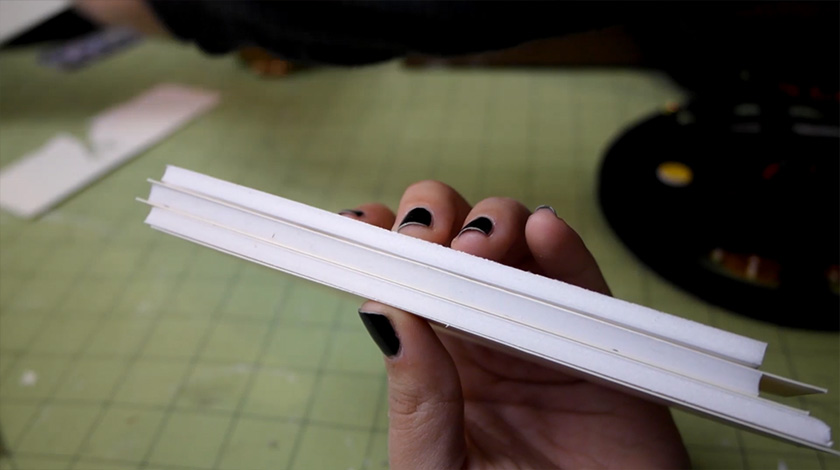
Mouse over or click on the images for instructions:


So there we go! Three different light boxes, three different levels of difficulty. I hope you all enjoyed these things, I'm pretty happy with how they turned out, and I'm already planning a few more to make!