Art

Art, Misc-, Tutorials

DIY: Travel Watercolor Kit

The weather is getting nice so it's perfect for taking a trip to the park to hang out and paint a little bit. This week I'll show you how easily to put together your own travel sized watercolor (or gouache) kit that you can just throw in your pocket, purse, bag, etc. and be on your way! supplies

Remove the makeup.

Clean the makeup pallet with warm soapy water.

Close the pallet and spray the outside with white spray paint. Nail polish can work if you're in a pinch, or if it's raining outside and you're too impatient to wait until the next day (like me).

Set aside to dry. If your case comes apart, like mine does, you can remove the top while you fill the inside.

Fill each pot with a different color. Since this was a pretty basic pallet and there were only four pots, I did the primary colors along with panes grey. Let dry.

Snap the lid back on and you're done! Since you painted the lid white, it acts as a nice area where you can mix colors.

Here's the first ever kit I made. Obviously it's had some use. It had way more pots so I got to add a lot more colors.

In addition to my small portable kits, I also have these aqua brushes that have a water reservoir that are super convenient for on-the-go painting.  You don't need to carry an extra cup for the waste water, you just need an extra bottle of water to refill the reservoirs every once in a while.

Click here for an affiliate link for the aqua brushes.

I hope you like this weeks project! Now get out there and paint! :)

Art, Misc-, Tutorials

DIY: Paper Clay

fi2.jpg

When I made the post about how to make a paper mache deer head from scratch, I mentioned an optional ingredient: air drying paper clay. I used a homemade version, and I ended up liking it so much that I decided I'd share with you all how to make your own! I got the recipe from ultimatepapermache.com. That website is a great resource for almost anything paper mache, so if you're interested in anything like that, definitely go check it out, it's great.

Here's what you'll need for the paper clay.

To be more precise, you can measure out the dry toilet paper first. Toilet paper comes in different thicknesses, so for some brands it might take up the whole roll, but with the kind I have it was about 2/3rds of a roll.

Soak the toilet paper in warm water for a few minutes until it breaks apart.

Strain the toilet paper pulp and squeeze out the excess until it weighs 110 grams.

Break up the paper into your mixing bowl and then unceremoniously dump everything else in and mix together. I used a whisk attachment and then halfway through I switched to a dough hook.  Also, you should use a mixing bowl/attachments dedicated towards craft things. No food allowed!

Dump the clay out into a surface dusted with corn flour and knead it for a few minutes.

Here it is, finished!

Store it in an airtight container. I wrapped mine in saran wrap and then put it in a zip lock bag.

This clay is pretty great, I really like working with it. It dries extremely strong, even when it's pretty thin. It takes fine detail and you can sand it after its dry. Also, since I used baby oil it smells kind of nice too.


Art

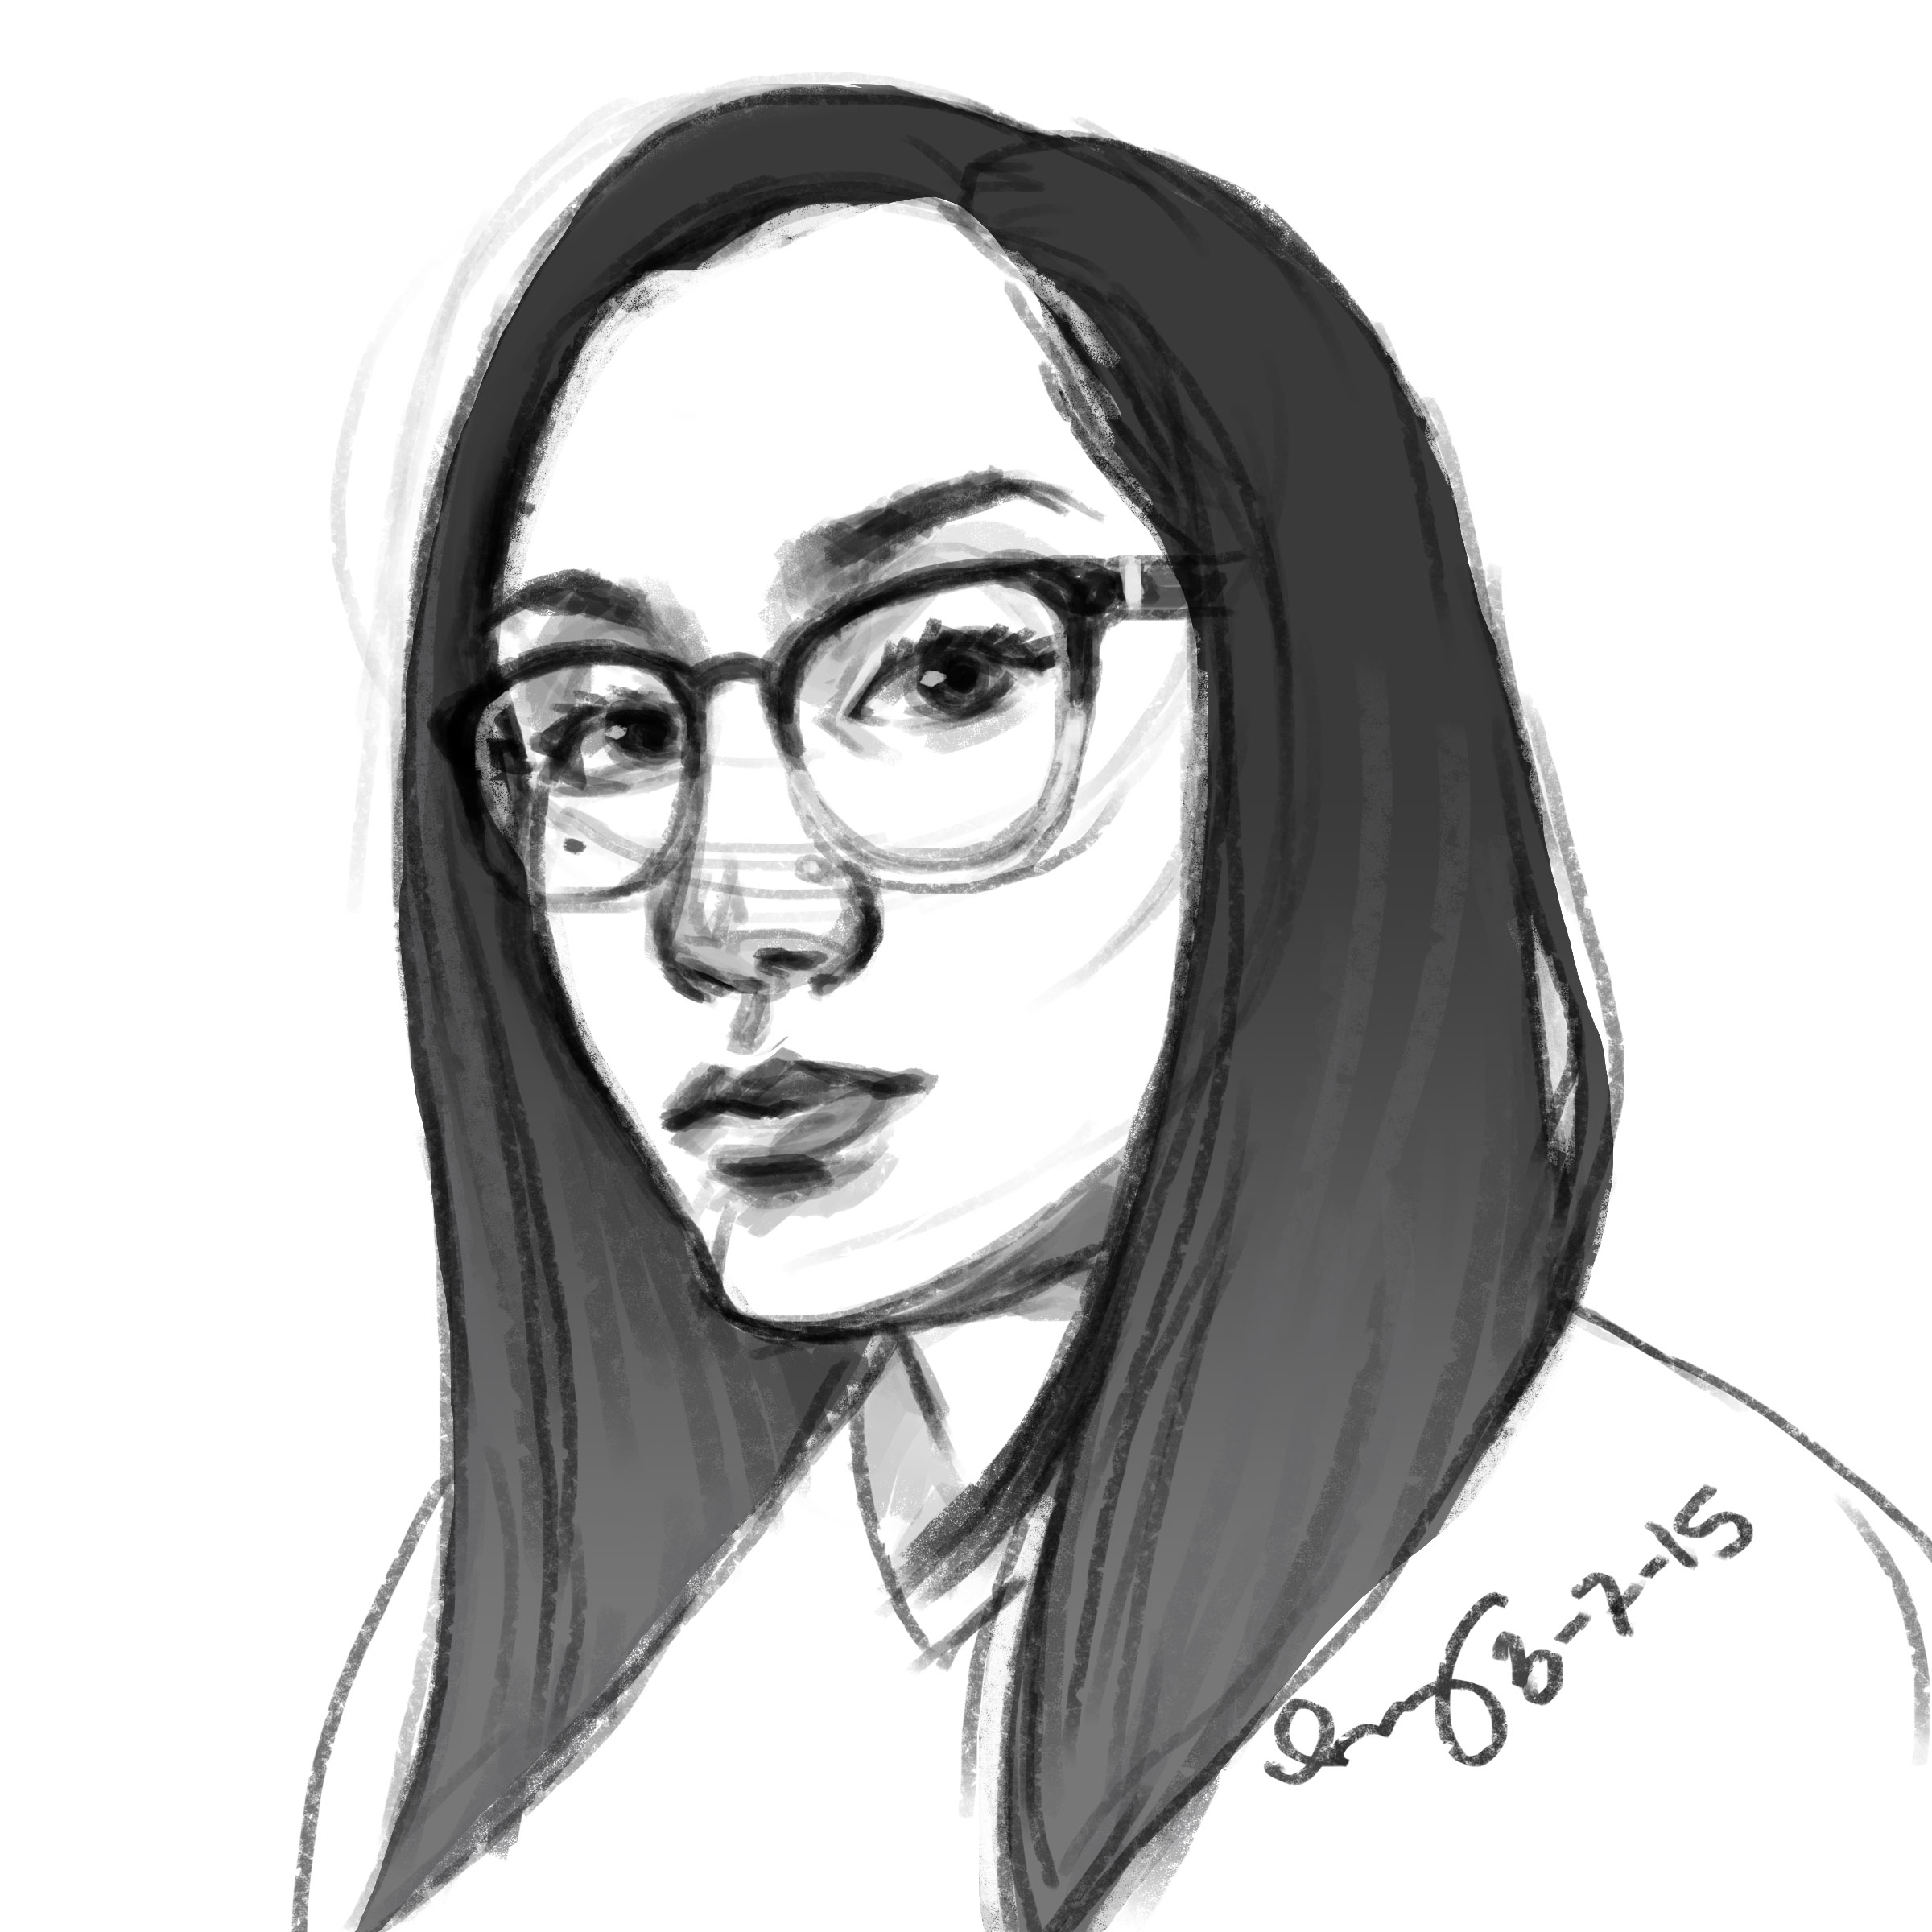
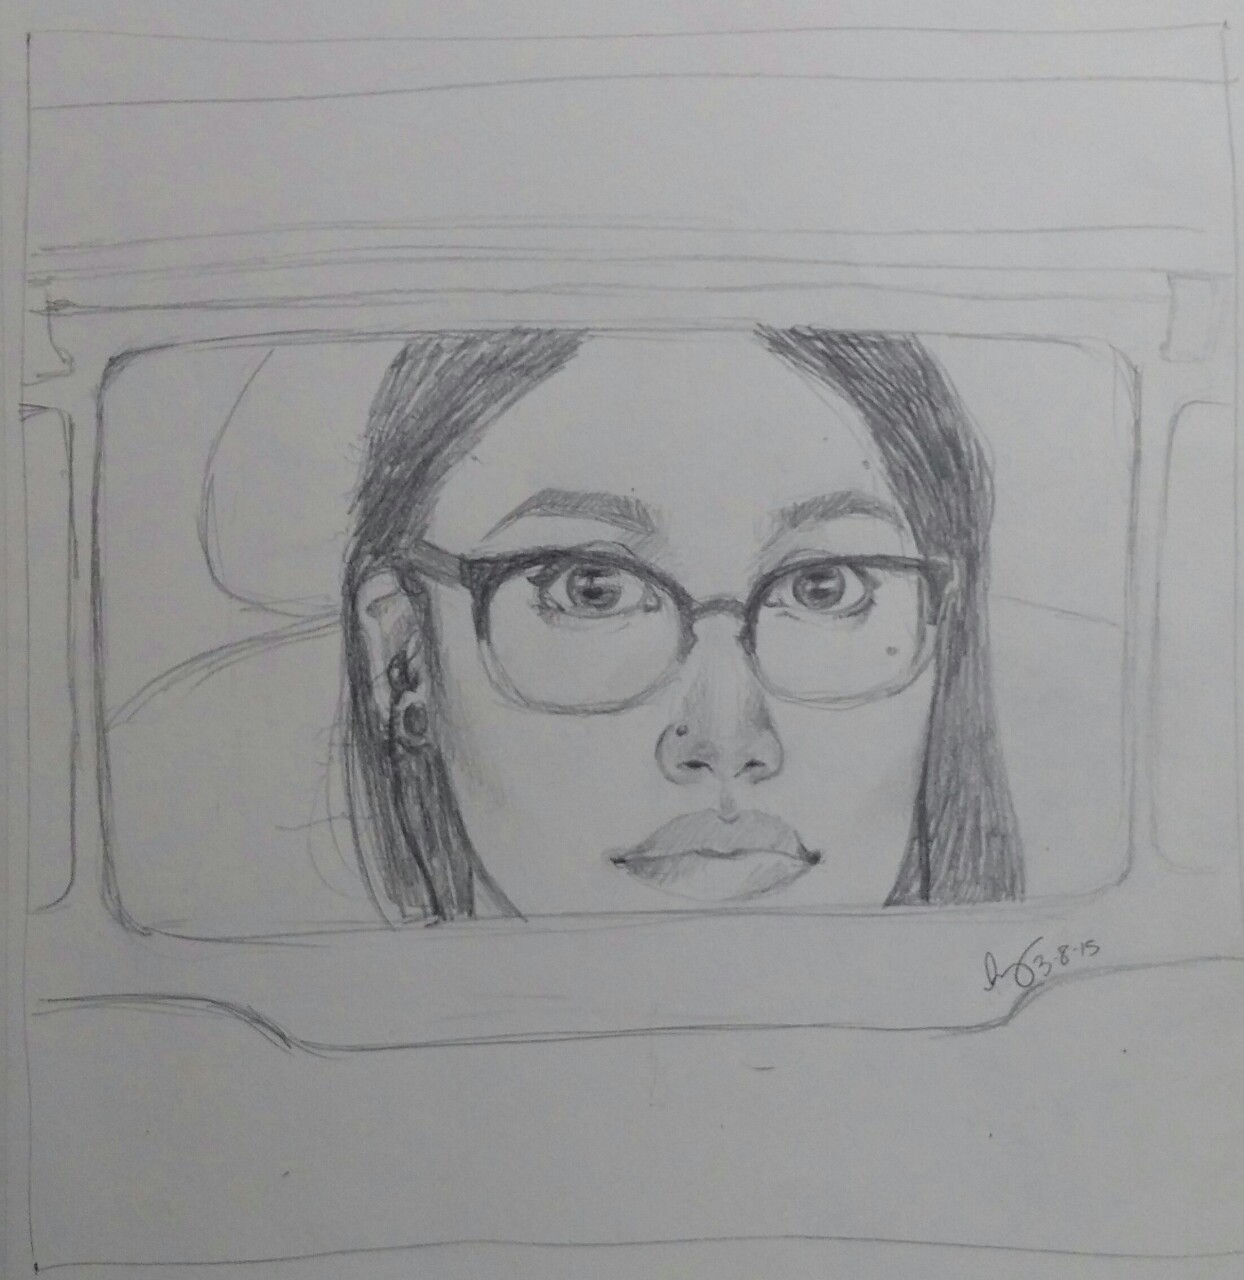
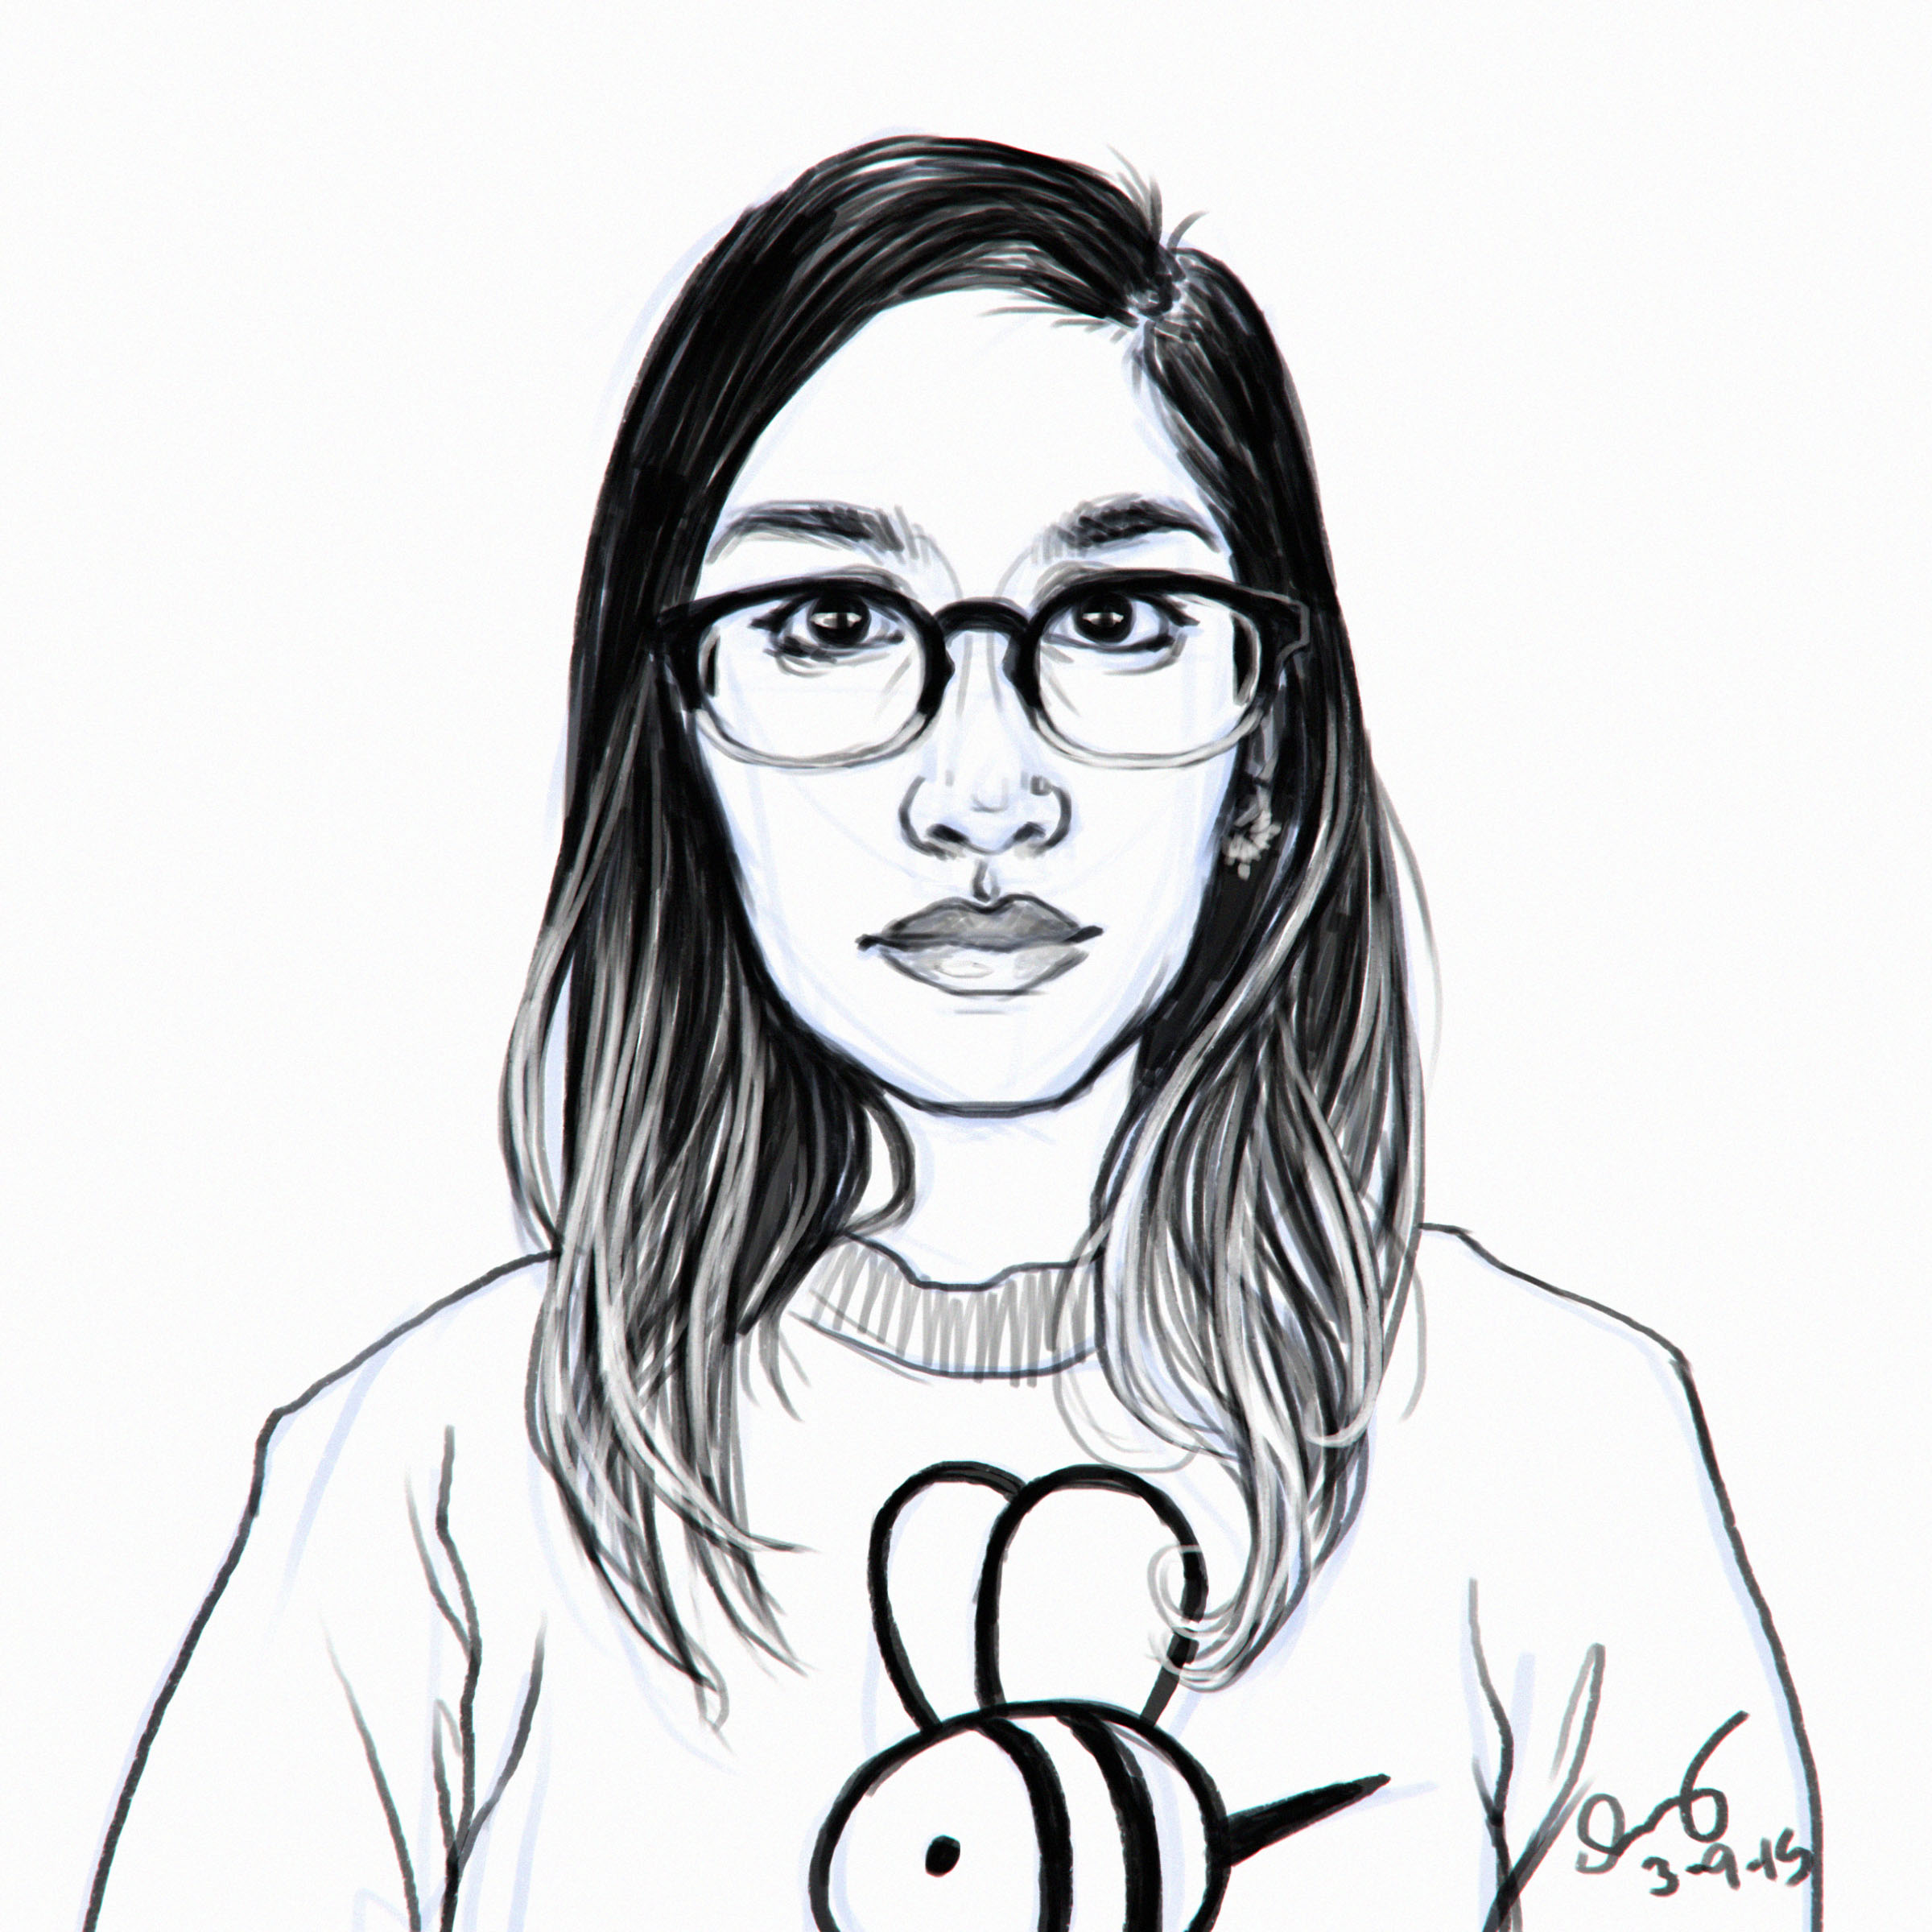
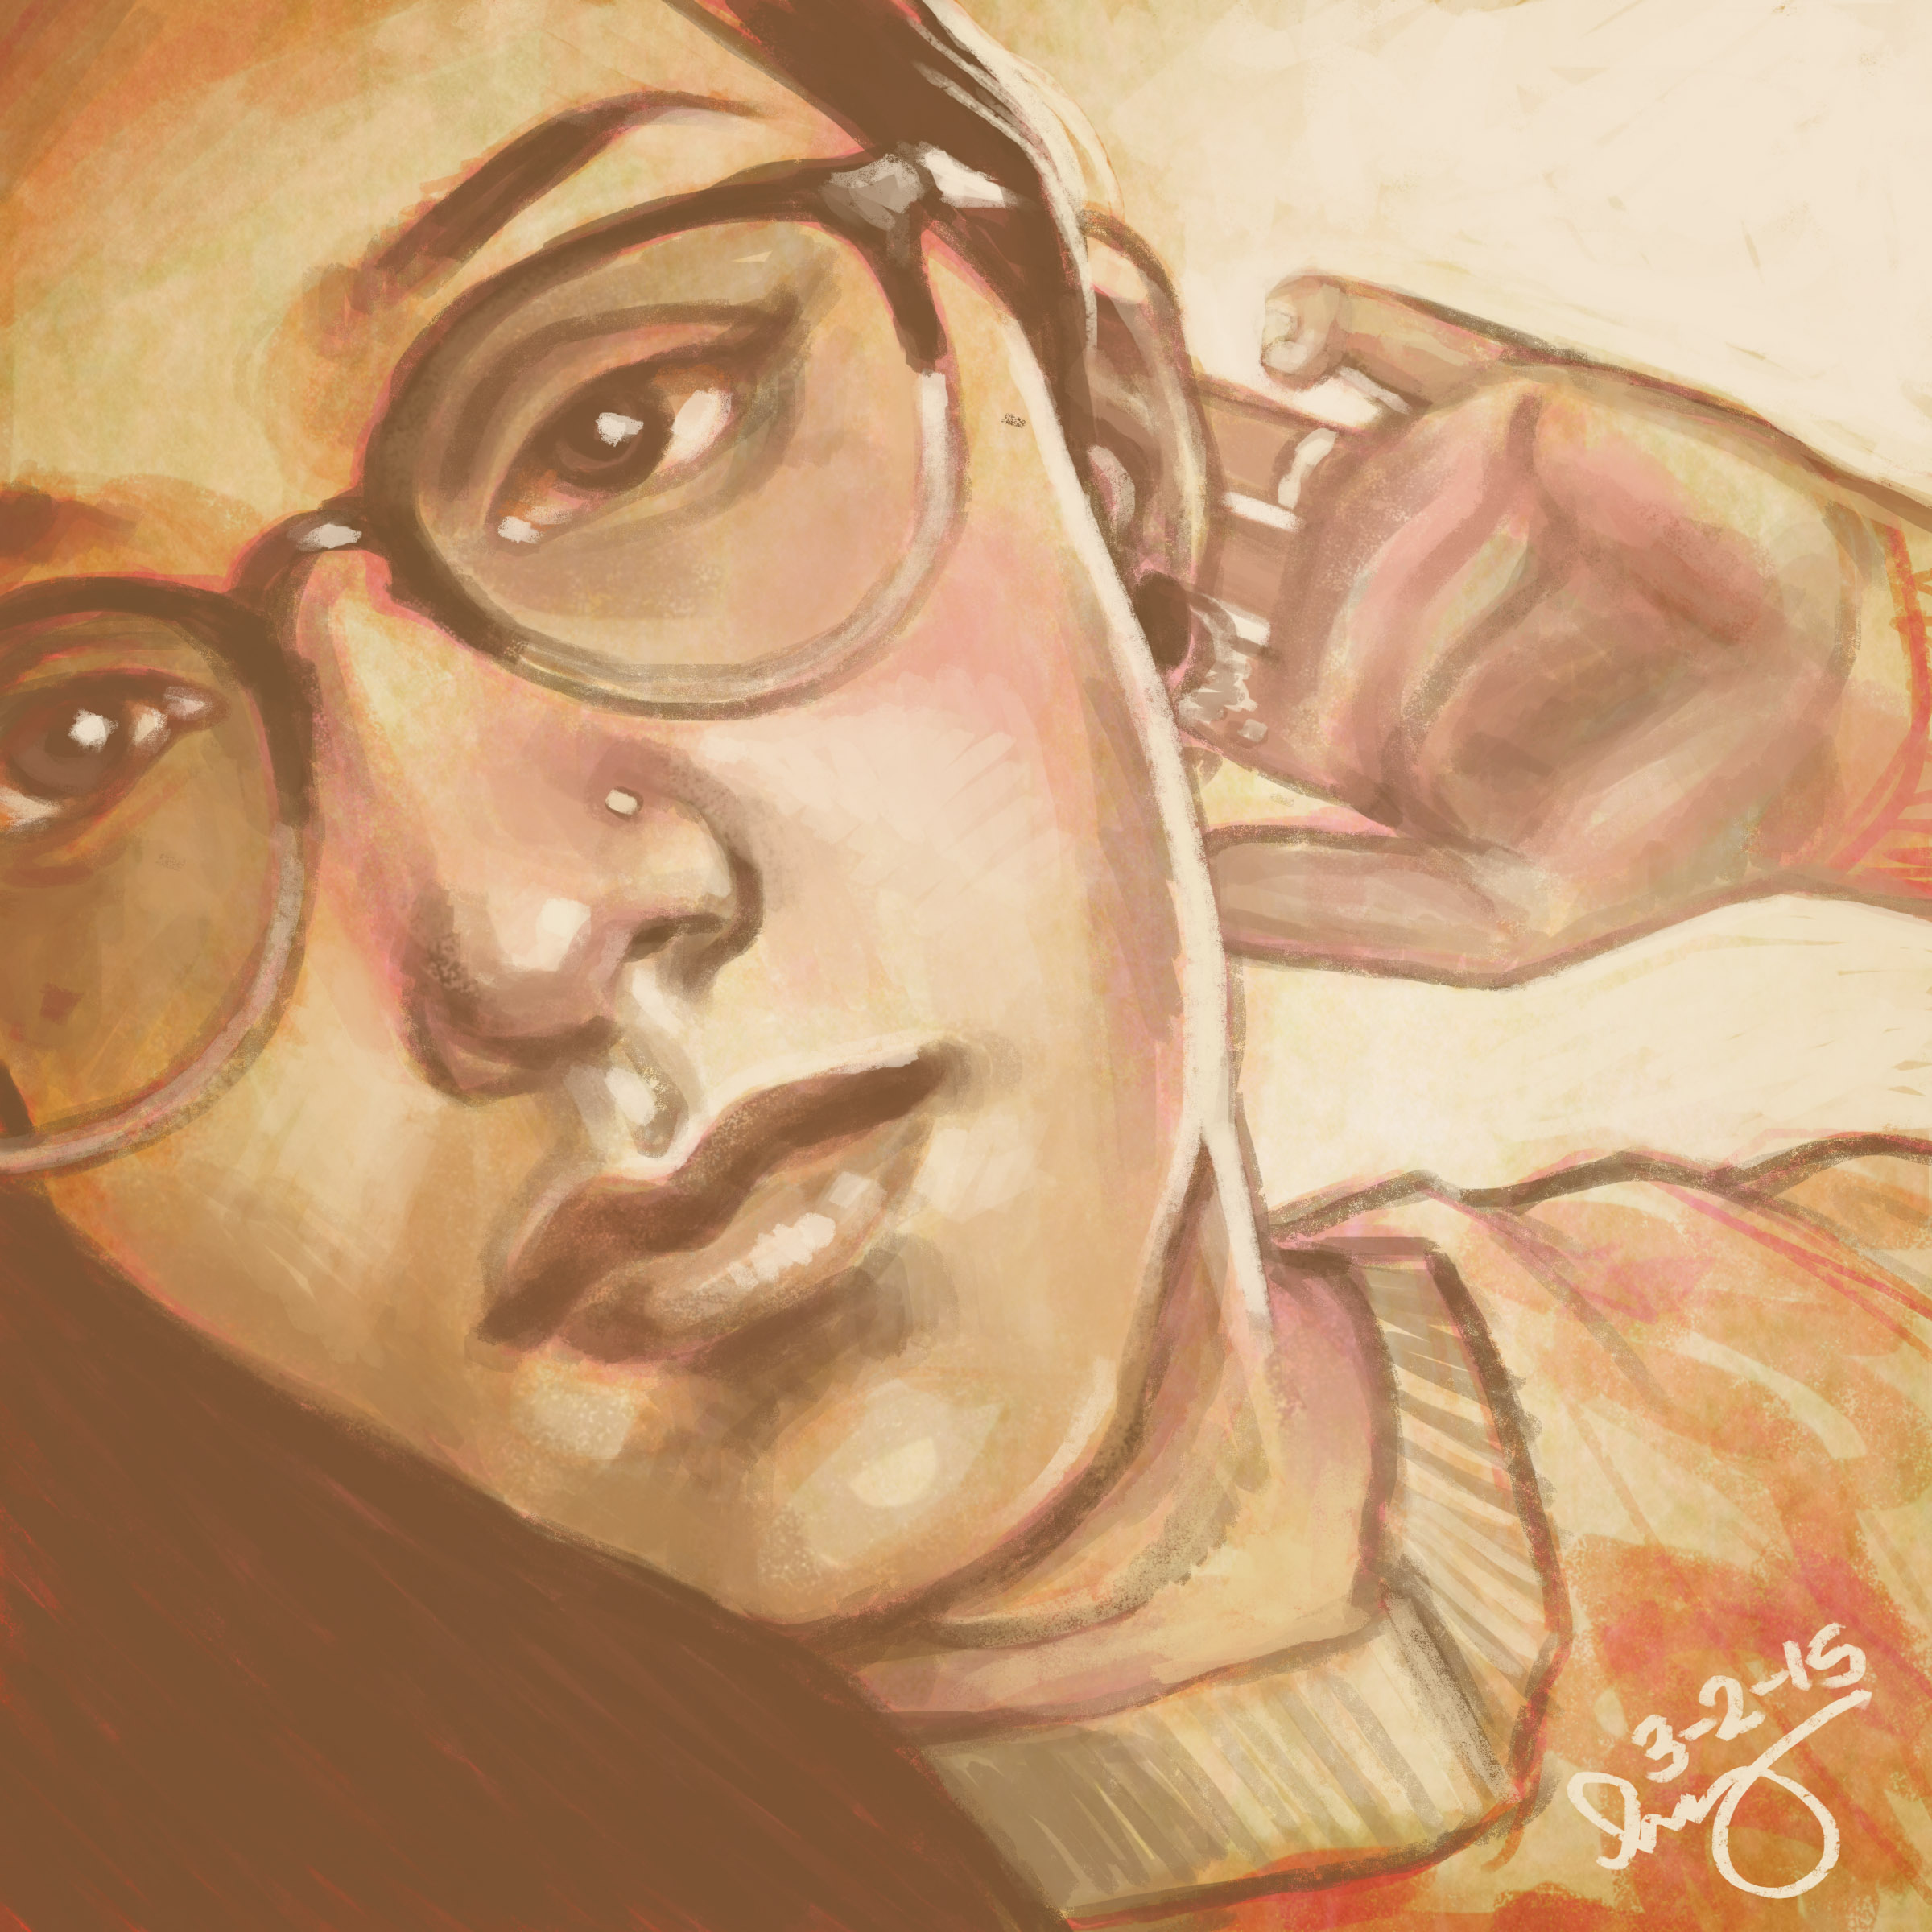
Self Portrait Project Update! #1

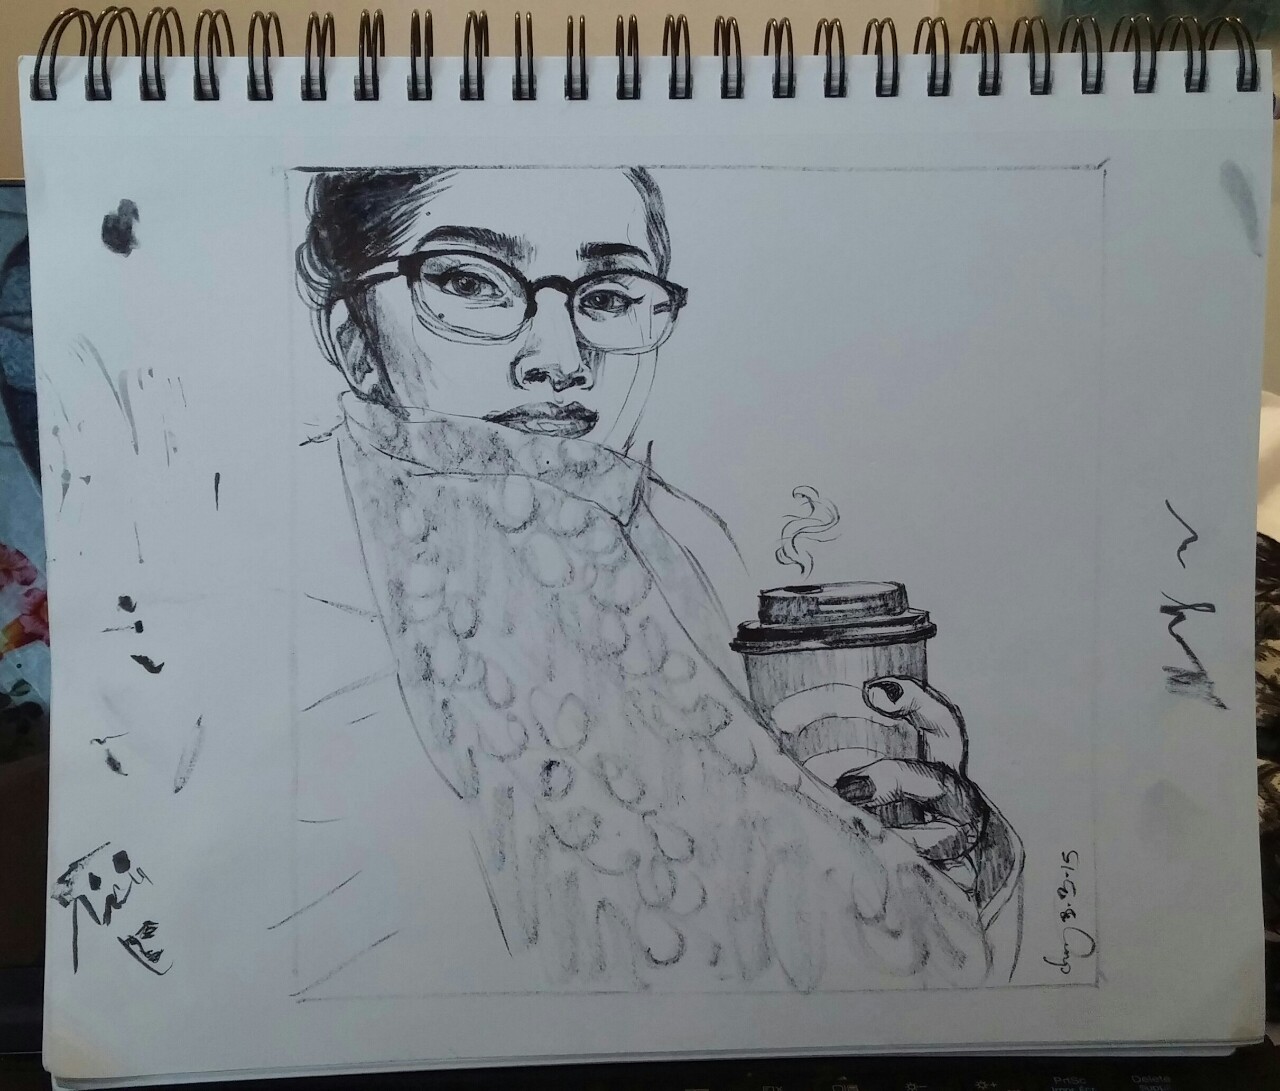
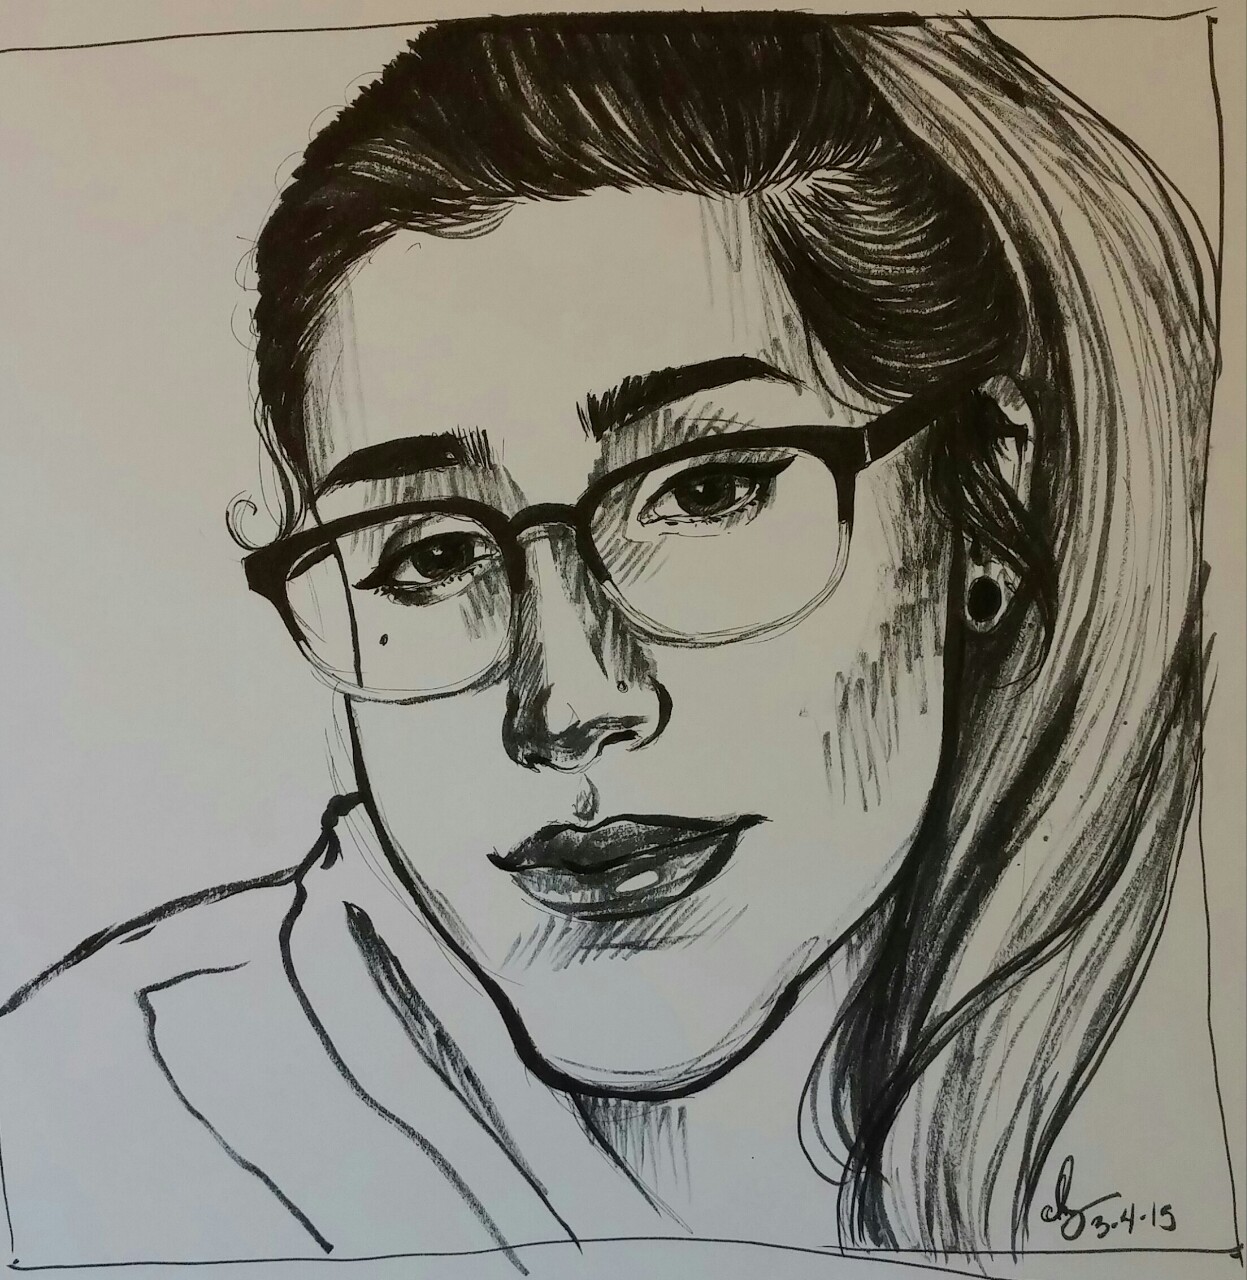
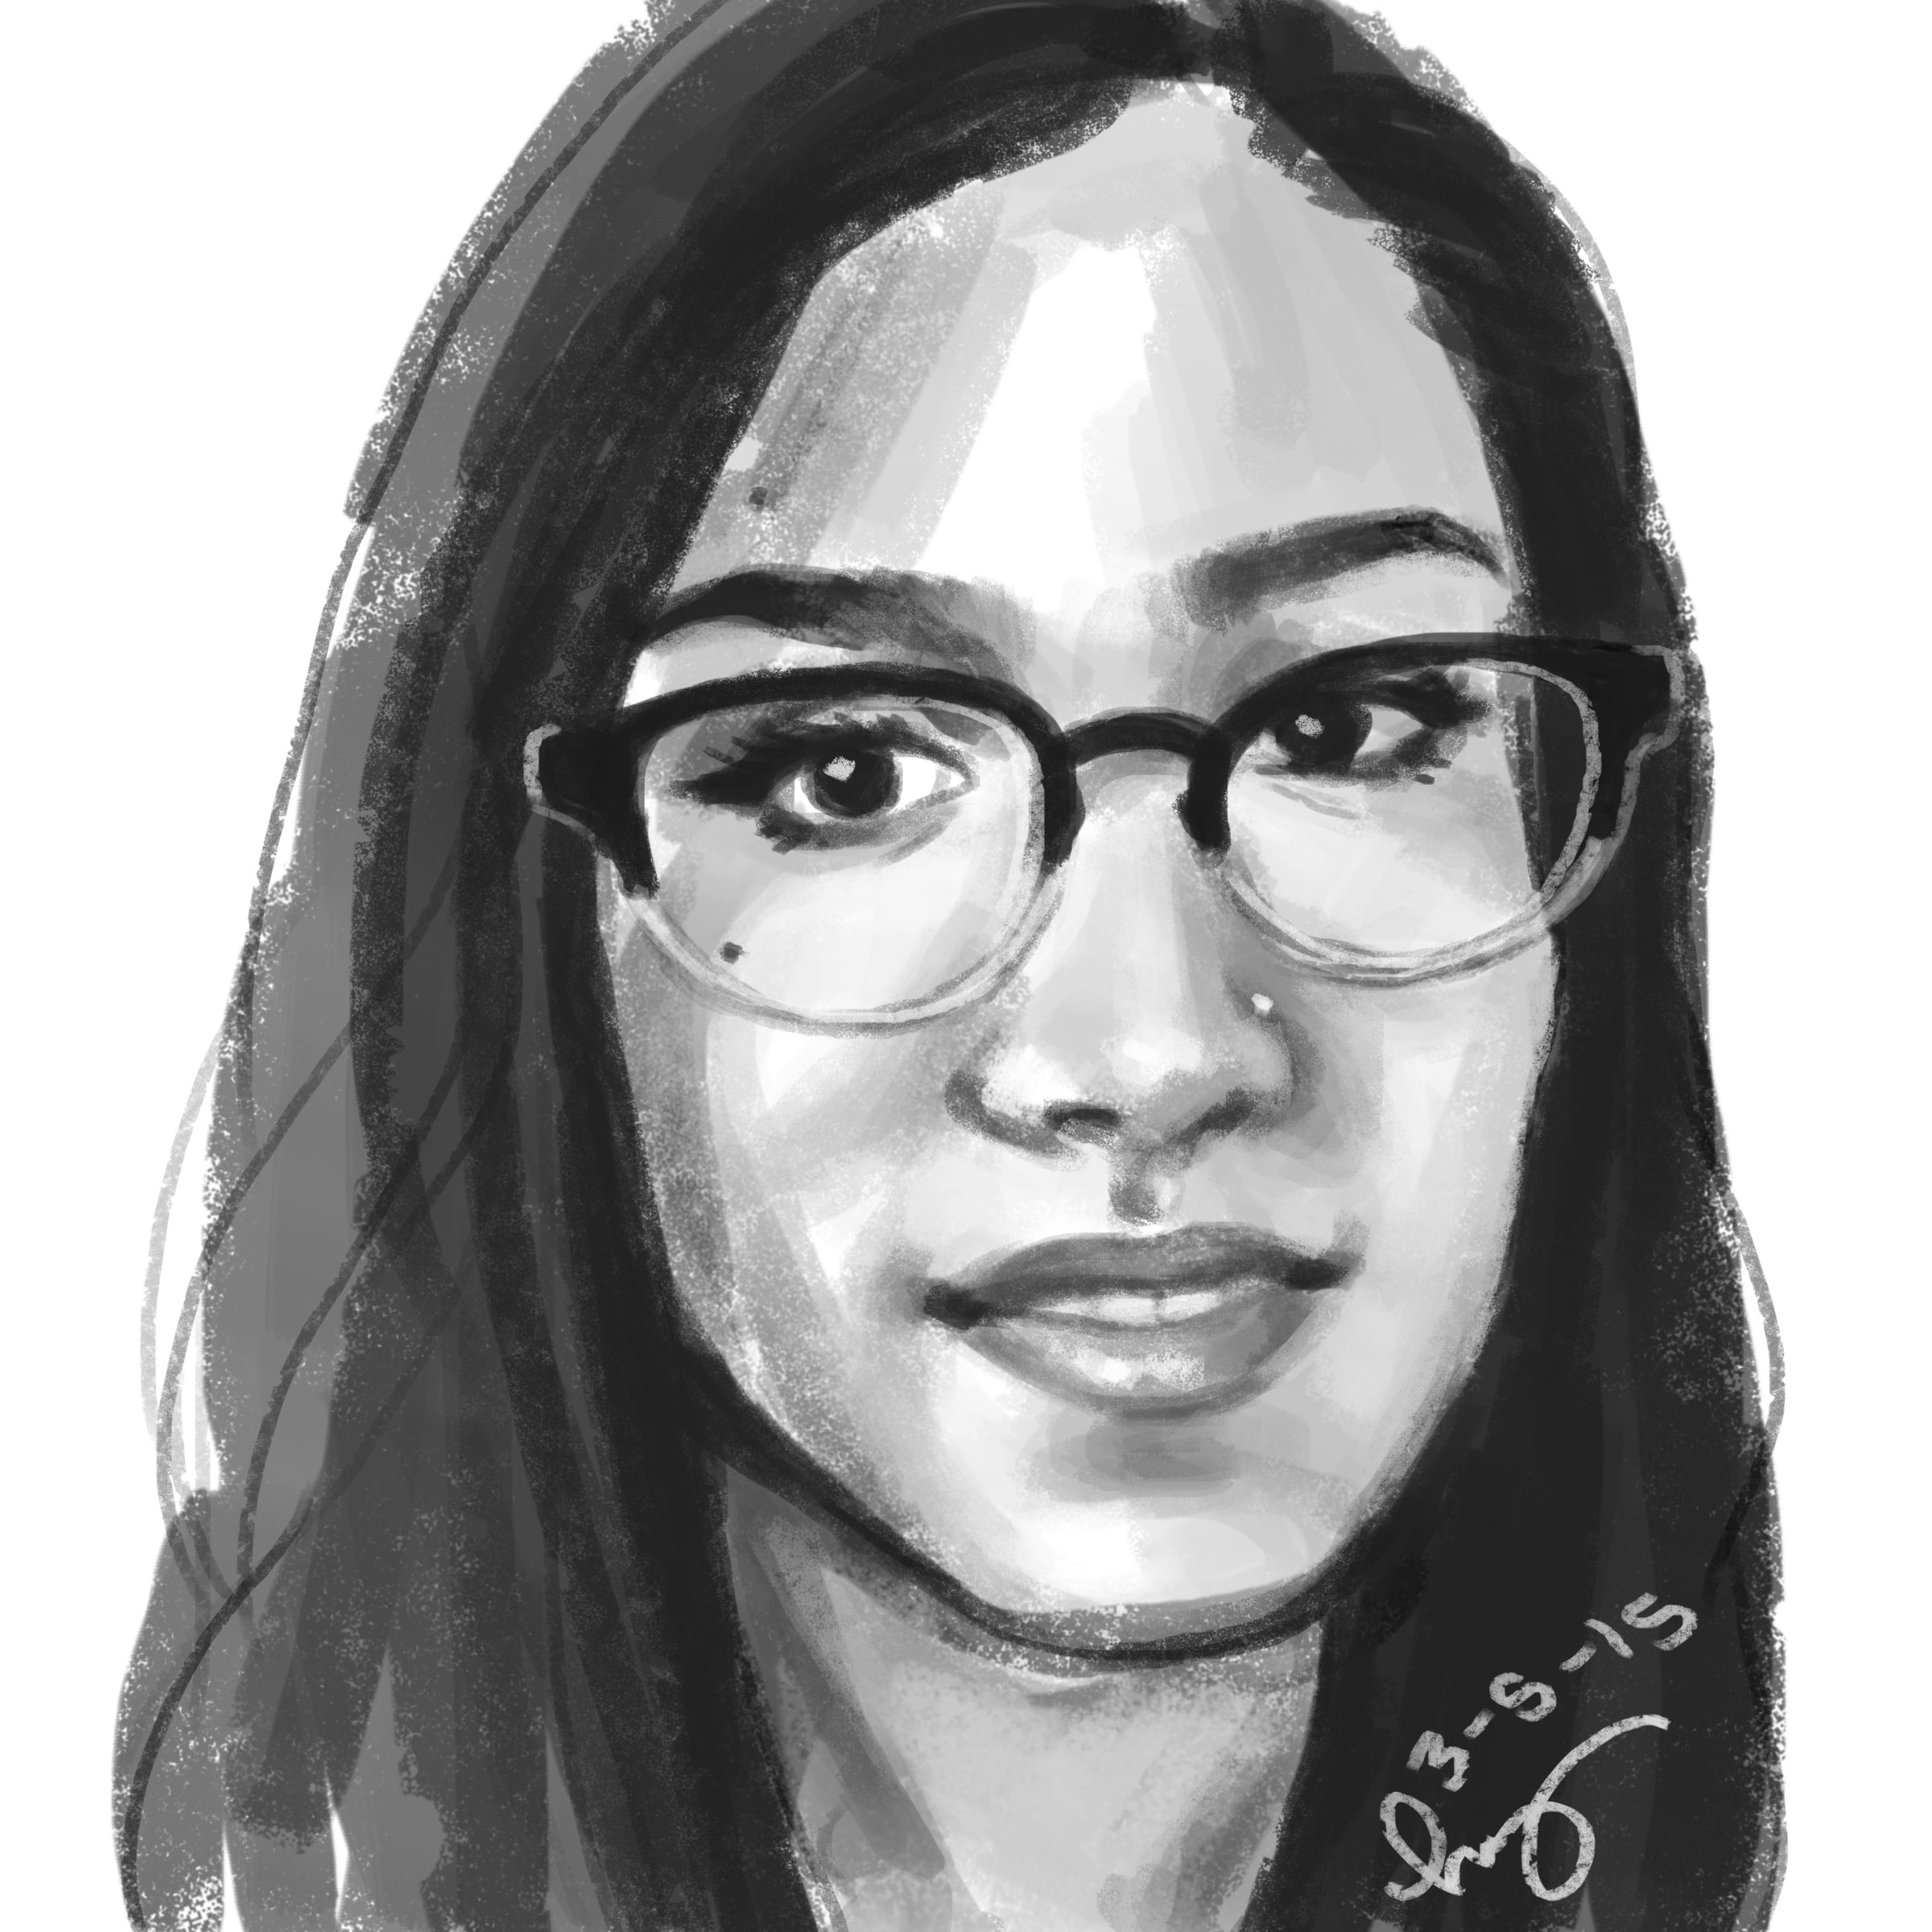
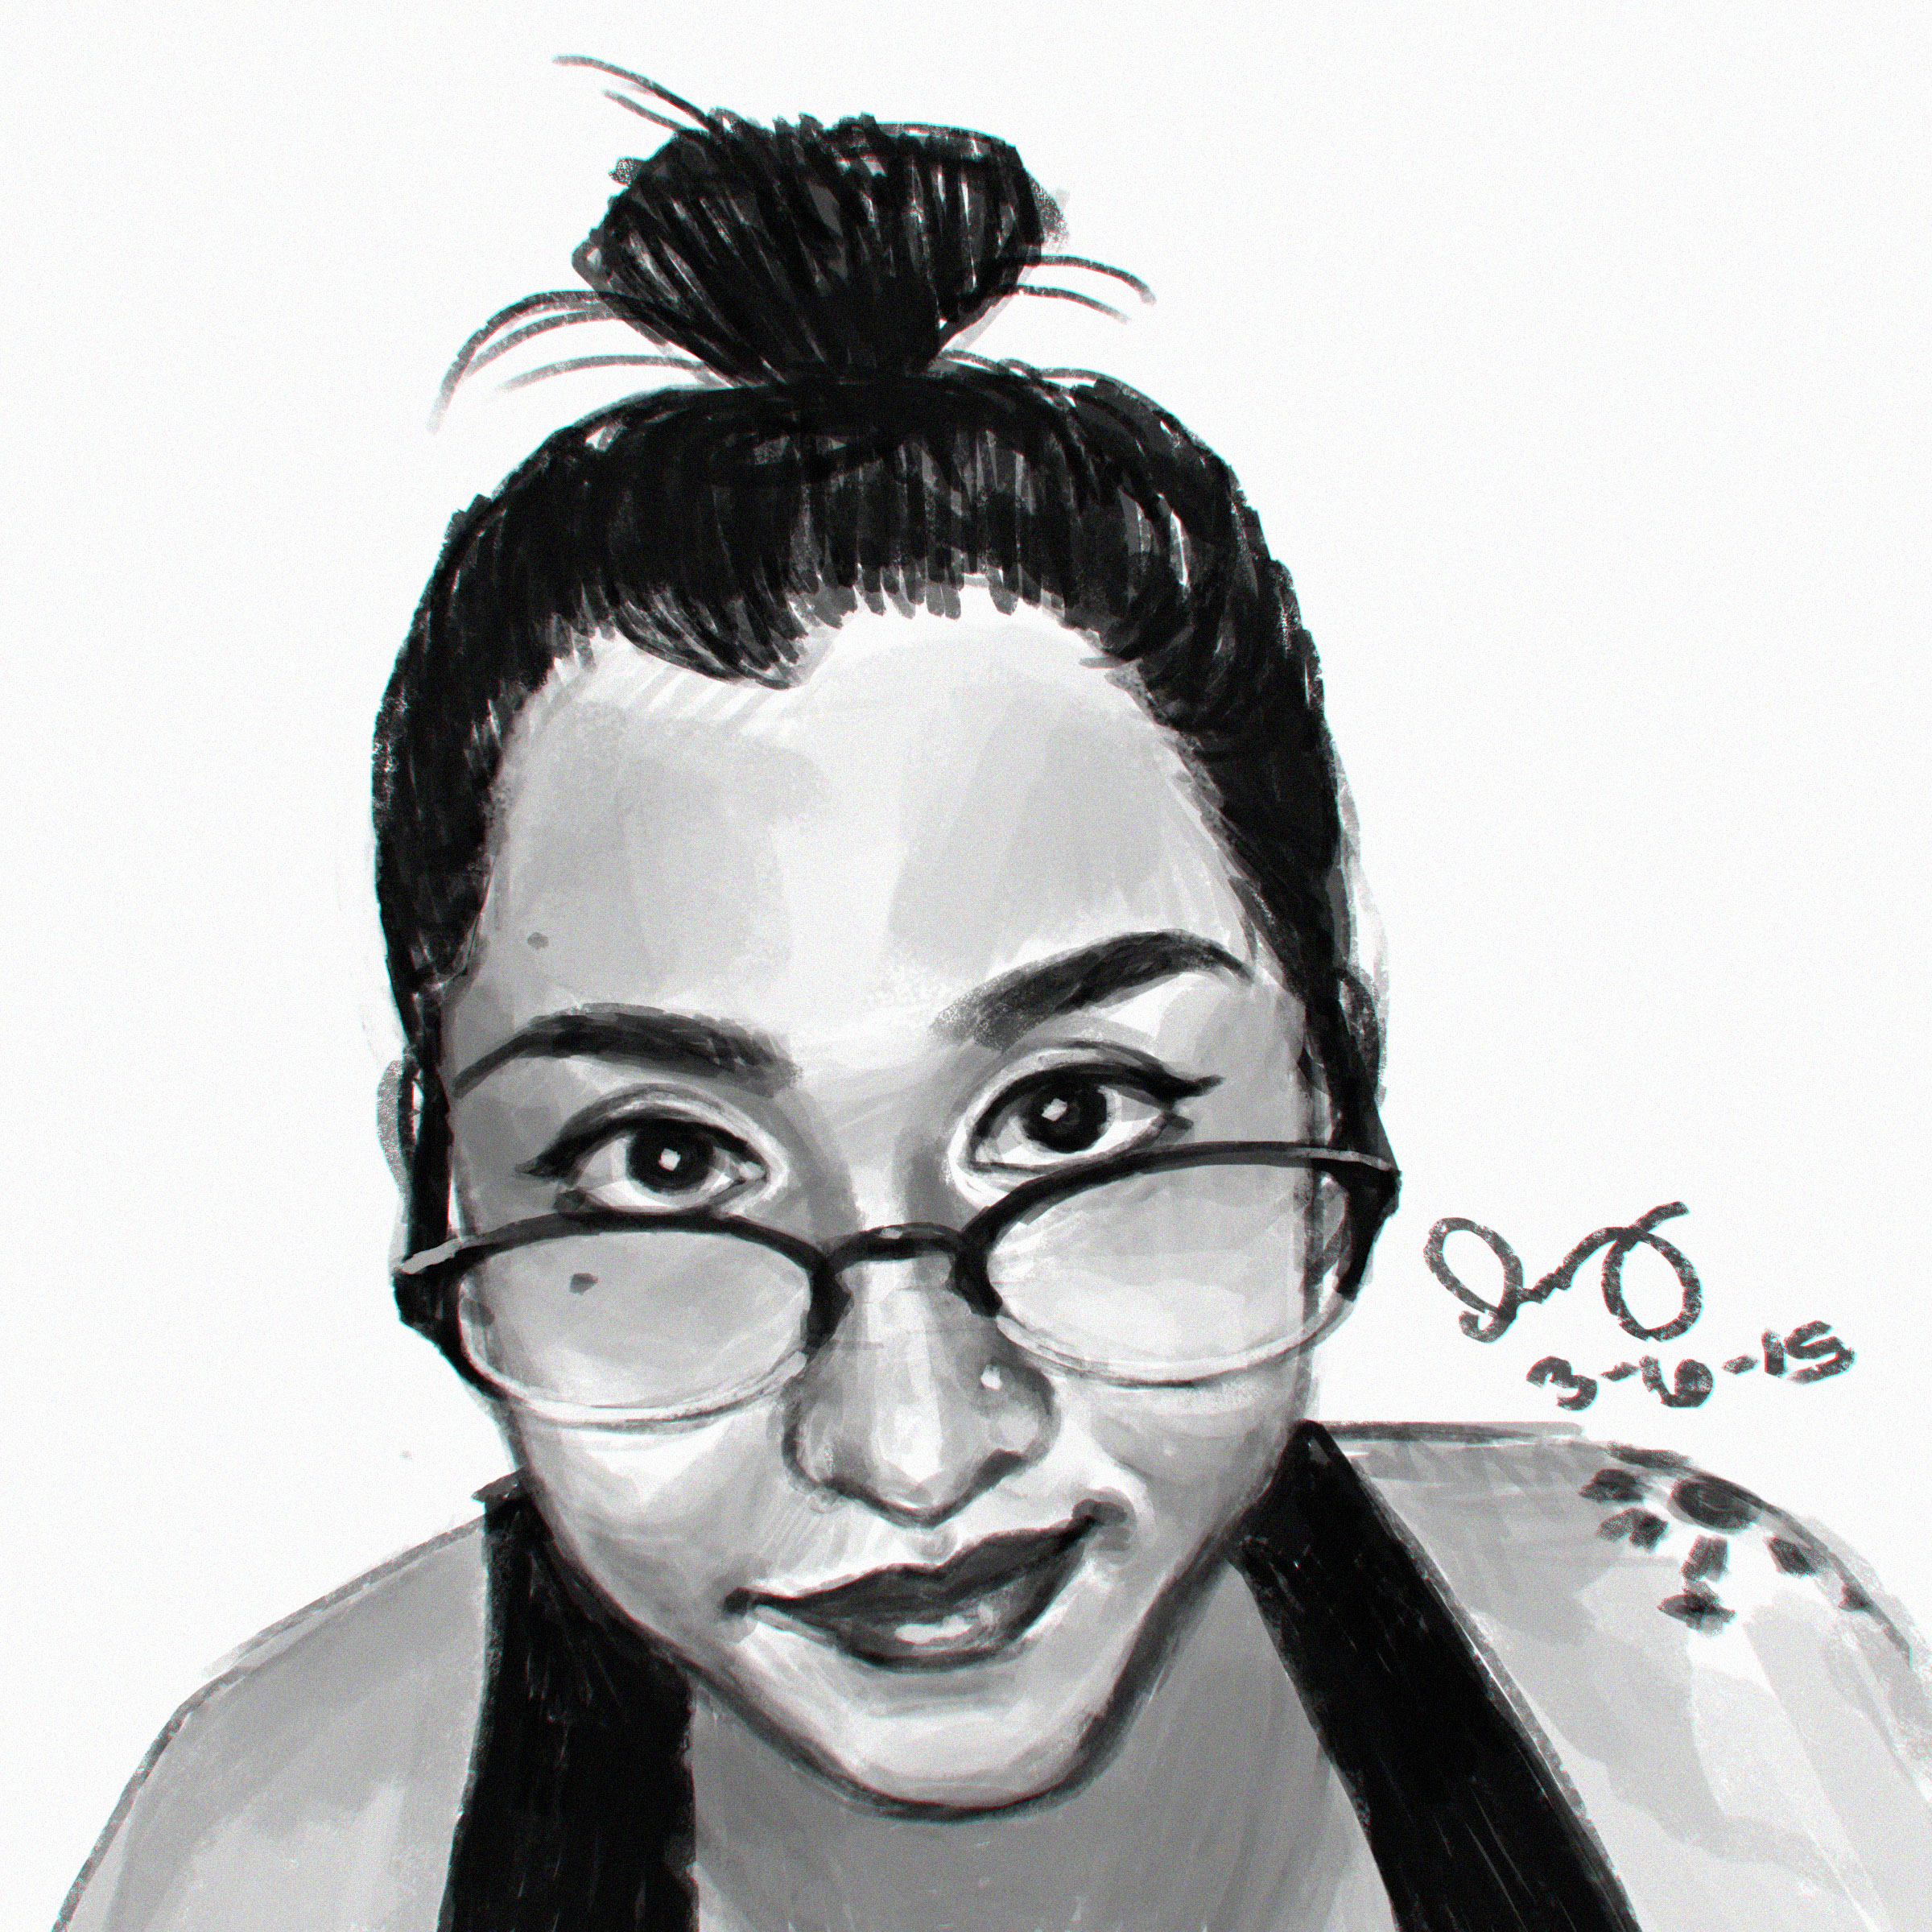
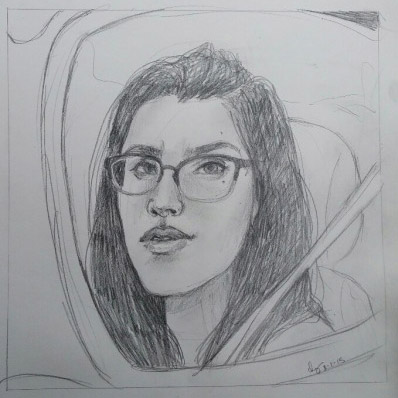
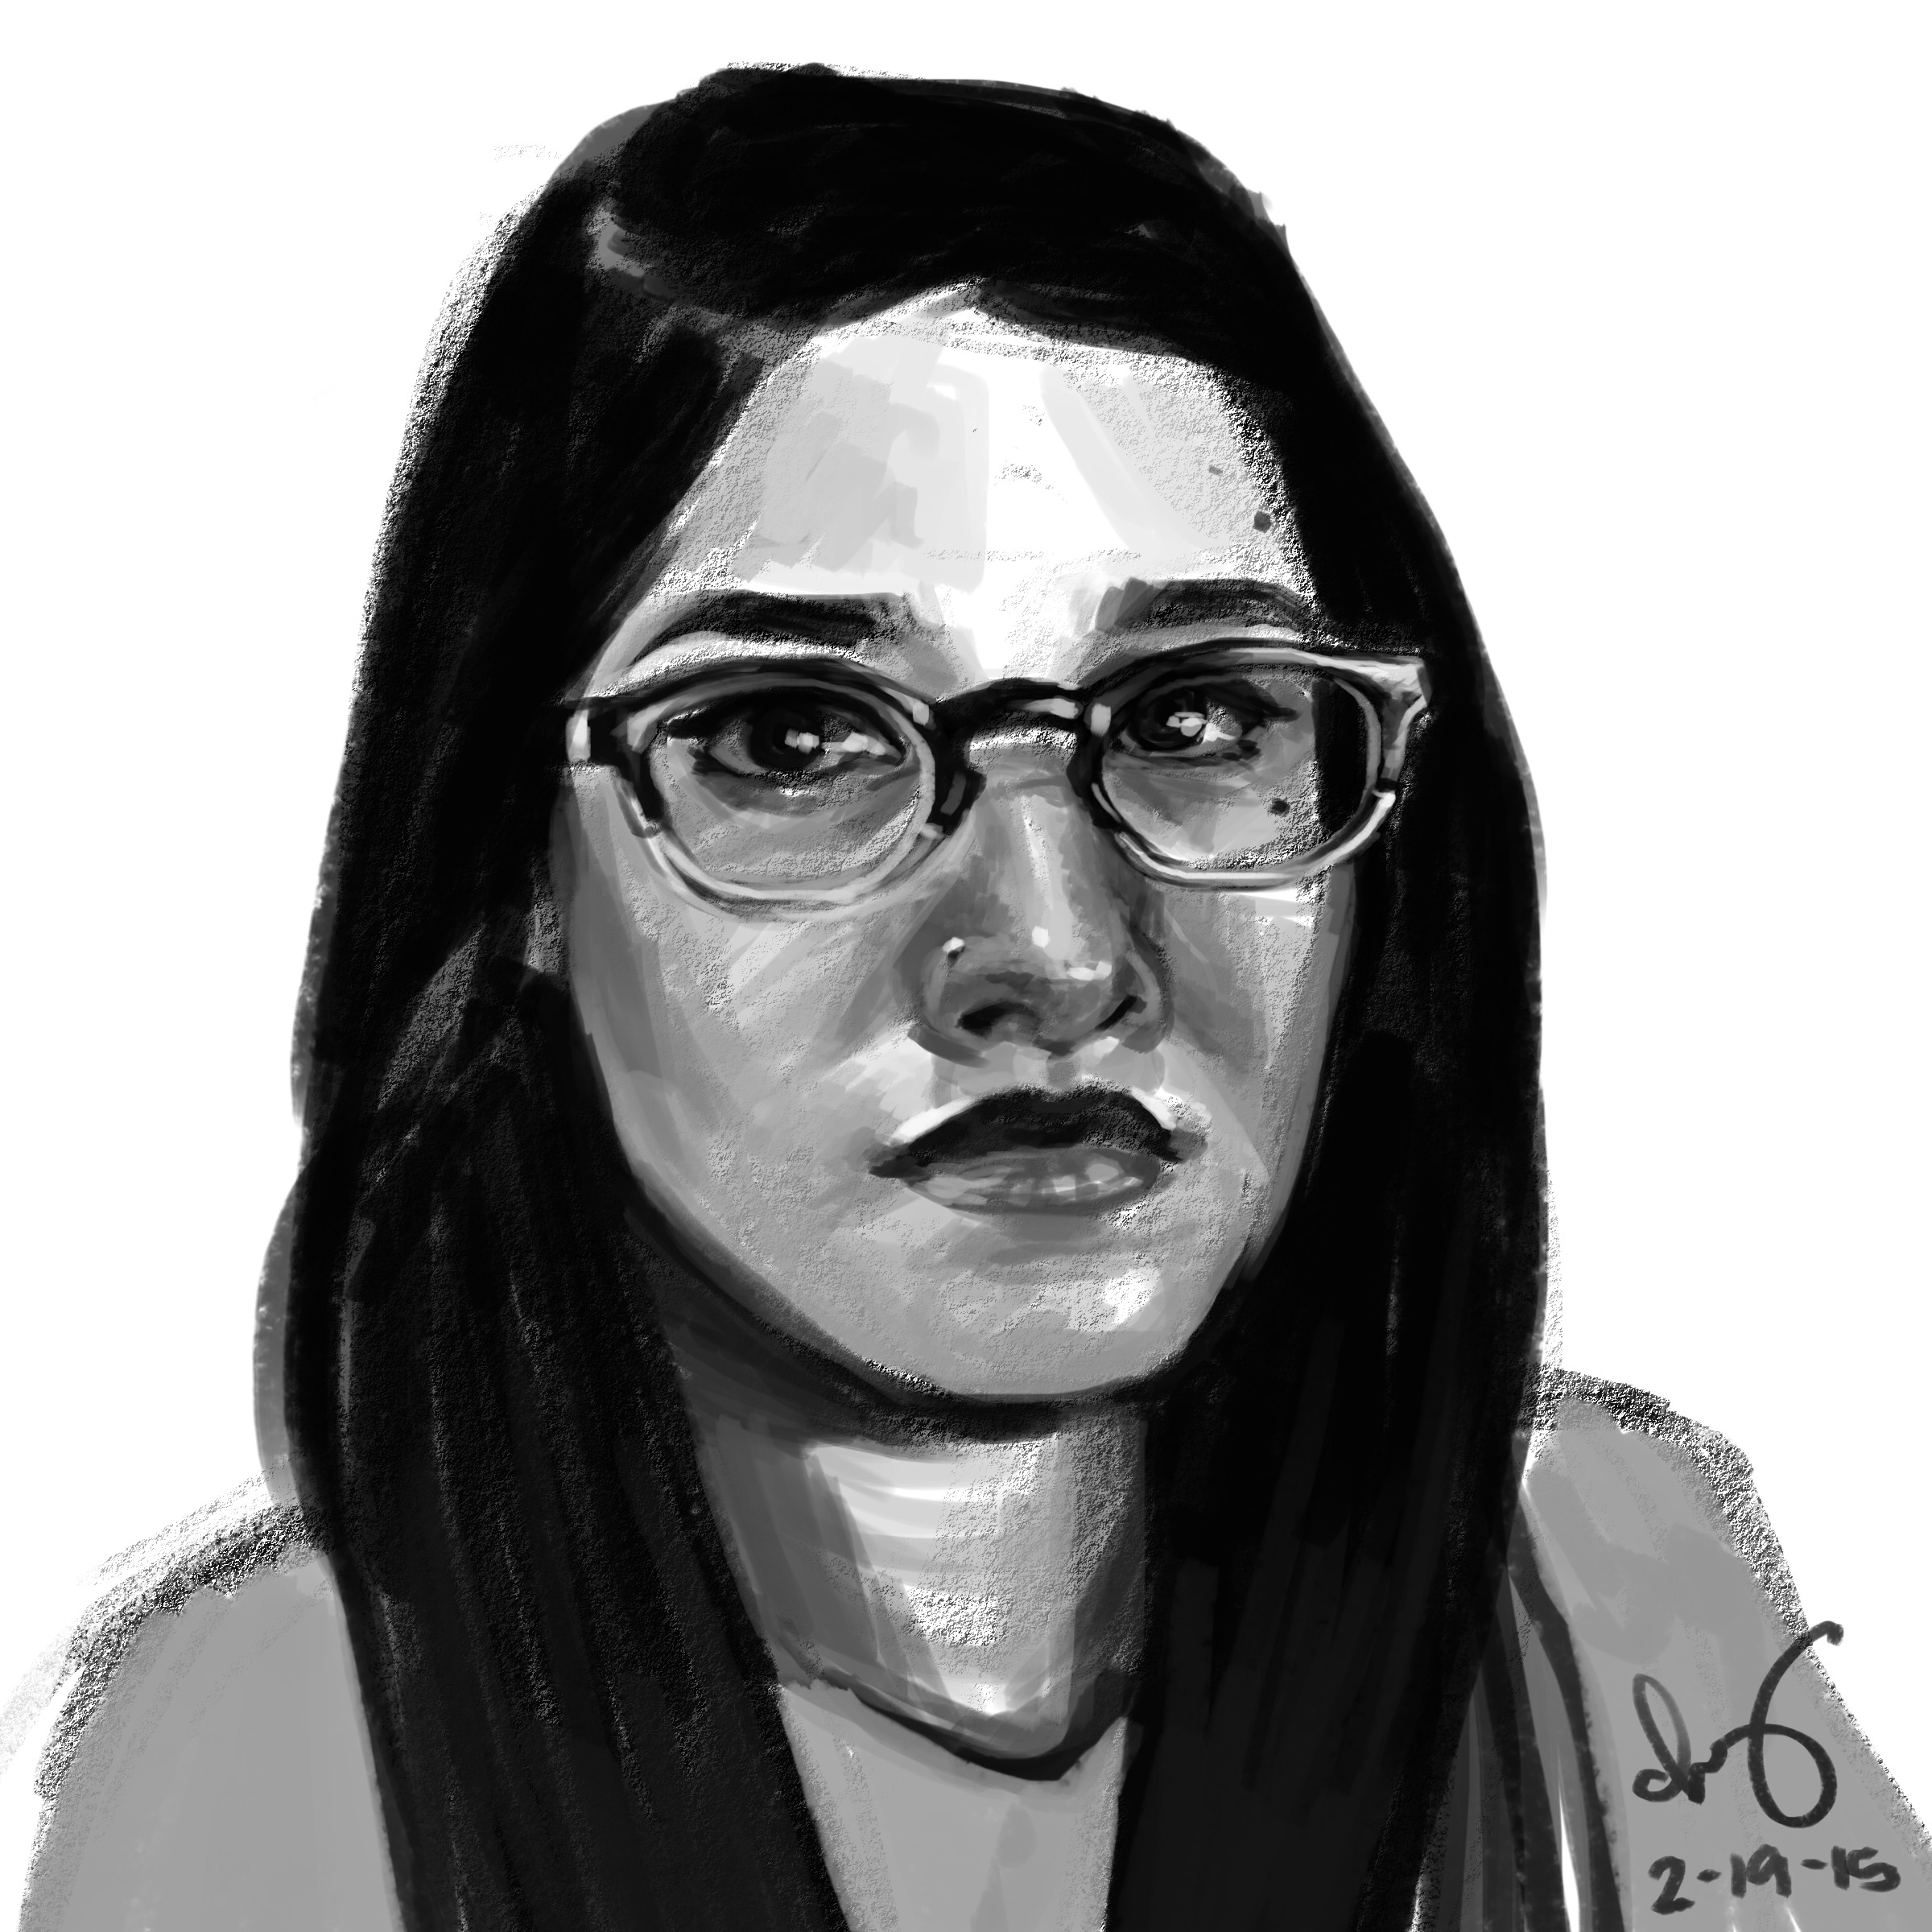
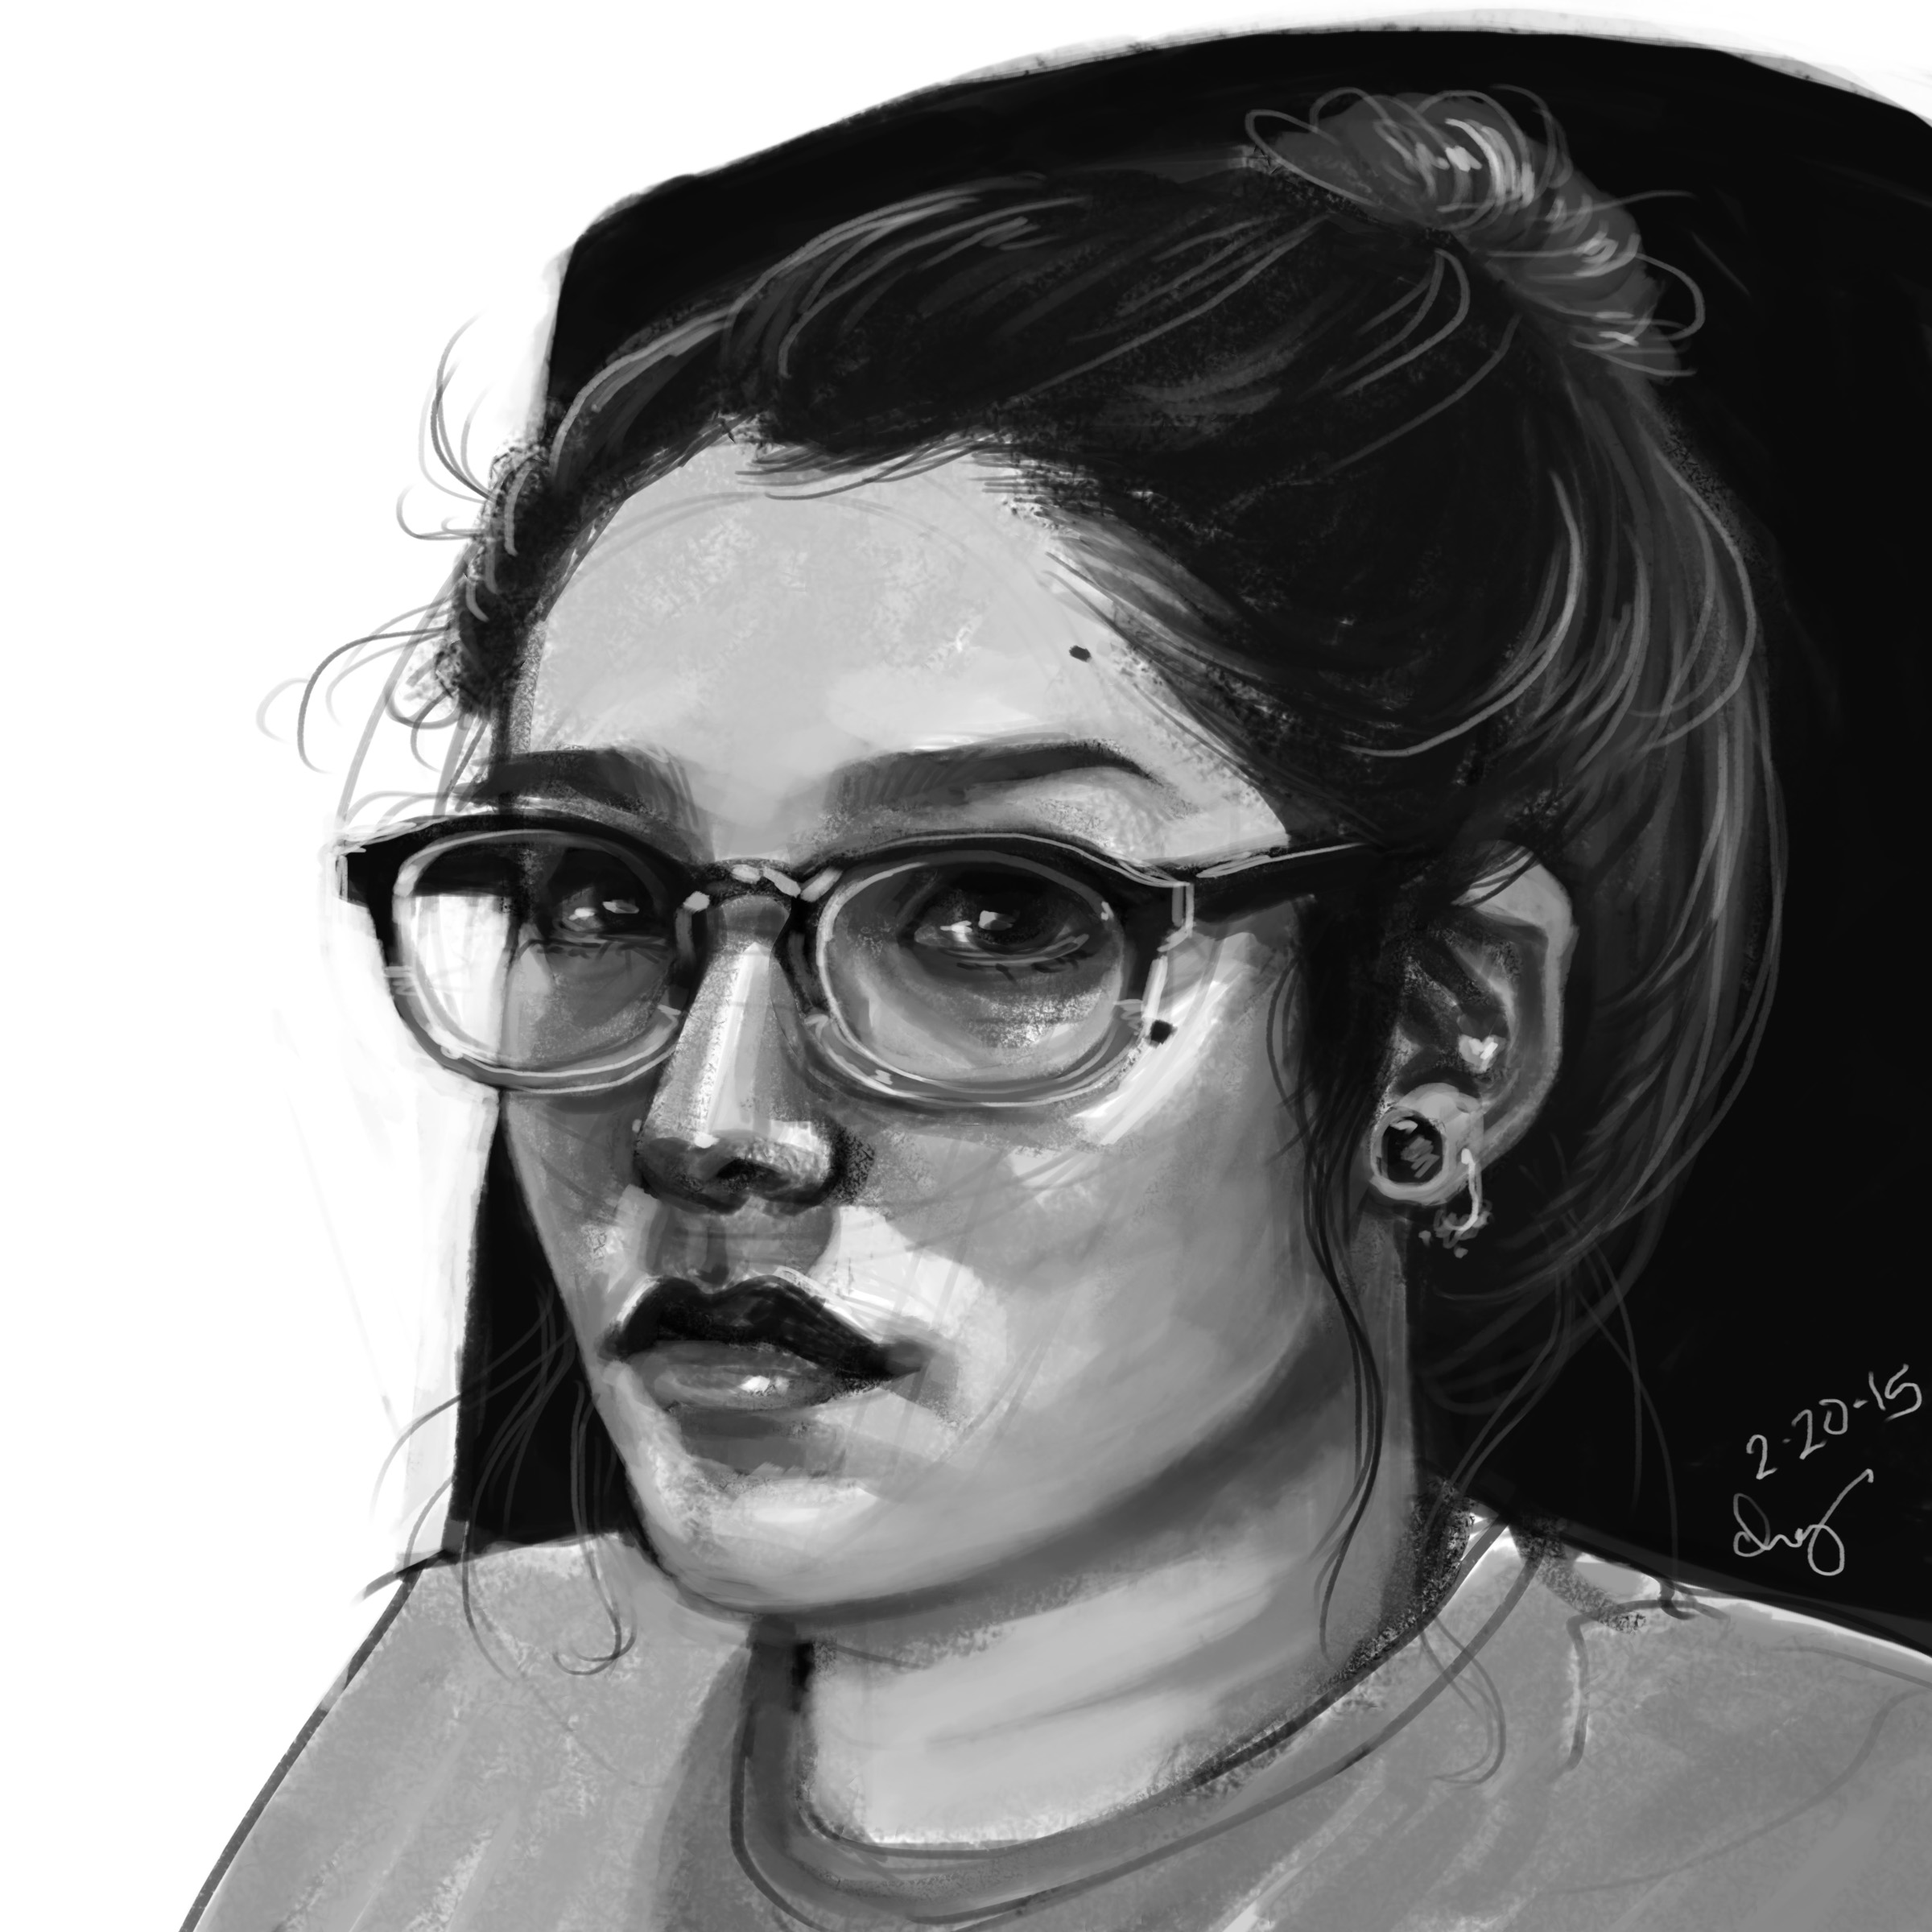
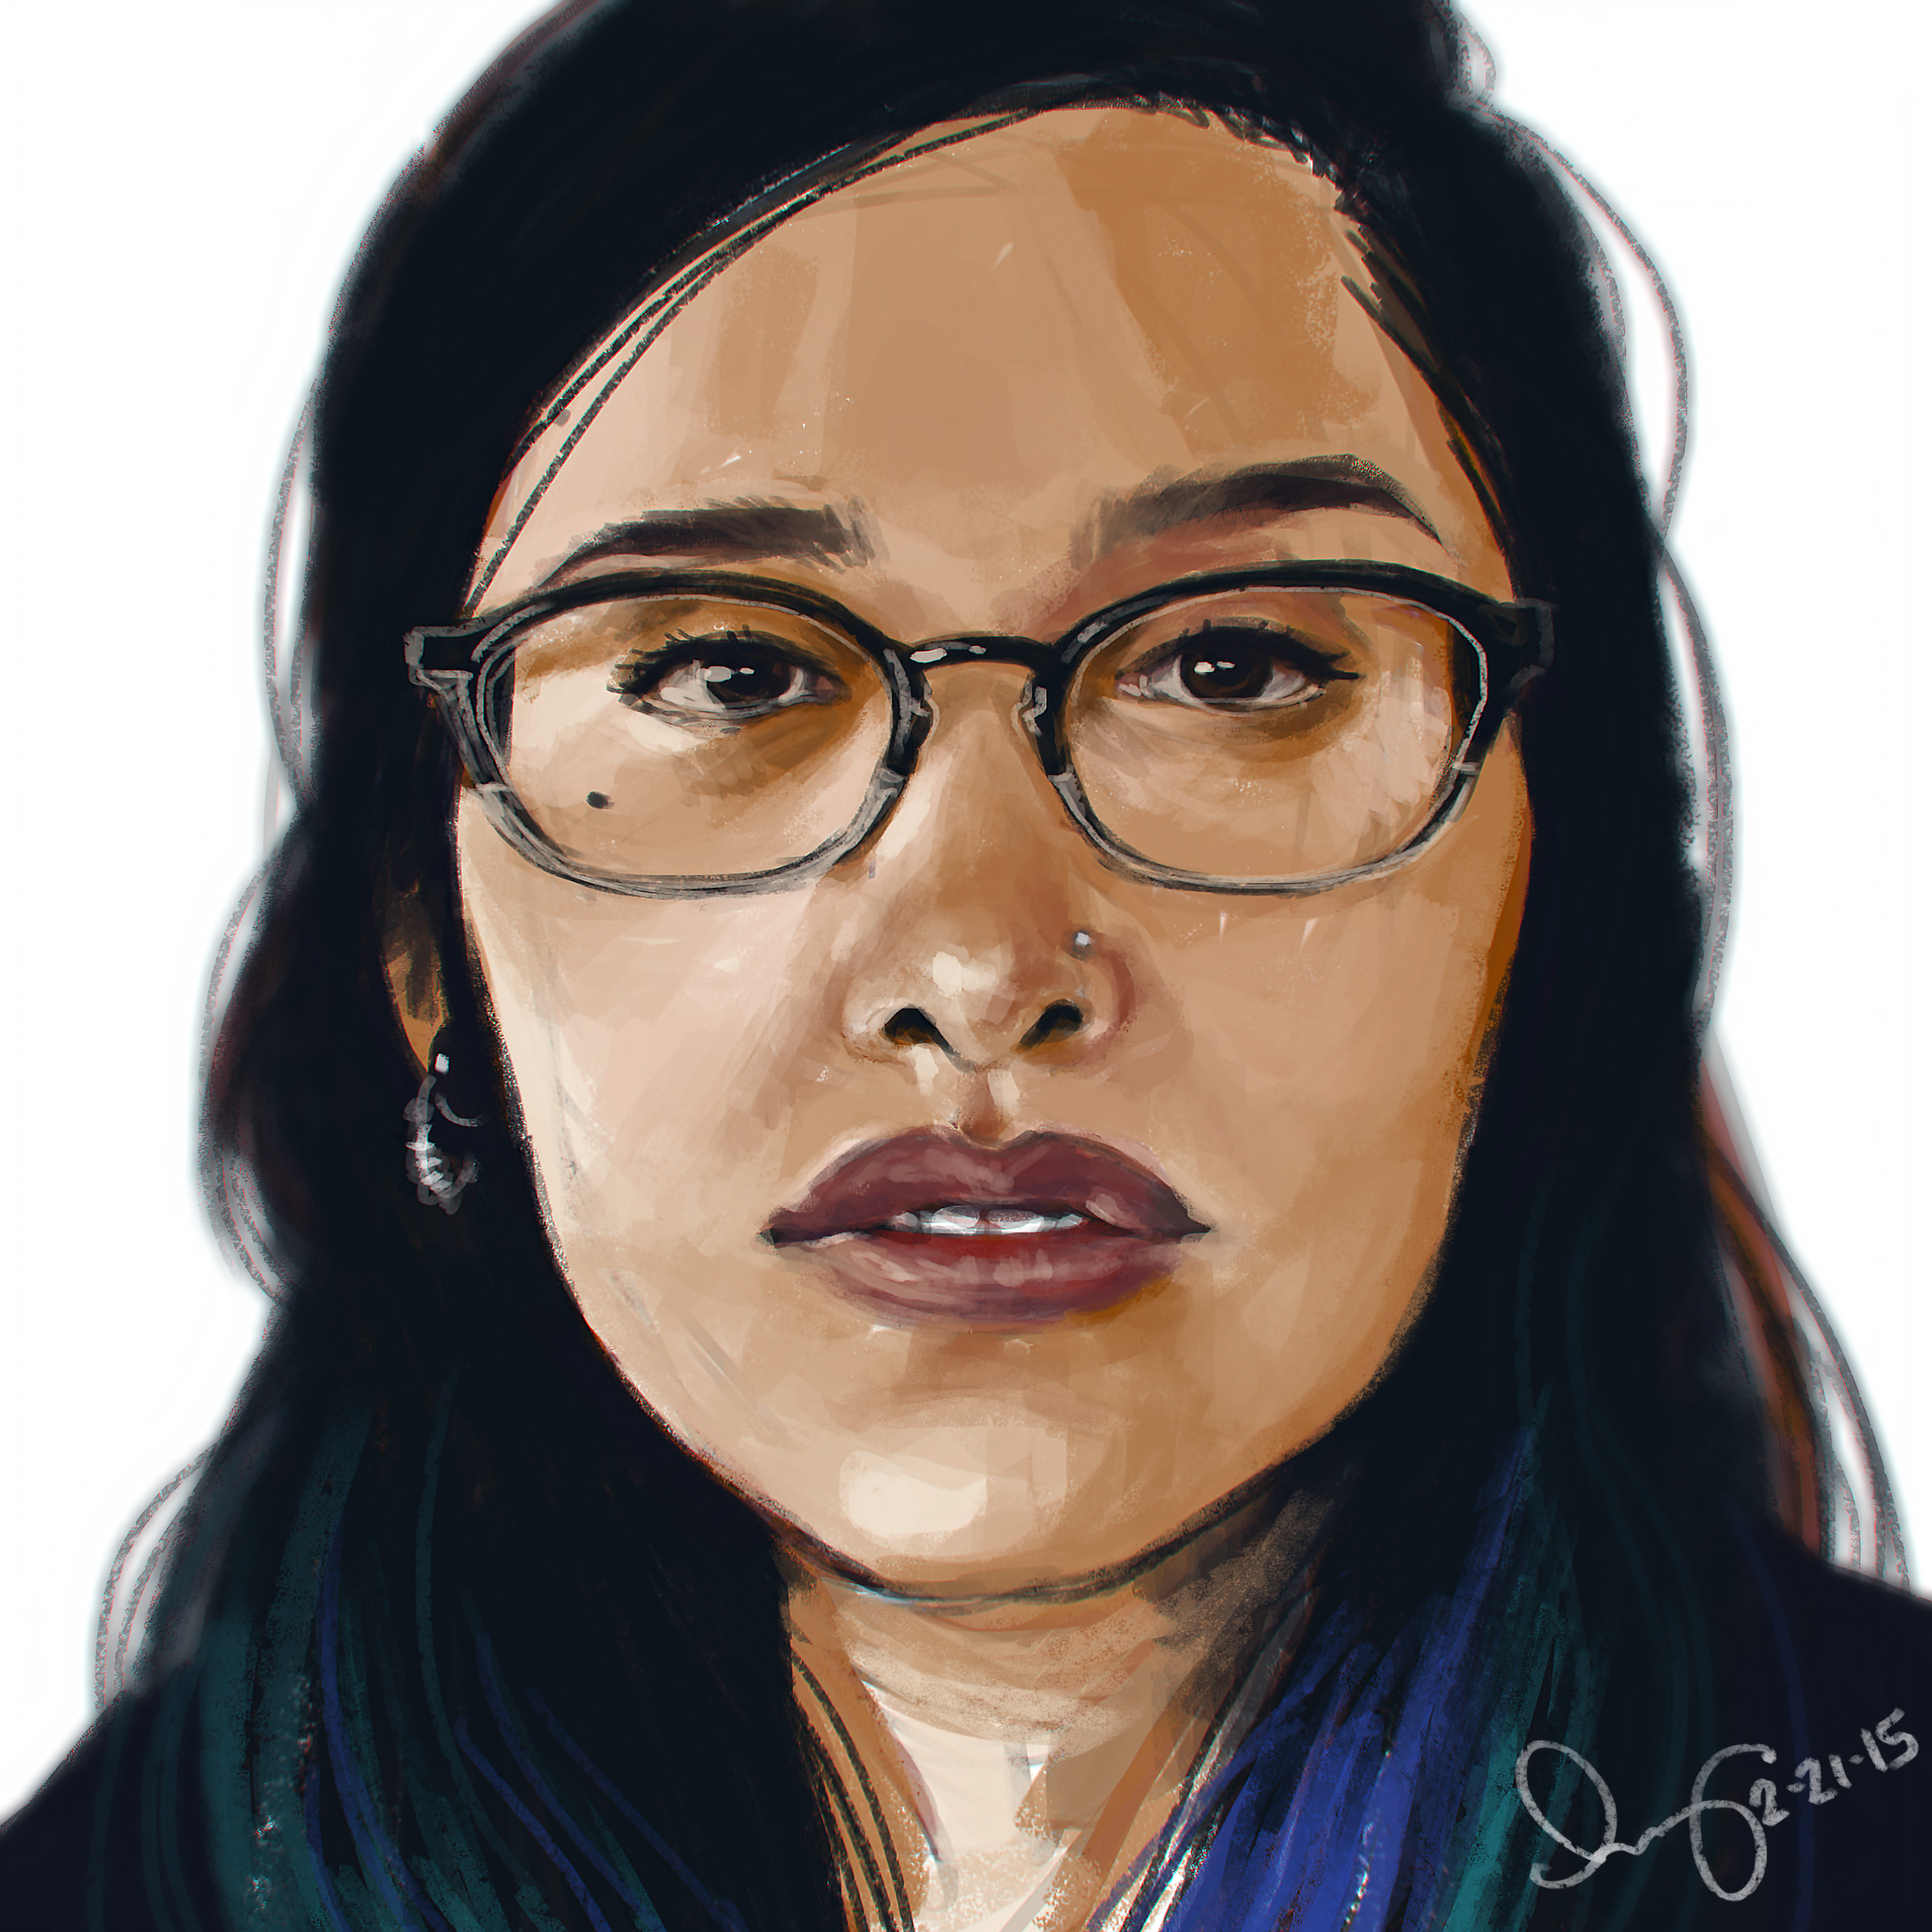
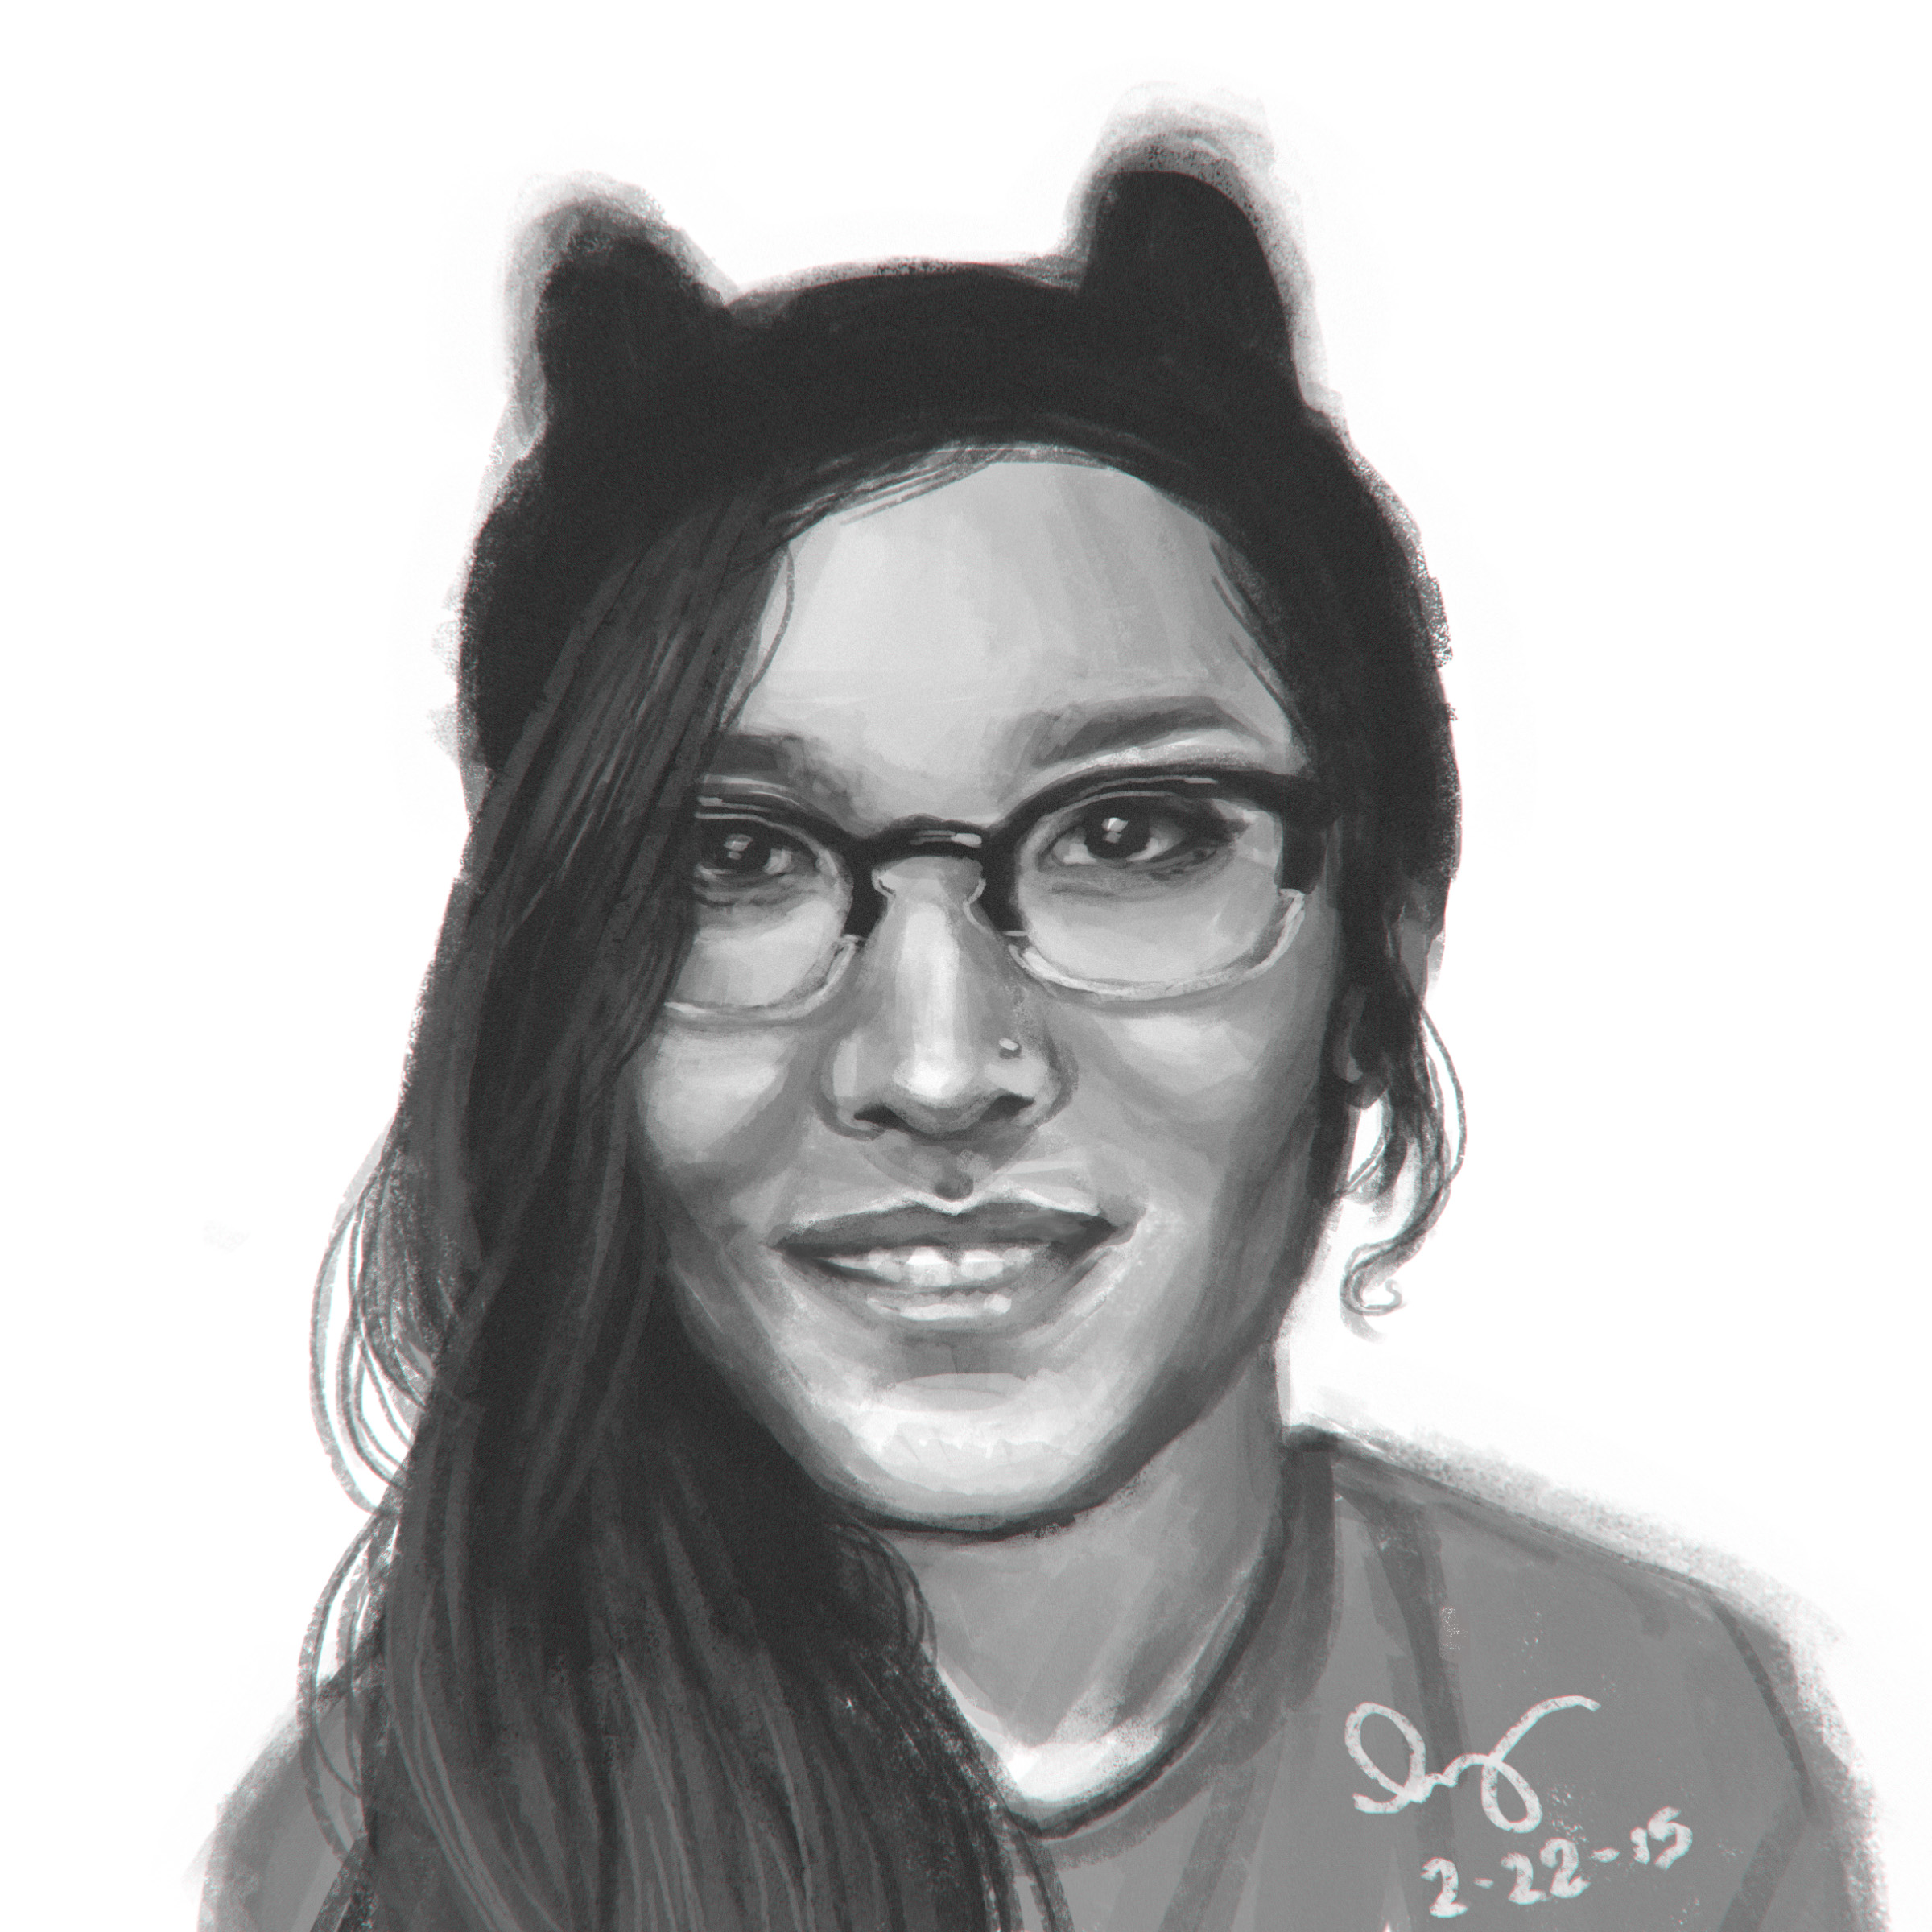
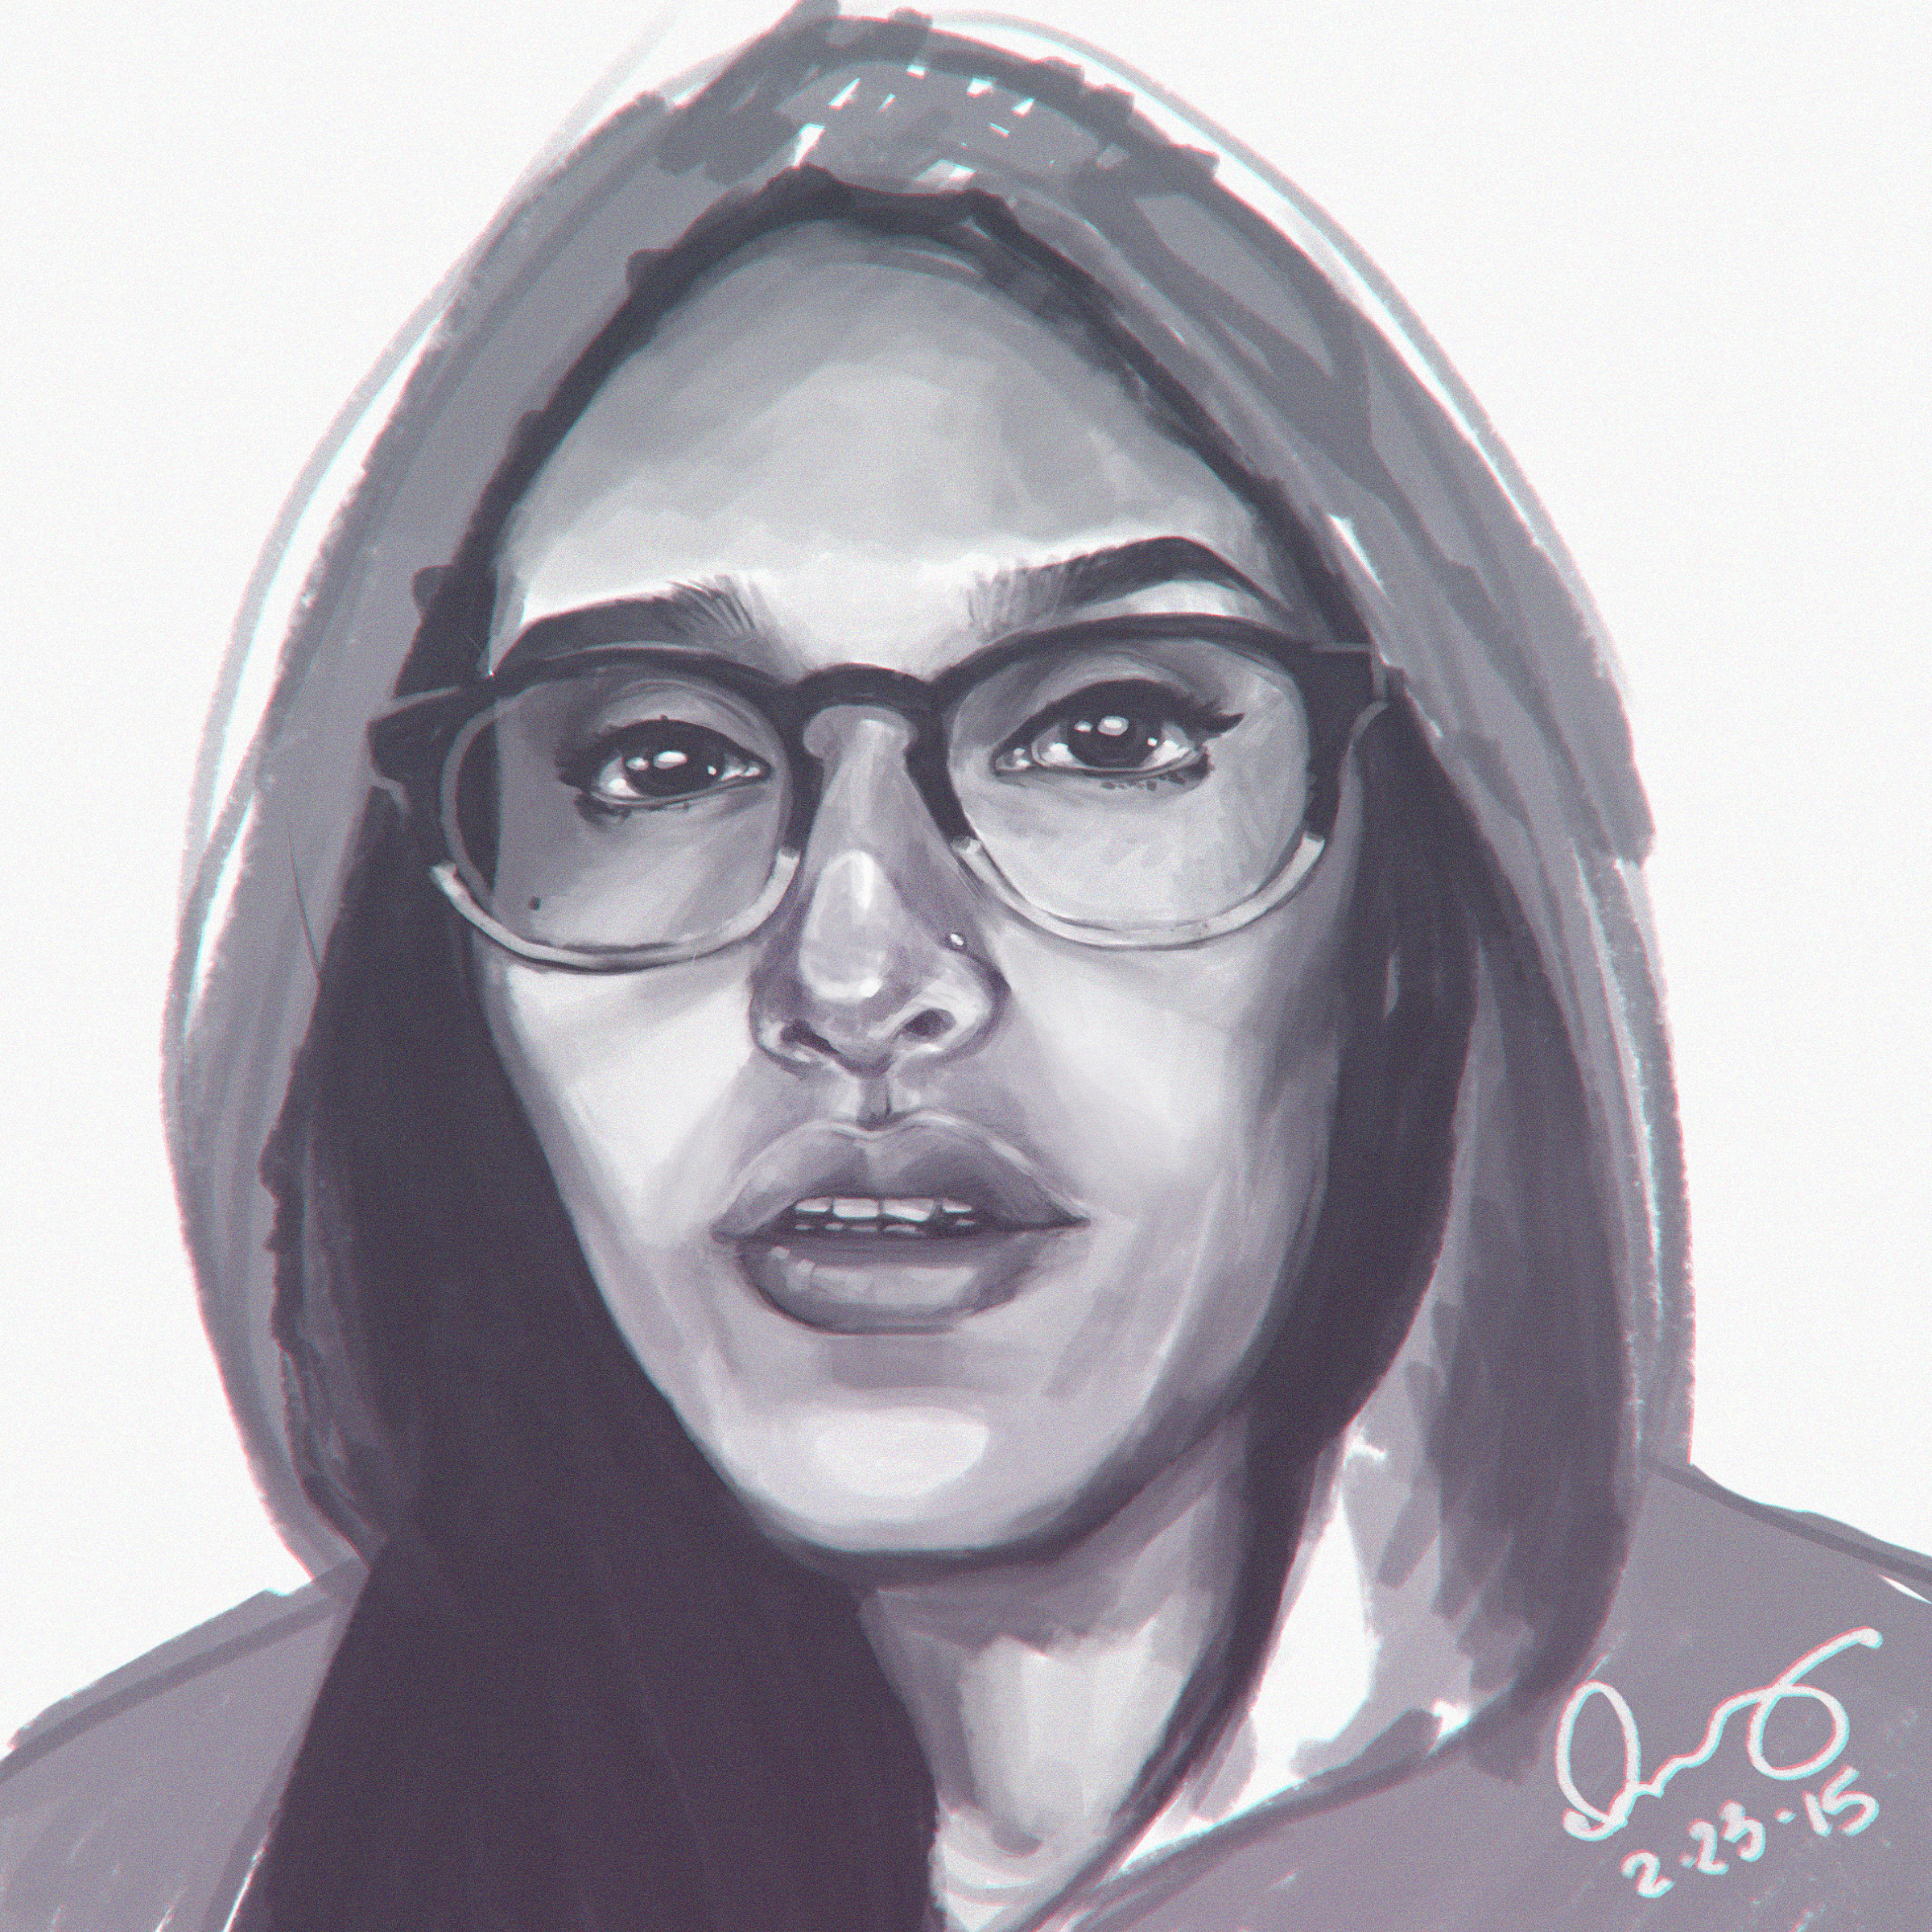
Here are the portraits I did for this week! (Well, the last 5 days, since I started last Thursday...)

Art, For the Home, Tutorials

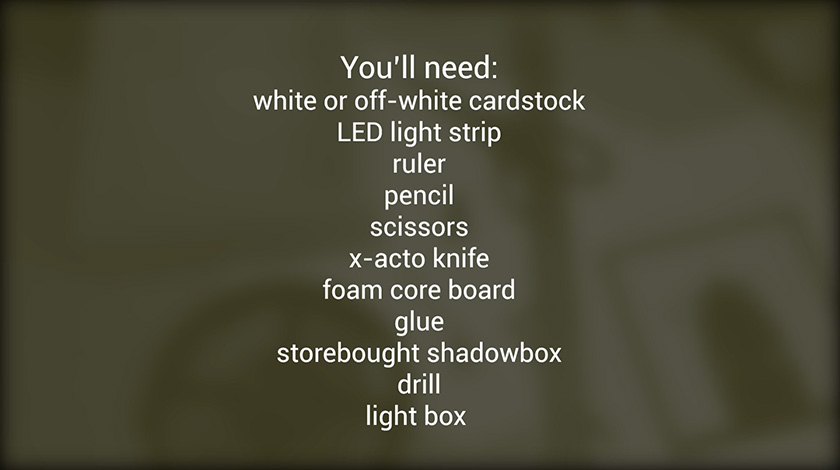
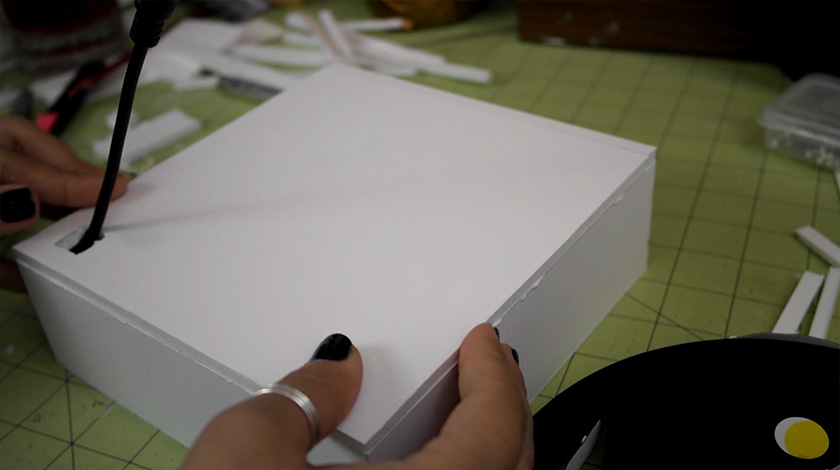
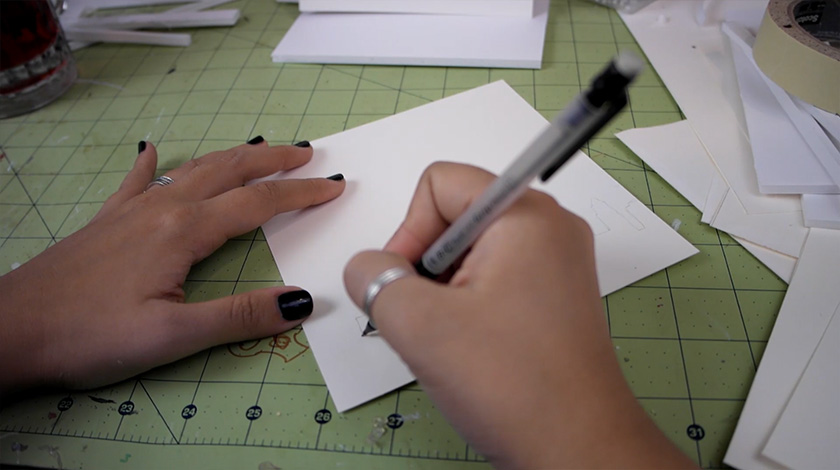
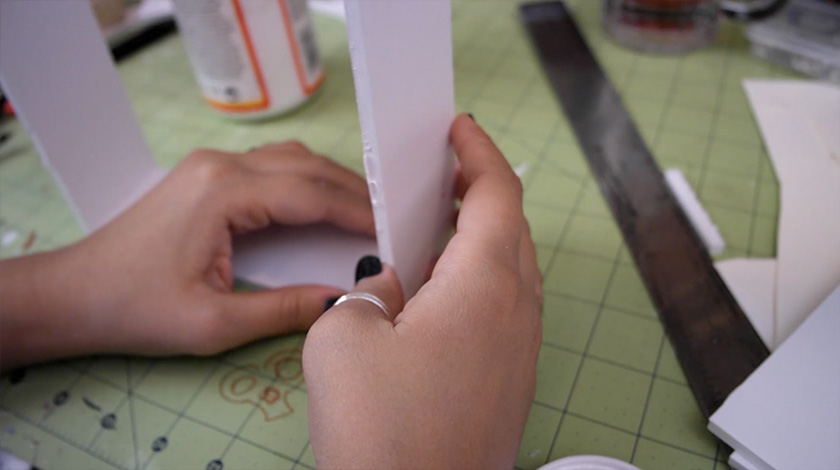
DIY Paper-cut Light Box

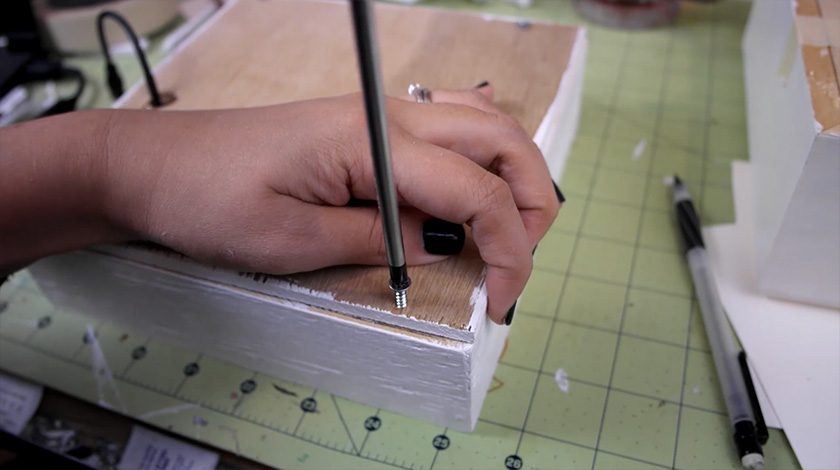
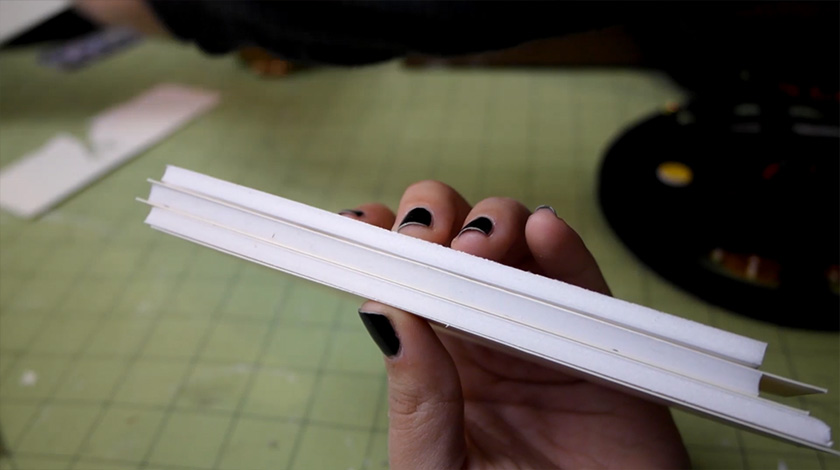
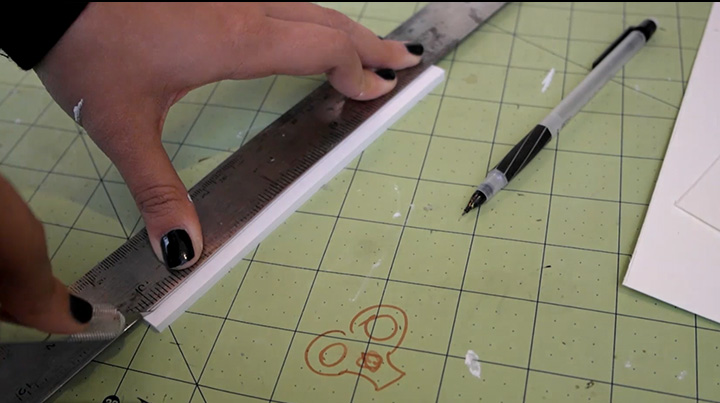
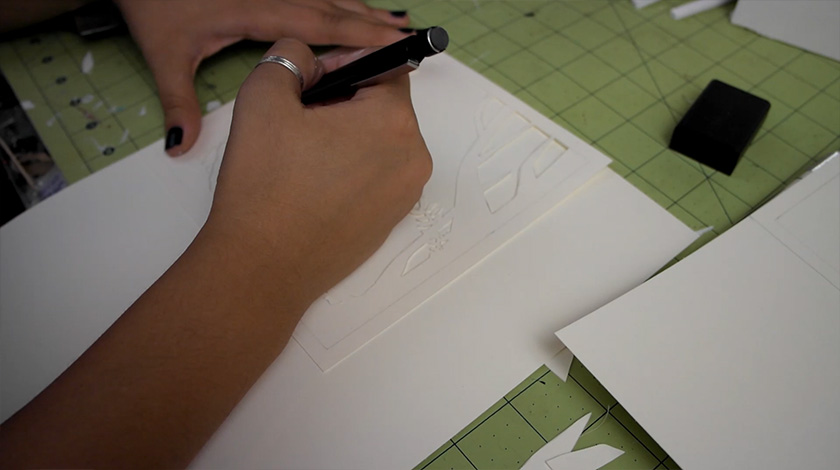
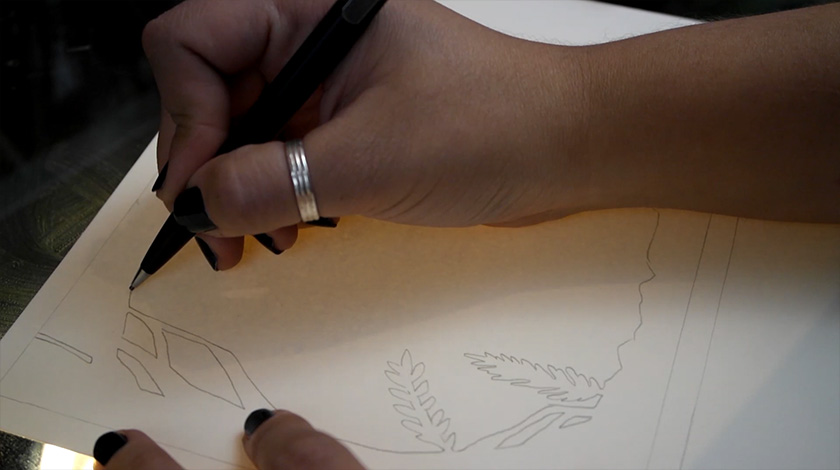
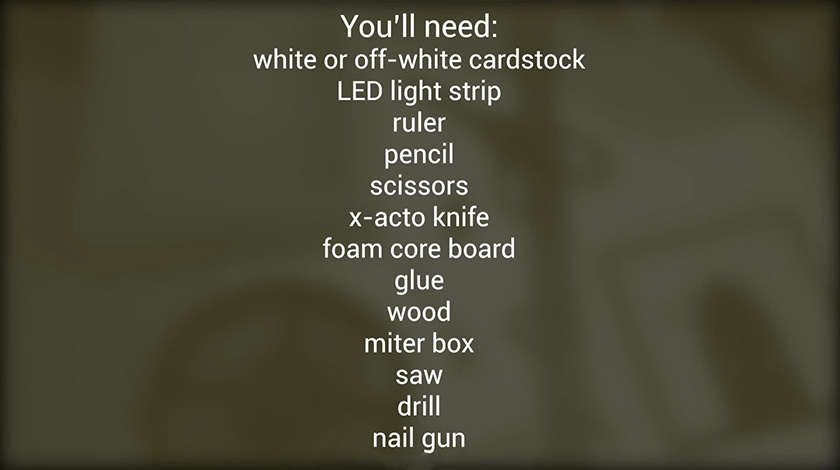
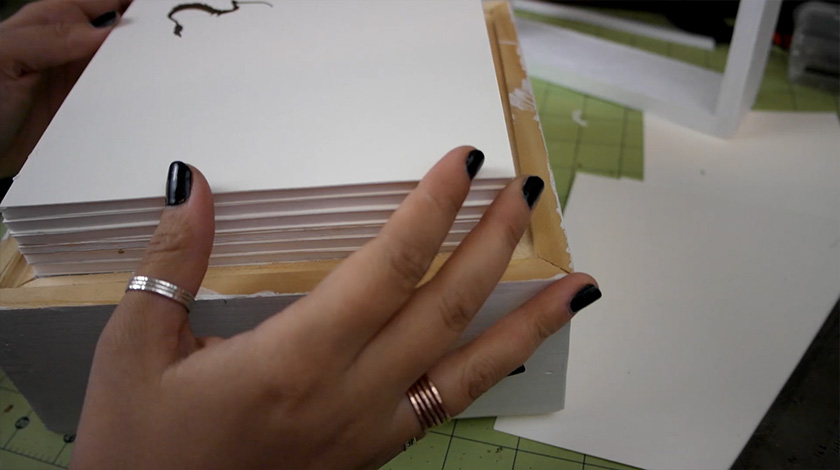
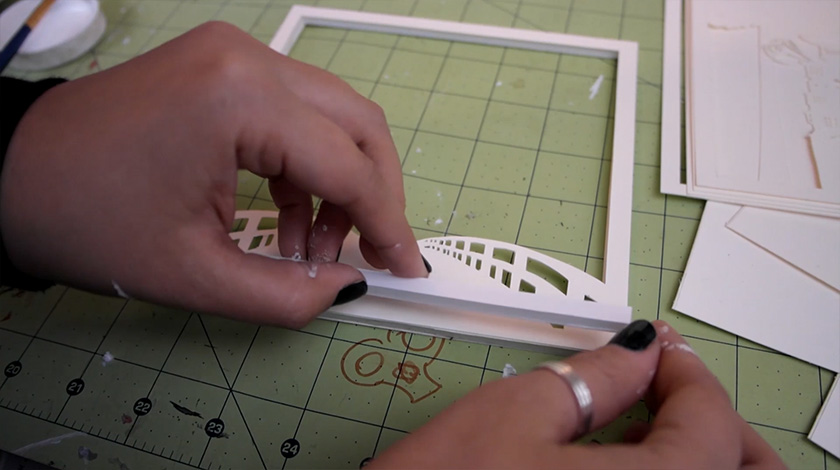
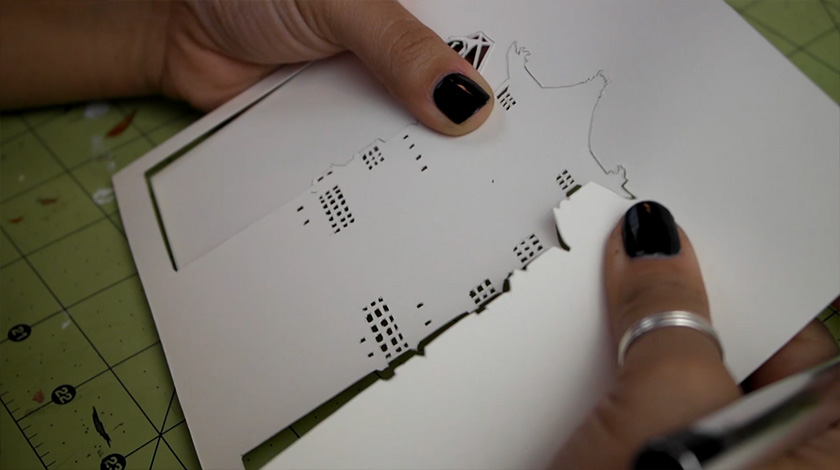
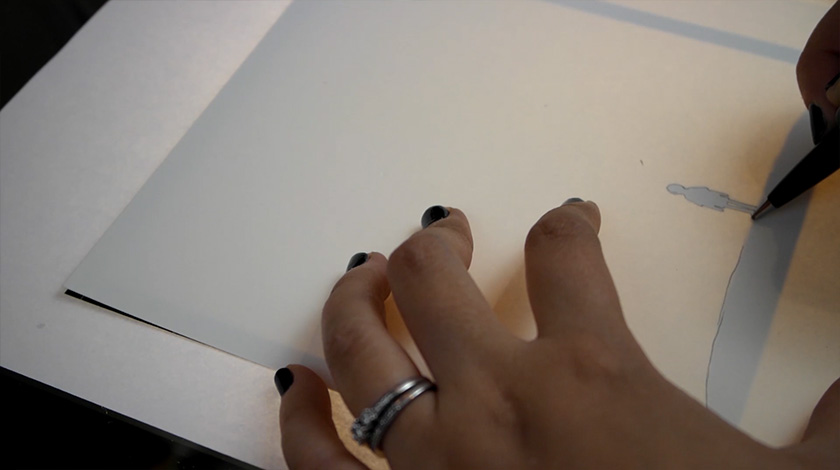
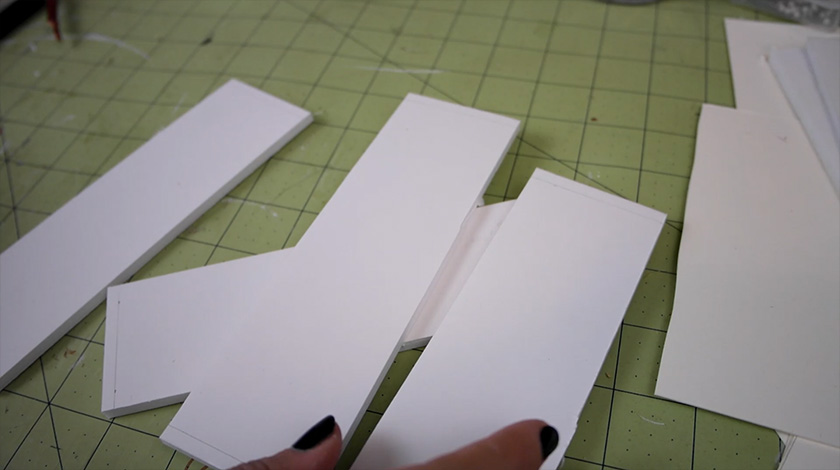
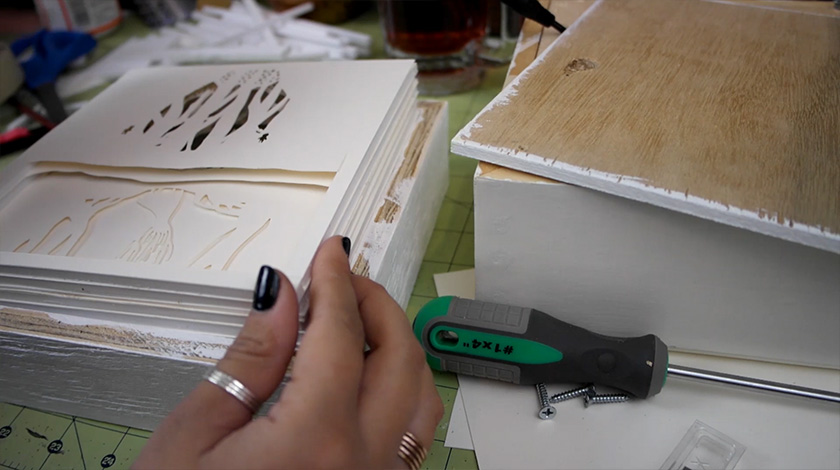
I recently saw some awesome artwork by these artists Hari and Deepti and I was very inspired to create some of my own. I threw together three tutorials; one is advanced, one is intermediate and one is easy. Check out the video below, or continue on after the "read more" tag, to figure out how to make your own!

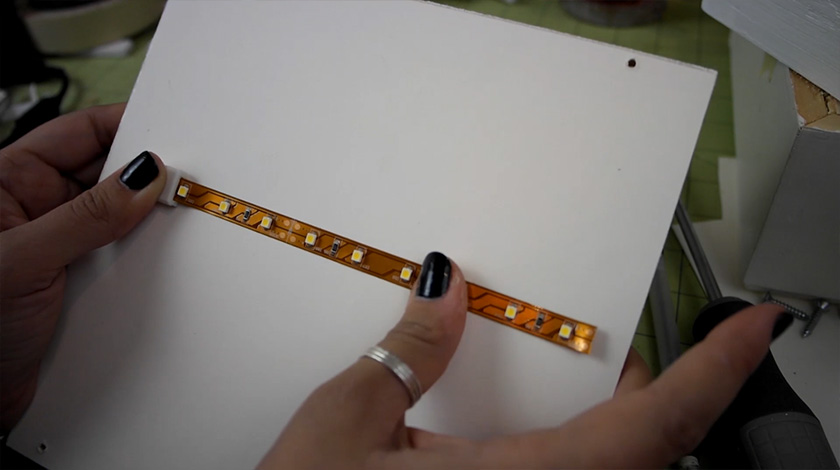
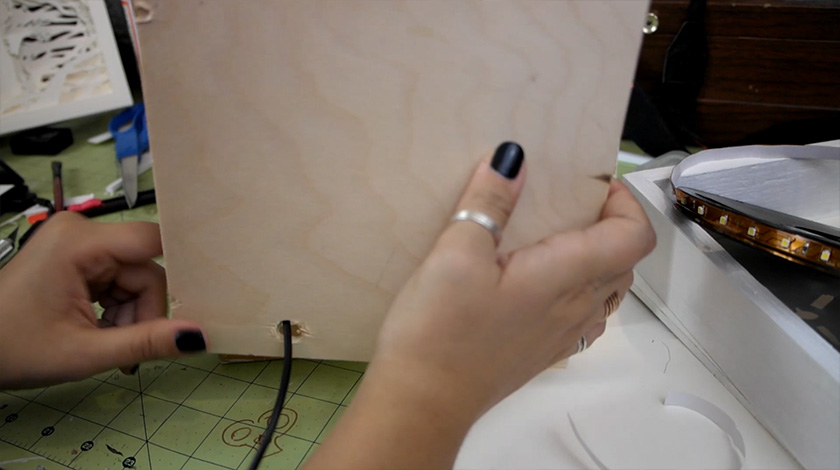
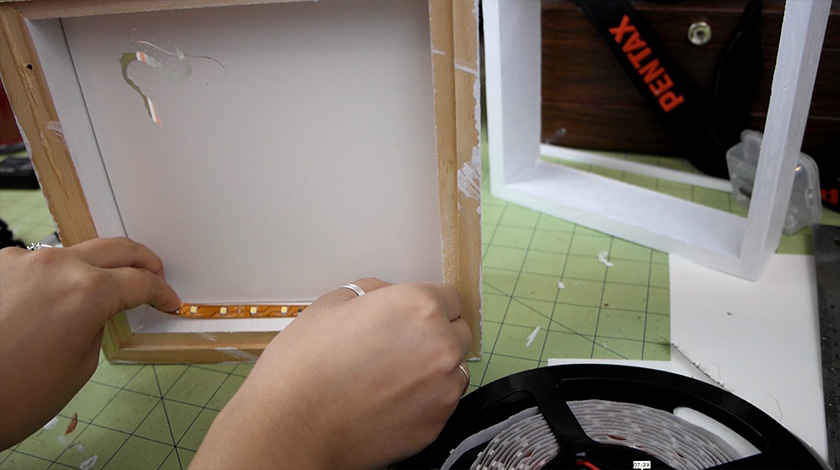
A quick note about the lights I used in these light boxes. These things are great; you can cut them to size and they're self adhesive. Perfect for any project requiring a little bit of lighting. If you want to buy some for your own projects here are some affiliate links for the lights, extra connector things and power cords. If you don't feel like buying these things you can probably just use some Christmas lights, but the downside to those is that you'd only have a tiny bit of the lights inside the box, and then you'd have a long tail of lights hanging out of it. Unless you build a big box to accommodate a whole string of lights. Which would be awesome.

Advanced:

Advanced!


Mouse over or click on the images for instructions:

Intermediate:

Intermediate!


Click here to download the template for this one.

Mouse over or click on the images for instructions:

Easy:

Easy

Mouse over or click on the images for instructions:

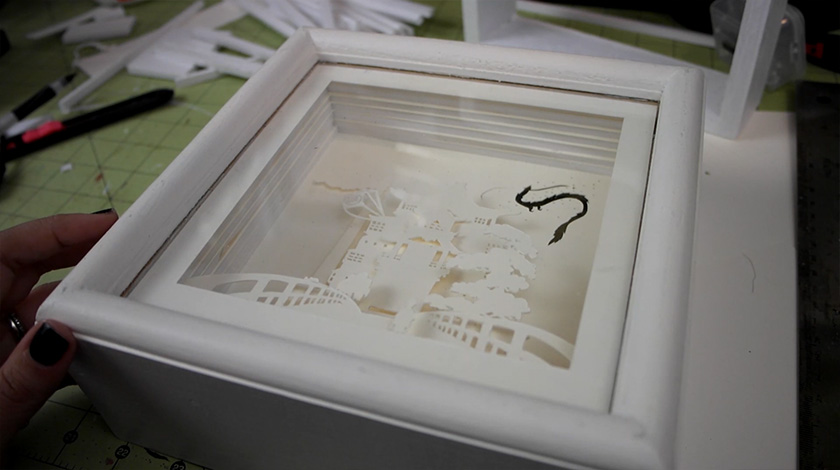
Finished!

So there we go! Three different light boxes, three different levels of difficulty. I hope you all enjoyed these things, I'm pretty happy with how they turned out, and I'm already planning a few more to make!

Art

Daily Self Portraits Update #7

Here are my portraits for this week. #55 is my favorite one.

#53 Photoshop CS6

#54 watercolor, India ink and acrylic

#55 Photoshop CS6

#56 watercolor and India ink

#57 India ink

#58 Photoshop CS6

#59 watercolor and acrylic


Art

Daily Self Portraits Update # 5

Here are my portraits for the week! Enjoy~


#39 watercolor and gouache

#40 watercolor and gouache

#41 mechanical pencil

#42 watercolor and gouache

#43 watercolor and gouache

#44 photoshop CS6

#45 photoshop CS6


Art

Daily Self Portraits Update #4

Man I totally forgot to update this on Tuesday. My schedule has been all messed up because I had to evacuate because of Hurricane Isaac! My boyfriend, my cat and I are safe, but the one road going to our apartment is flooded and the power has been out there for a few days so when we finally go home, we will be coming back home to a fridge full of bad food. :( But anyway, less about hurricanes, and more about portraits!

#32 CS6

#33 CS6 (it was my birthday!)

#34 CS6

#35 Pen and ink and white colored pencil

#36 CS6

#37 Pen and ink, watercolor and gouache

#38 Watercolor and gouache


Art

Daily Self Portraits Update #3

It definitely doesn't feel like it's been a month already since I've started these daily portraits.

The top four are drawn in Photoshop CS6 and the bottom three are drawn in Corel Painter 12.

Art

Daily Self Portraits Update #2

I can't believe it's already been three weeks of me doing these portraits. It feels like I just started yesterday! Well here are my portraits for this past week:

All of these are done in Photoshop CS6. The fifth one is actually a small animation that you need to click on to see move. Enjoy!

Art

Daily Self Portraits Update #1

Here are my portraits from this past week:  

Can you tell I enjoy digital painting? All of them except #15(bottom left) were done in Photoshop CS6.

Art

Daily Self Portraits

Ten days ago I decided I was going to start a year long project where I would do a self portrait every day. Each day I post them on my tumblr and each week I'll be posting a recap of the weeks drawings. So low and behold, here are my portraits, in a bunch of different mediums.
#1 ballpoint pen

#2 tria marker

#3 mechanical pencil and graphite pencil

#4 mechanical pencil

#5 pastel

#6 pen & ink and gouache

#7 pen & ink and gouache

#8 mechanical pencil

#9 black sharpie and gouache

#10 digital (CS6)


Art

Pinhole cameras

I have been a photography nut for a long time, and I knew it was just a matter of time before my crafty side collided with my photographer side.  Well this just so happened to take place just a few days ago when I found a website with instructions on how to make your own pinhole cameras.  I was so excited that I ended up making three of their pinhole camera designs; two for me and one for my little sister.  Unfortunately the first roll of film from their "Photos of Your Mother" camera was kind of a bust because I punched the shutter hole way too big.  They say to use a needle to poke a small hole, but I shoved the needle through, causing the hole to be gigantic... for a pinhole camera.  If the hole is too big the pictures will turn out blurry.  You really want to just barely poke through with the tip of the needle.  For shits and giggles, here are some of the photographs that came from that camera:

As you can see, the images are quite blurry and the spacing is way off, but with some tweaking I started getting those problems hammered out.  The next camera I tackled was the "World Pinhole Camera Day Camera." Lucky for you, I documented myself making this one!

And thats it!  I actually haven't finished the roll of film in this camera, but I did whip out a little matchbox pinhole camera and blew through that film really fast!  I actually like the design of that camera more because the guy adds a little "clicker" that helps out with the spacing of the pictures.  I don't have pictures of that camera, but I do have the pictures from it:

In these ones, the quality is better, but the vignette is pretty extreme because matchbox pinhole cameras have a pretty shallow body.

If you want to make your own pinhole cameras then you can visit Corbis Readymech Cameras for the quirky cameras or matchboxpinhole.com for a more simplistic camera.  So far the matchbox camera was my favorite, probably because it was smaller and easier to just throw in my purse and because of the clicker mechanism that helps with the spacing of the photographs.

Art

My adventures in printmaking

This semester I took printmaking where we did some intaglio(pronounced intalio... I seemed like an idiot because when I signed up I went around telling everyone how I was taking intaglio and I emphasized the g.. anyway) We also did some lino cuts and a colograph, but I'll post all of my other prints on another day. Today I've decided to do a kind of step by step of intaglio. Not a tutorial, because there are a lot of little things that you just learn from watching someone or from learning from them in person. Anyway, on to the pictures!

My sketch on the right, with my two plates covered with asphaltum and etched in to. You'll see why I did two plates in the next few pictures.

Dun dun dun! The acid room!

Here's the acid, you dunk your plates into it and it eats away where there is no asphaltum.

After 30 minutes to an hour, they're ready!  There are a few steps I skipped here.. it gets repetitive.  According to how you want your plate to be, you stick it into the acid until it gets to how you want.  You take them out and clean all the gunk off, and then you're ready to print!

I'm using the knife to spread out the ink so I can pick out any dried pieces.

Smear it on!  Make sure to get it into all of the etching!

All smeared in.

Here, you take a tarlatin(basically cheesecloth that has starch on it) and use that to wipe up the excess ink.

There should only be ink in the etching when you're done.

Here I'm smearing ink into the main plate.

All wiped up and ready to ink!  I didn't wipe the first plate too well, you can still see some teal around the etching.  Oh well, this was just a test print to get the registration right!

The printing press!  For intaglio you have to use damp paper, so what's not seen here is that I had to soak the paper for at least 20 minutes.  I taped it to the press to get the registration correct.

After it's been run through.  You can see the additional tape I put down to help me place the plates.

Replace the plate with the other one, put the paper down and run through again!

Here I'm pulling the paper away... hopefully the registration is good!

And... it's not.  It's off a lot :(

Here's another.  I just ran another piece of paper without inking up the plates again.  You can see just how much ink the paper soaks up in the first run.  I didn't bother to ink up the plates again because I was just trying to get the registration right.. It wouldn't make sense to waste ink.

Here's another shot to show how bad the registration is.

Thankfully I finally got it sorted out when I actually went to print the final edition.  I used pink instead of teal as well.  I'll post all of my prints on another day! :)

Art

Ceramics!

The semester is wrapping up so we finally were able to take our ceramic pieces home! Here are mine.

Stoneware. Pinch method. Raku. The assignment was to mix organic with something man-made. I did a water drop mixed with the grid pattern in the ceiling of our class.

Stoneware. Coil method. Low-fire. It's old Japan(Jomon) and new Japan mixed together.

Stoneware. Slab method. Low-fire. A family of abstract objects.

Stoneware. Thrown. Reduction fire.

Closeup. It's too dark in the two right cups unfortunately. The top one is a teal color and the bottom is bronze.

Stoneware. Thrown. Reduction fire.

A peek inside.

Stoneware. Thrown. Reduction fire.

Another closeup.

Porcelain. Thrown. Reduction fire.

Another angle.

Left: Stoneware. Thrown. Reduction. Right: Porcelain. Thrown. Reduction. My little sister threw these :)
A little blue inside!

Porcelain. Thrown. Reduction.

Bronze glaze on the outside and clear on the inside.

Stoneware. Thrown. Reduction.

Inside. This is one of the pieces in a three piece set I made for my final project.

Stoneware. Thrown. Reduction.

Inside. Another piece of the set.

And to the piece that pissed me off:

Stoneware. Thrown. Reduction.

Notice this mug in the middle of this bowl? Yeah, well whoever loaded the kiln stacked them like this, so now they're permanently fused together. Bitch. So now my last piece to the set is ruined. My professor said it won't effect my grade because it was out of my hands. It still makes me mad though.

Anyway, back to the ceramics.

Porcelain. Bisque-ware.

Porcelain. Bisque-ware. I can't glaze these ones yet, I have to wait until next semester to get these ones fired.

I ended up loving this class. I want to take more ceramic classes, but it doesn't really work with my major.. I kind of decided to major in painting. That means I need to take more painting classes rather than ceramics unfortunately.

I hope you guys like these!