First off I gotta say... Happy New Years! Welcome to 2015!
Alright, back to this weeks project. I've always wanted to put up a faux mounted animal head in our house, but I could never find something that would work/was in the price range I wanted. I ended up giving up on finding the faux animal head and I made the flower curtain to go in that spot in my living room.
Well, of course not soon after I ended up finding the perfect head. Or almost perfect. Workable. I found a paper mache deer bust and it was on sale, yes! One of the antlers was broken off, but it was a super easy fix and they gave me an additional discount because it was the last one that they had. Double yes! I came home and got to work, and now I'm going to show you how to make your own!
 Supplies.
 This step is completely optional. I wanted the head to have a bit more detailed, so I used some two part epoxy clay to sculpt in more detail. I also fixed the antler by popping it back in and then hot gluing it in place.
 Here it is all done being sculpted on! Looks pretty crazy right now, but it will make sense after painting.
 While I waited for the clay to cure, I added the hanging hardware. Just find the center of the wooden plaque and attach it there.
 Paint time! Paint the plaque and the animal head. I used white gesso because it has a matte finish which is what I wanted for this guy. I'm also going to use liquid gold leaf for an accent color.
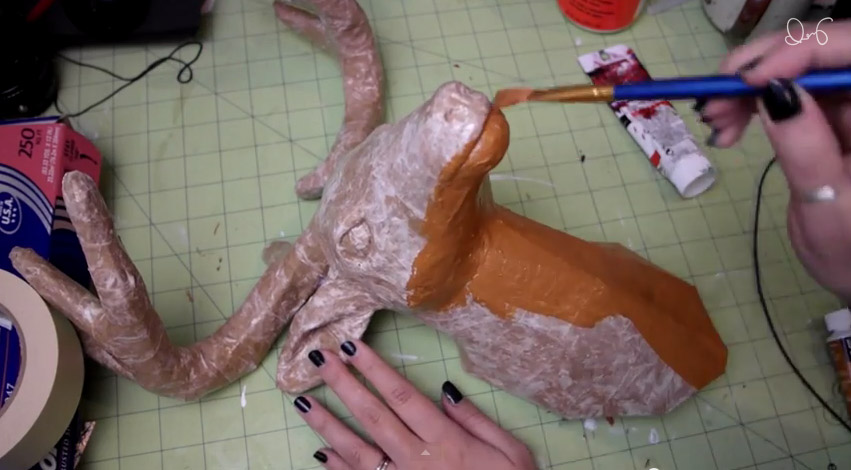
 Once dry, mark out where you want the accent color to go. I did mine about halfway down the antlers.
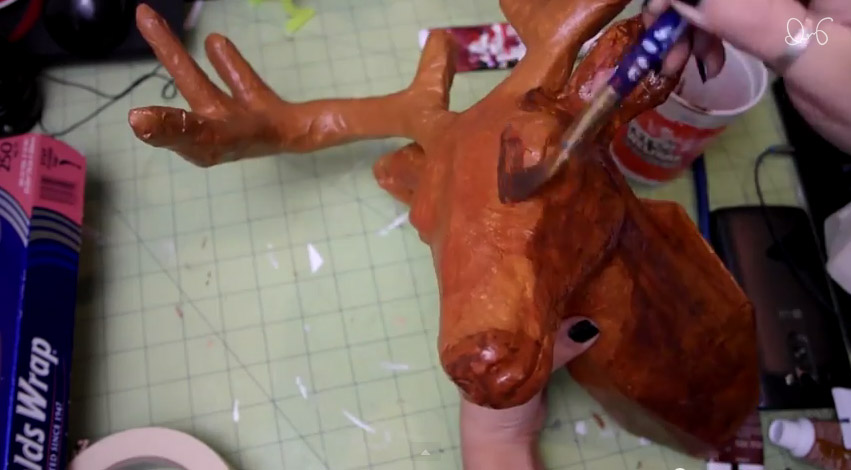
 Paint time again! After I painted this part, I went back and added a few drip details.
 Use hot glue to attach it to the wooden plaque.
 Since the deer head was paper mache, it wasn't perfectly flat on the bottom, so when I attached it to the plaque there was a huge gap in some parts. If you have this problem, you can simply squeeze in some hot glue and then paint over it with your main color and that will hide the gap!
And then you're ready to hang!

Here it is in all it's glory. I took the flower curtain down and put this guy up in its place. I like it so much better than the curtain! What do you guys think? Let me know down below!
Alright, so now it's time for the giveaway winner! Congratulations blog reader Nicole!

I will be sending you an email today! Make sure you reply as soon as you can because if you don't get back to me within 48 hours I'll unfortunately have to redraw a different winner.